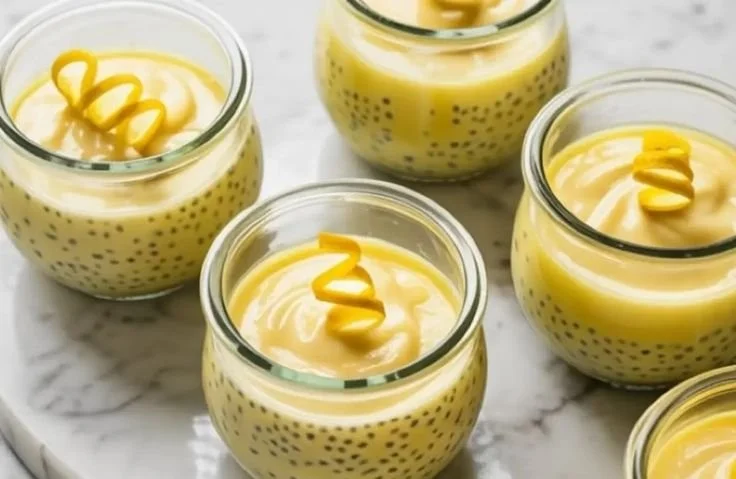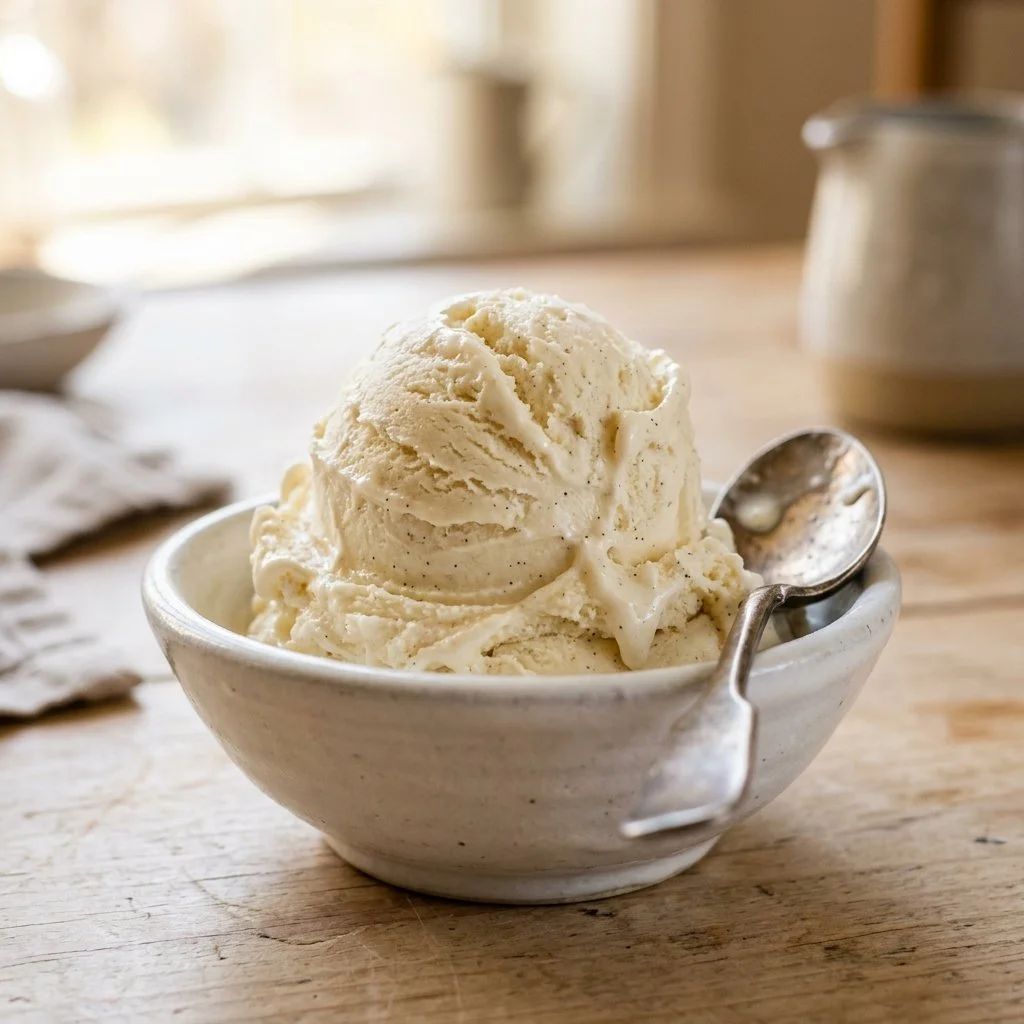
As the summer sun warms the days and the evenings stretch longer, one of my absolute favorite treats comes to mind: ice cream! There’s something about sinking your spoon into a creamy, dreamy bowl of homemade ice cream that truly steals my heart. While I love a classic scoop from the local parlour, there’s a special kind of magic that happens when you whip up a batch right in your own kitchen. The sweet aroma of vanilla wafting through your home as a simple mixture transforms into a delightful dessert is enough to make anyone smile.
Speaking of smiles, let me tell you about my first experience making No-Churn Vanilla Ice Cream. It was one of those spontaneous summer days when I decided to dive into a new recipe with my kids. We pulled together just a few ingredients, and soon we were whipping, folding, and giggling our way to pure ice cream bliss. It reminded me of how simple joys often create the sweetest memories.
Recipe Timing
- Prep Duration: 10 minutes
- Active Cooking: 5 minutes
- Total Duration: 6 hours 10 minutes (including freezing time)
- Portion Size: Serves 6-8
- Complexity: Simple
Nutritional Recipe
- Calories per portion: Approximately 300 calories
- Protein: 2 grams
- Carbs: 22 grams
- Fats: 24 grams
- Fiber: 0 grams
- Sugars: 20 grams
- Sodium: 60 mg
Why You’ll Love This No-Churn Vanilla Ice Cream
One of the best aspects of this No-Churn Vanilla Ice Cream is how effortlessly it comes together. No fancy ice cream machine is needed—just good old-fashioned mixing! The heavy cream lends richness while the sweetened condensed milk adds that perfect touch of sweetness, making each bite decadently creamy. Plus, it’s versatile! You can serve it on its own, scoop it on top of warm brownies, or even drizzle it with chocolate sauce. The possibilities are endless, and every mouthful is bound to be enjoyed.
The Complete Cooking Journey
Let’s embark on this delicious journey together! Making No-Churn Vanilla Ice Cream is not only about the end result but the fun you’ll have along the way. Mixing the ingredients, watching them come together, and finally tasting the result will fill your afternoon with joy.
Ingredients:
- 2 cups heavy cream
- 1 cup sweetened condensed milk
- 2 teaspoons vanilla extract
- Pinch of salt
Method:
-
Step 1: Whip the Cream to Stiff Peaks
In a large mixing bowl, whip the heavy cream until stiff peaks form. This is where the magic starts—your cream should be fluffy and hold its shape beautifully!
-
Step 2: Mix Condensed Milk and Flavorings
In another bowl, mix together the sweetened condensed milk, vanilla extract, and a pinch of salt. This mixture is going to be the base that sweetens your whipped cream.
-
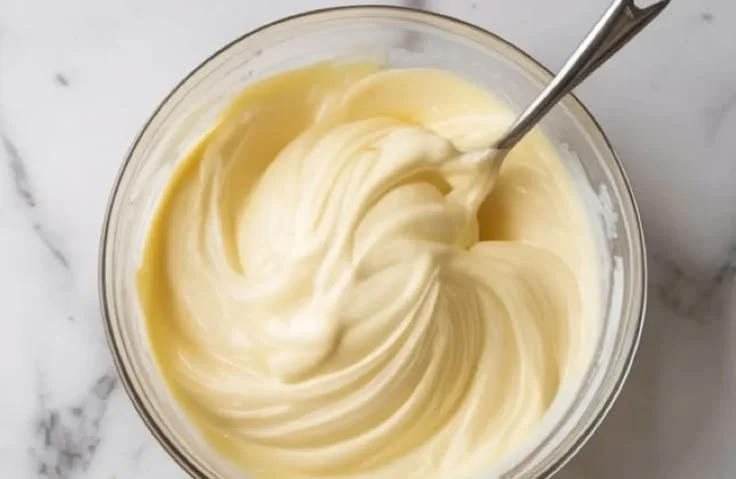
Step 3: Fold the Cream into the Milk Mixture
Gently fold the whipped cream into the condensed milk mixture until fully combined. Be careful not to deflate the cream; you want to keep that light, airy texture!
-
Step 4: Prepare for Freezing
Pour the mixture into a freezer-safe container and smooth the top. A nice, even surface is key to a consistent freeze.
-
Step 5: Freeze Until Firm
Freeze for at least 6 hours or until firm. Patience is key here—good things come to those who wait!
-
Step 6: Scoop and Serve
Scoop and serve when ready. Enjoy the fruits of your labor, and don’t forget to share with those you love!
Serving Suggestions & Pairings
This No-Churn Vanilla Ice Cream is itself a star, but it loves playing alongside others. Serve it with warm pie, layer it in a sundae with fresh fruit, or drizzle with chocolate or caramel sauce for an extra indulgence. Either way, your dessert table will shine!
Storage & Leftovers Guide
Got leftovers? No problem! Store your ice cream in an airtight container in the freezer for about 2 weeks. Just make sure to let it sit at room temperature for a few minutes before scooping for easier serving.
Kitchen Wisdom & Success Tips
- Make sure your heavy cream is cold for better whipping.
- Don’t rush the folding process—this makes a difference in texture!
- To create variations, consider mixing in crushed cookies, fruit, or chocolate chips once you’ve combined the mixtures.
Flavor Variations & Adaptations
Feeling adventurous? You can tweak this basic recipe by adding chocolate syrup, crushed mint leaves, or even a swirl of fruit purée to customize your own flavor.
Reader Questions & Solutions
-
Can I use milk instead of heavy cream?
No, heavy cream is essential for that creamy texture. Milk will result in a more icy consistency. -
What if I don’t have sweetened condensed milk?
If you have evaporated milk, you can sweeten it with sugar and adjust the amount based on how sweet you want your ice cream. -
How do I know when the ice cream is ready to scoop?
It should be firm to the touch but not rock hard. Let it sit out for a few minutes if it’s too hard. -
Can I use non-dairy alternatives?
Absolutely! Coconut cream works wonderfully and pairs beautifully with vanilla. -
What can I do if my whipped cream deflates?
Make sure your mixing bowl and whisk are cold before whipping. If it happens, you can try folding in a bit more heavy cream to reintroduce air.
Wrapping Up
Making this No-Churn Vanilla Ice Cream is a delightful experience that brings back fond memories and promises new ones. It’s a dessert that allows for creativity and sharing, something every kitchen should celebrate! So grab those ingredients, gather your loved ones, and embark on this sweet journey. Treat yourself—you deserve it! Happy scooping! 🍦
PrintNo-Churn Vanilla Ice Cream
A simple and creamy homemade vanilla ice cream made without an ice cream machine, perfect for summer treats.
- Prep Time: 10 minutes
- Cook Time: 5 minutes
- Total Time: 370 minutes
- Yield: 6-8 servings 1x
- Category: Dessert
- Method: No-Cook
- Cuisine: American
- Diet: Vegetarian
Ingredients
- 2 cups heavy cream
- 1 cup sweetened condensed milk
- 2 teaspoons vanilla extract
- Pinch of salt
Instructions
- Whip the heavy cream until stiff peaks form.
- Mix together the sweetened condensed milk, vanilla extract, and a pinch of salt in another bowl.
- Fold the whipped cream into the condensed milk mixture until fully combined.
- Pour the mixture into a freezer-safe container and smooth the top.
- Freeze for at least 6 hours or until firm.
- Scoop and serve when ready.
Notes
Store in an airtight container for about 2 weeks. Let sit at room temperature for a few minutes before scooping if too hard.
Nutrition
- Serving Size: 1 serving
- Calories: 300
- Sugar: 20g
- Sodium: 60mg
- Fat: 24g
- Saturated Fat: 15g
- Unsaturated Fat: 9g
- Trans Fat: 0g
- Carbohydrates: 22g
- Fiber: 0g
- Protein: 2g
- Cholesterol: 80mg