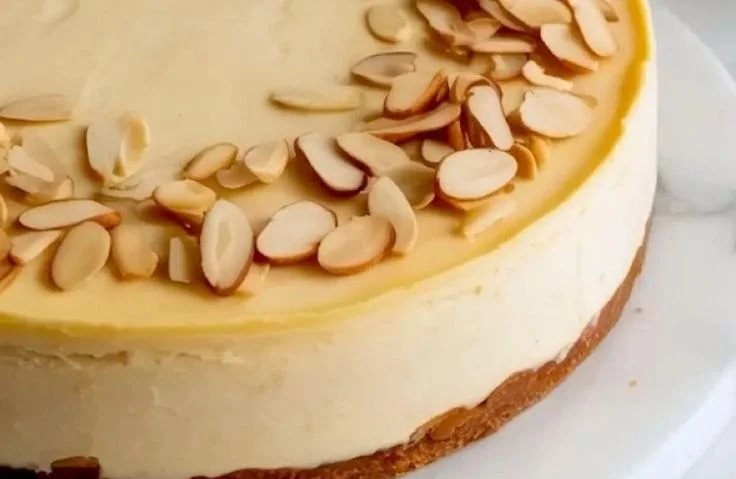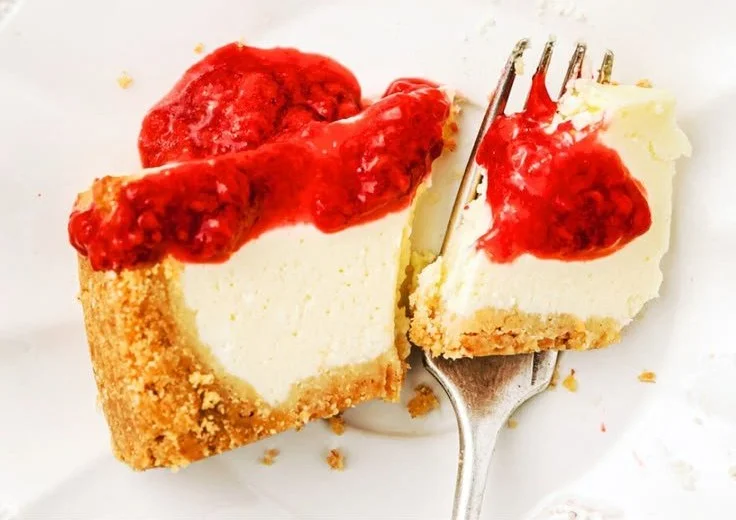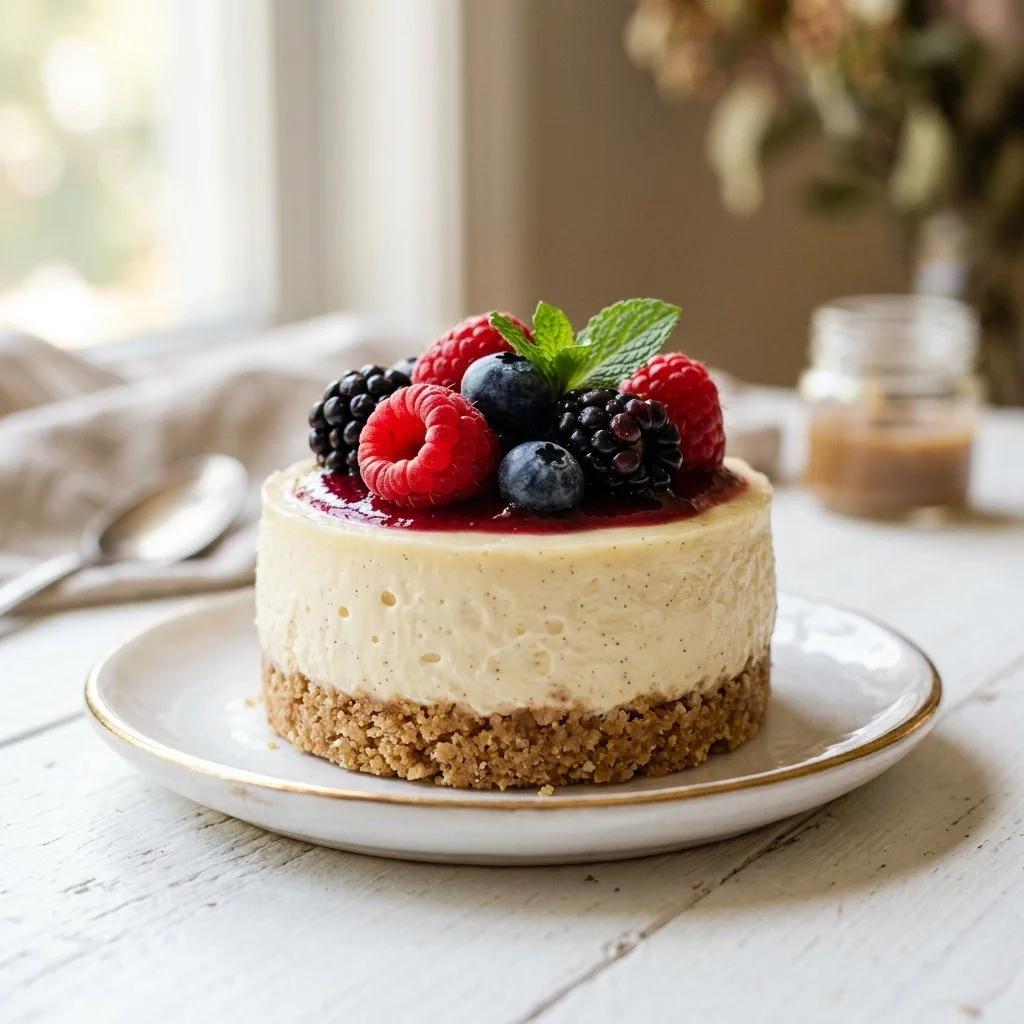
When I think back to my childhood summers, one dish stands out among the countless grilled dinners and picnics in the park: mini cheesecakes. They were the whimsical treat that brightened my family gatherings, created by my grandmother who had a knack for easy, no-bake desserts. As we lounged in the backyard, her mini cheesecakes always made a grand appearance, topped with glistening berries or chocolate drizzles. They were not just desserts; they were a celebration of togetherness, laughter, and the simplest joys of life.
Now, I’m thrilled to share this nostalgic recipe with you! Perfect for entertaining or simply enjoying a quiet afternoon, these No-Bake Mini Cheesecakes bring both elegance and ease to your kitchen. You only need a handful of ingredients and no oven, making them a dream for both novice and seasoned cooks. Let’s dive into the culinary journey of crafting these delightful treats!
Recipe Timing
- Prep Duration: 20 minutes
- Active Cooking: 20 minutes
- Total Duration: 2 hours 20 minutes (including chilling)
- Portion Size: Serves 4-6
- Complexity: Simple
Nutritional Recipe
- Calories per portion: Approximately 250 calories
- Protein: 3g
- Carbs: 22g
- Fats: 18g
- Fiber: 0g
- Sugars: 11g
- Sodium: 150mg
Why You’ll Love This No-Bake Mini Cheesecakes
These mini cheesecakes are unbelievably creamy, and the combination of sweetened cream cheese with the rich taste of heavy whipping cream offers a delightful texture. They can be prepared in mere minutes, yet they provide a sense of sophistication that makes them perfect for parties or special occasions. Plus, who doesn’t love a dessert that allows you to get creative with toppings? Whether adorned with fresh berries, a drizzle of chocolate, or a sprinkle of nuts, each cheesecake is a canvas just waiting to be enhanced.
The Complete Cooking Journey
Let me guide you through the steps to create these delicious mini cheesecakes. Get ready to impress yourself and your guests!
Ingredients:
- 8 oz cream cheese, softened
- 1/2 cup powdered sugar
- 1 teaspoon vanilla extract
- 1 cup heavy whipping cream
- Graham cracker crumbs (for crust)
- Fresh fruit or chocolate for topping
Method:
Step 1: Cream the Cheese
In a mixing bowl, beat the cream cheese until smooth. The key is ensuring no lumps remain, creating a perfect base for your cheesecake.
Step 2: Sweeten and Flavor
Add the powdered sugar and vanilla, mixing until well combined. This will add sweetness and a wonderful aroma to your cheesecake mixture.
Step 3: Whip the Cream
In another bowl, whip the heavy cream until stiff peaks form. This will give your cheesecake its light and fluffy texture, so don’t rush it!
Step 4: Fold with Care
Gently fold the whipped cream into the cream cheese mixture. Take your time with this step to keep the fluffiness alive—no one likes a dense cheesecake!
Step 5: Layer the Crust
In small cups or jars, layer graham cracker crumbs at the bottom. This crunchy base adds great texture and contrast to the creamy filling.
Step 6: Fill with Cheesecake
Now, fill each cup with the cheesecake mixture. Leave some space at the top for your toppings later.
Step 7: Chill to Perfection
Place the cups in the refrigerator for at least 2 hours. This chilling step allows the cheesecake to set beautifully, making it easier to enjoy.
Step 8: Garnish and Serve
Finally, top your cheesecakes with fresh fruit or chocolate before serving. This adds a beautiful finish and a burst of flavor!
Serving Suggestions & Pairings
These mini cheesecakes are incredibly versatile. For a festive touch, pair them with a fruit compote or a sprinkle of crushed nuts. Serving them alongside a scoop of vanilla ice cream or a dollop of whipped cream elevates the dessert experience. Perfect for summer gatherings, birthday parties, or simply a special weeknight treat, they are always a hit!
Storage & Leftovers Guide
If you happen to have leftovers (which is rare!), store them in an airtight container in the refrigerator. They’re best enjoyed within 2-3 days. Just a quick tip: if you want to enjoy a frozen treat, freeze them in safe containers for up to 2 months!
Kitchen Wisdom & Success Tips
- Ensure your cream cheese is truly softened; this will allow for easier mixing and a creamier texture.
- Don’t skip whipping the heavy cream to stiff peaks; it’s crucial for the lightness of the cheesecake!
- When folding the whipped cream, use a gentle hand to maintain that airy fluffiness.
Flavor Variations & Adaptations
Feeling adventurous? Try swapping out the vanilla for almond extract for a unique flavor twist. You can also play with the toppings—think crushed cookies, caramel sauce, or even a hint of citrus zest for freshness.
Reader Questions & Solutions
-
Can I use low-fat cream cheese?
Yes! Low-fat cream cheese works, but be aware that the texture may be slightly less creamy. -
What if I don’t have heavy whipping cream?
You can substitute with whipped topping; just be mindful that it might affect the overall taste slightly. -
How do I make a larger cheesecake instead of mini ones?
Simply combine the same recipe ingredients into a springform pan and increase the chilling time to at least four hours or overnight. -
Can I add flavoring into the cream cheese mix?
Absolutely! Feel free to add melted chocolate, peanut butter, or fruit puree to the cream cheese for extra flavor. -
How far in advance can I make these cheesecakes?
You can prepare them up to 1-2 days in advance—just be sure to keep them refrigerated.
Wrapping Up
There’s something so satisfying about creating desserts that not only taste amazing but also hold memories of those we love. These No-Bake Mini Cheesecakes are a delicious way to celebrate life’s little moments and share joy with friends and family. I hope this recipe brings as much happiness to you as it has to me over the years. So gather your ingredients, channel your inner chef, and indulge in the sweet delight that is these cheesecakes! Enjoy every creamy bite!
PrintNo-Bake Mini Cheesecakes
Delightfully creamy no-bake mini cheesecakes perfect for any gathering or quiet afternoon.
- Prep Time: 20 minutes
- Cook Time: 20 minutes
- Total Time: 140 minutes
- Yield: 4 servings 1x
- Category: Dessert
- Method: No-Bake
- Cuisine: American
- Diet: Vegetarian
Ingredients
- 8 oz cream cheese, softened
- 1/2 cup powdered sugar
- 1 teaspoon vanilla extract
- 1 cup heavy whipping cream
- Graham cracker crumbs (for crust)
- Fresh fruit or chocolate for topping
Instructions
- Cream the cream cheese until smooth.
- Add the powdered sugar and vanilla, mixing until well combined.
- Whip the heavy cream until stiff peaks form.
- Fold the whipped cream into the cream cheese mixture gently.
- Layer graham cracker crumbs at the bottom of small cups or jars.
- Fill each cup with the cheesecake mixture, leaving space for toppings.
- Chill the cups in the refrigerator for at least 2 hours.
- Garnish with fresh fruit or chocolate before serving.
Notes
Ensure cream cheese is softened for easier mixing. Whip the heavy cream to stiff peaks for a fluffy cheesecake.
Nutrition
- Serving Size: 1 serving
- Calories: 250
- Sugar: 11g
- Sodium: 150mg
- Fat: 18g
- Saturated Fat: 10g
- Unsaturated Fat: 7g
- Trans Fat: 0g
- Carbohydrates: 22g
- Fiber: 0g
- Protein: 3g
- Cholesterol: 40mg