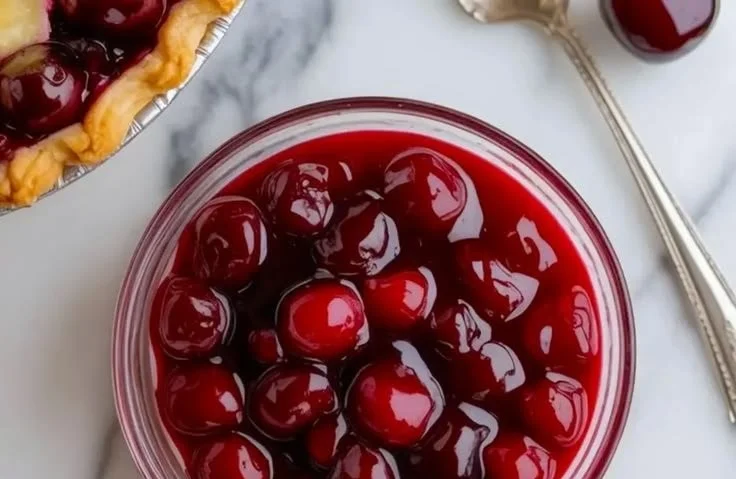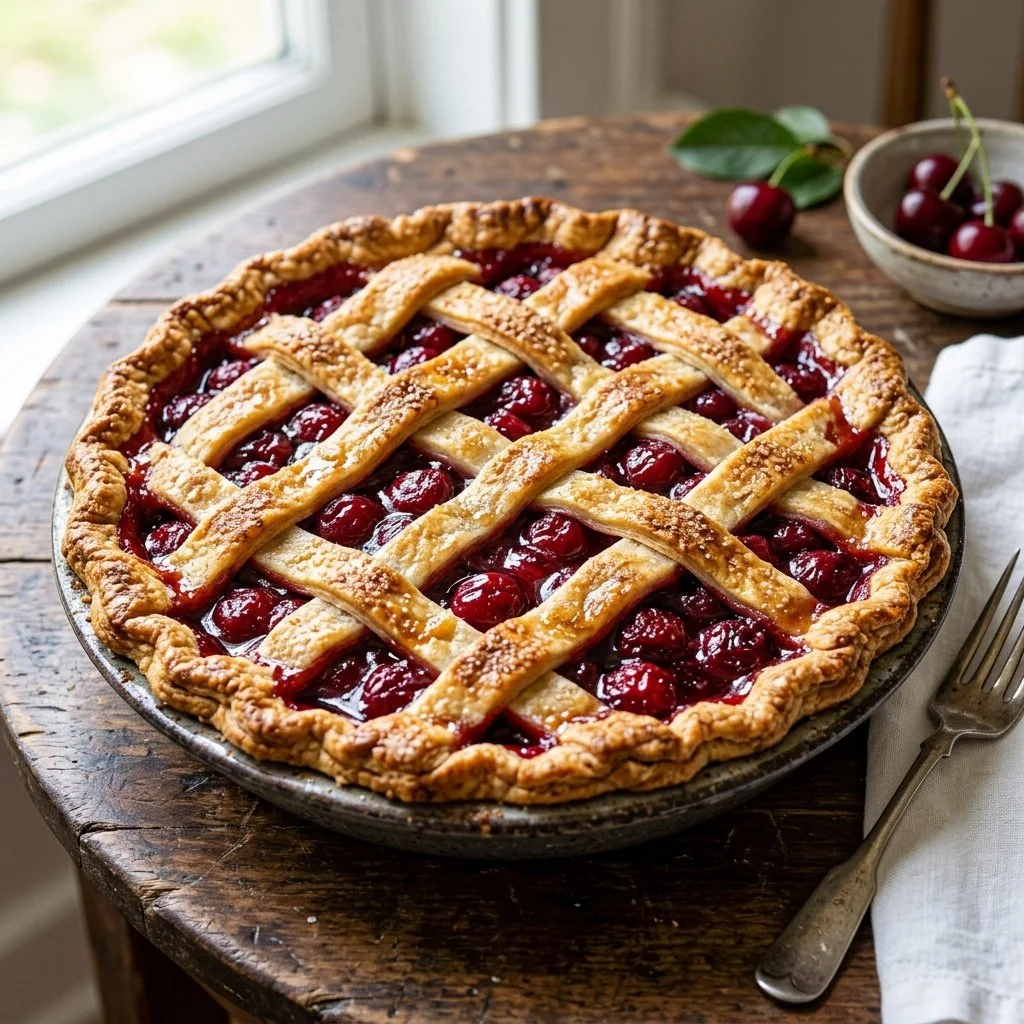
There are few things in life that evoke the warmth of home and the simplicity of joy quite like a freshly baked cherry pie. Picture this: it’s a sunny afternoon, and the sweet scent of cherries intermingles with the buttery aroma of pie crust wafting through the air. This delightful dish carries with it a comforting nostalgia, recalling summers spent at grandma’s house, where the world seemed right with every forkful of that tart-sweet bliss. Whether you’re an experienced baker or a novice, this Cherry Pie recipe is your golden ticket to creating something truly special in your kitchen.
Recipe Timing
- Prep Duration: 15 minutes
- Active Cooking: 35 minutes
- Total Duration: 50 minutes
- Portion Size: Serves 8
- Complexity: Simple
Nutritional Recipe
- Calories per portion: Approximately 280 calories
- Protein: 2 grams
- Carbs: 45 grams
- Fats: 11 grams
- Fiber: 2 grams
- Sugars: 28 grams
- Sodium: 50 mg
Why You’ll Love This Cherry Pie
There’s something magical about the combination of sweet and tart cherries, especially when they’re nestled inside a flaky, golden crust. This recipe is incredibly easy to follow, making it perfect for baking sessions with loved ones. It’s not just a dessert; it’s an opportunity to create memories. Whether you’re celebrating a special occasion or simply indulging in a well-deserved slice, this cherry pie will surely win hearts. Plus, you can enjoy it warm with a scoop of vanilla ice cream or at room temperature, making it every bit versatile.
The Complete Cooking Journey
From preheating the oven to the moment you slice into that freshly baked pie, every step is a small piece of the journey. It begins with a simple mixture of cherries, sugar, and a splash of lemon juice. As you bring the filling to life, the anticipation builds! Layering it in a crust, watching it bubble in the oven, and finally letting it cool in all its glory transforms your kitchen into a warm haven of tantalizing aromas and visual delight.
Ingredients:
- 2 cups fresh or frozen cherries
- 1 cup sugar
- 1/4 cup cornstarch
- 1/4 teaspoon salt
- 1 tablespoon lemon juice
- 1 tablespoon butter
- 1 pie crust (homemade or store-bought)
Method:
Step 1: Preheat the Oven
Preheat your oven to 425°F (220°C). This is the first step toward that golden crust and bubbly filling that you can almost taste already!
Step 2: Prepare the Cherry Filling
In a mixing bowl, combine the cherries, sugar, cornstarch, salt, and lemon juice. Stir until the mixture is evenly incorporated. The cherries should glisten with sugar and lemony goodness!
Step 3: Assemble the Pie
Pour the cherry mixture into the pie crust. Dot the top with small pieces of butter. This little touch will enhance the flavor and richness.
Step 4: Top It Off
Cover with a second crust or create a lattice top for a beautiful finish. Not only does it look stunning, but it also allows the steam to escape.
Step 5: Vent for Goodness
Cut slits in the top crust to allow steam to escape. This prevents the filling from becoming too watery, ensuring your pie holds its shape.
Step 6: Bake to Perfection
Place your pie in the preheated oven and bake for 30-35 minutes, or until the crust is golden and the filling is bubbly. Trust me; the aroma will have you dancing with excitement!
Step 7: Cool Down
Let the pie cool before serving. This allows the filling to set a little, making every slice a perfect piece of pie heaven.
Serving Suggestions & Pairings
Serve your cherry pie warm or at room temperature with a generous scoop of vanilla ice cream or a dollop of whipped cream. It pairs beautifully with a cup of tea or coffee for a delightful afternoon treat. If you’re inclined to get creative, drizzle a bit of homemade caramel sauce on top for an extra touch of decadence.
Storage & Leftovers Guide
If there’s any pie left (which is rare!), you can store it in the refrigerator for up to 3 days. Just make sure to cover it well to keep the crust from getting soggy. You can also freeze slices for up to 3 months; simply wrap them tightly in plastic wrap and place them in an airtight container.
Kitchen Wisdom & Success Tips
- Fresh vs. Frozen: Frozen cherries yield fantastic results, so don’t hesitate to use them if fresh ones aren’t available. Just thaw and drain excess juice before mixing!
- Crust Tricks: If you’re using store-bought crusts, try sprinkling a little sugar on top before baking for an extra sweet finishing touch!
- Thickening: If your filling is too watery, consider adding a bit more cornstarch or letting it simmer on the stove for a few minutes before pouring it into the crust.
Flavor Variations & Adaptations
Feeling adventurous? Try substituting half of the cherries with blueberries or raspberries for a mixed berry pie. Adding a hint of almond extract can also deepen the flavor profile, giving your pie a delightful twist.
Reader Questions & Solutions
-
What if my pie crust is too crumbly?
- A crumbling crust may need more moisture. Add a tablespoon of cold water at a time until it holds together without becoming sticky.
-
How can I tell if my pie is done?
- Look for a golden-brown crust and bubbling filling. You can also insert a knife into the filling to see if it’s hot and bubbling.
-
Can I make it ahead of time?
- Absolutely! Bake the pie a day in advance and reheat it before serving for a fresh-out-of-the-oven taste.
-
Why is my filling runny?
- This could happen if you skipped the cornstarch or if the cherries had too much juice. Ensure you mix well and consider cooking the filling a bit to reduce excess moisture.
-
How do I prevent my crust from burning?
- If you notice the edges browning too quickly, cover them with strips of aluminum foil to protect them while the rest of the pie bakes thoroughly.
Wrapping Up
Every slice of cherry pie is a reminder that baking is all about love, patience, and a little bit of creativity. I encourage you to gather your loved ones, roll up your sleeves, and indulge in this cherry pie recipe. Not only will it fill your home with delightful aromas, but it will also surely create sweet memories to cherish for years to come. Now, who’s ready for a slice?
PrintCherry Pie
A delightful cherry pie filled with sweet and tart cherries, enclosed in a flaky golden crust, perfect for creating sweet memories.
- Prep Time: 15 minutes
- Cook Time: 35 minutes
- Total Time: 50 minutes
- Yield: 8 servings 1x
- Category: Dessert
- Method: Baking
- Cuisine: American
- Diet: Vegetarian
Ingredients
- 2 cups fresh or frozen cherries
- 1 cup sugar
- 1/4 cup cornstarch
- 1/4 teaspoon salt
- 1 tablespoon lemon juice
- 1 tablespoon butter
- 1 pie crust (homemade or store-bought)
Instructions
- Preheat your oven to 425°F (220°C).
- Combine the cherries, sugar, cornstarch, salt, and lemon juice in a mixing bowl.
- Pour the cherry mixture into the pie crust and dot the top with butter.
- Cover with a second crust or create a lattice top.
- Cut slits in the top crust to allow steam to escape.
- Bake for 30-35 minutes until the crust is golden and the filling is bubbly.
- Cool before serving to allow filling to set.
Notes
Serve warm or at room temperature with ice cream or whipped cream. Store in the refrigerator for up to 3 days or freeze slices for up to 3 months.
Nutrition
- Serving Size: 1 slice
- Calories: 280
- Sugar: 28g
- Sodium: 50mg
- Fat: 11g
- Saturated Fat: 5g
- Unsaturated Fat: 6g
- Trans Fat: 0g
- Carbohydrates: 45g
- Fiber: 2g
- Protein: 2g
- Cholesterol: 30mg