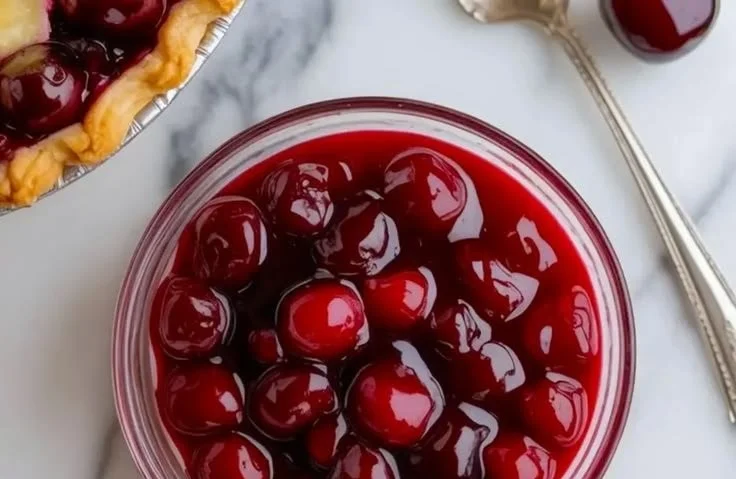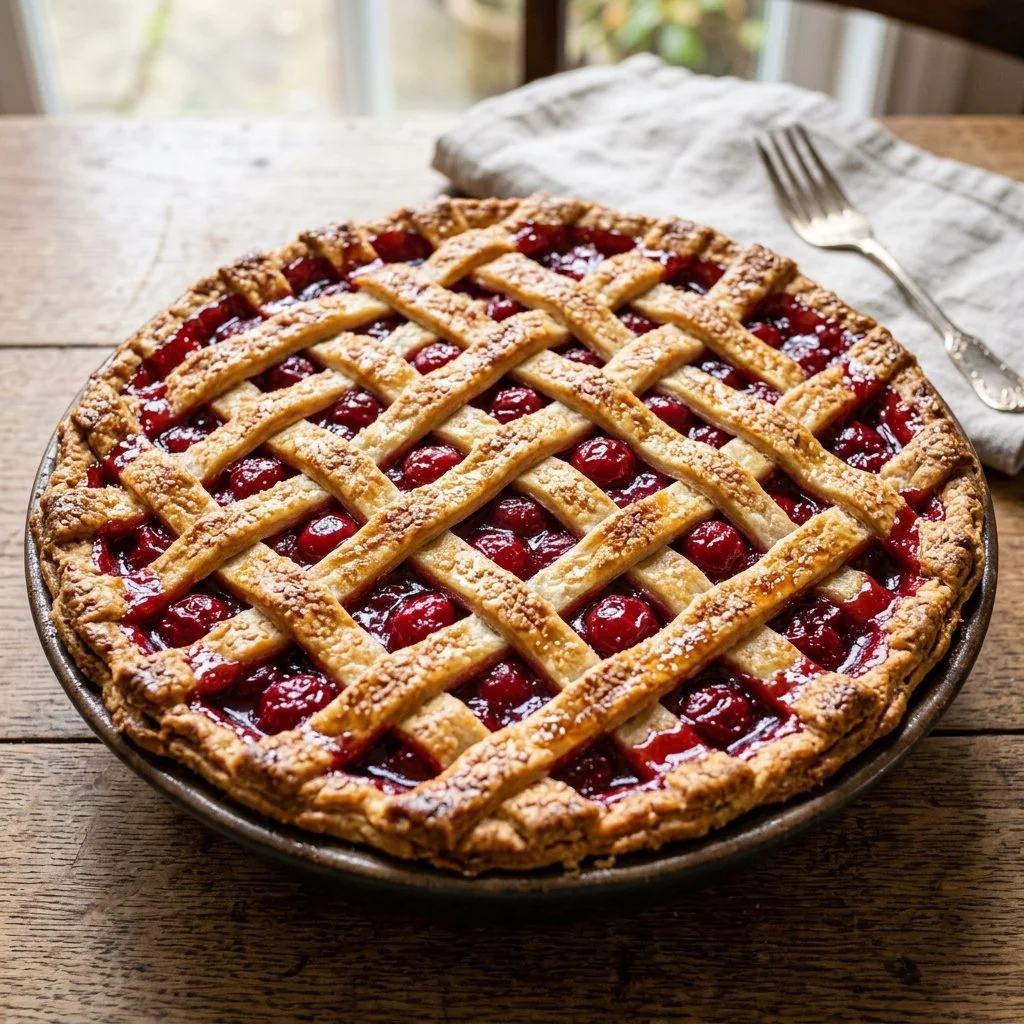
There’s something incredibly nostalgic about the aroma of cherry pie baking in the oven. It transports me back to my grandmother’s kitchen, where I spent countless summer afternoons helping her pit cherries while listening to the cheerful chirping of birds outside. The process was simple, yet somehow magical; the juiciness of the cherries blended with sugar created a sweet symphony that danced through the air as they nestled into a buttery, flaky crust. Each slice of pie was more than just dessert; it was a connection to family, tradition, and the joy of creating something delicious with your own two hands. Today, I want to share an easy-to-follow recipe for cherry pie that will fill your home with that same warm, comforting embrace.
Recipe Timing
- Prep Duration: 20 minutes
- Active Cooking: 35 minutes
- Total Duration: 55 minutes
- Portion Size: 8 servings
- Complexity: Simple
Nutritional Recipe
- Calories per portion: 280
- Protein: 2g
- Carbs: 41g
- Fats: 12g
- Fiber: 2g
- Sugars: 22g
- Sodium: 150mg
Why You’ll Love This Cherry Pie
This cherry pie recipe is a breeze to prepare, whether you’re a seasoned baker or a novice in the kitchen. It features luscious cherries and a hint of vanilla, combined with a buttery crust that crumbles beautifully with each bite. Perfect for summer picnics, holidays, or simply a cozy dessert night at home, it’s a dessert that brings smiles around the table. Plus, using fresh or frozen cherries makes it accessible any time of the year!
The Complete Cooking Journey
As we embark on this culinary adventure, I invite you to let your senses guide you. Feel the dough under your fingers as you roll it out, and bask in the sweet fragrance of baking cherries. Each step is a chance to connect not only with the ingredients but also with cherished memories. Let’s get started!
Ingredients:
- 2 cups fresh or frozen cherries, pitted
- 1 cup granulated sugar
- 2 tablespoons cornstarch
- 1 tablespoon lemon juice
- 1 teaspoon vanilla extract
- 1 tablespoon butter
- 1 package pie crusts (or homemade pie crust)
Method:
Step 1: Preheat Your Oven
Preheat the oven to 425°F (220°C). This ensures a crisp, golden crust that seals in all the delicious cherry goodness.
Step 2: Prepare the Cherry Filling
In a mixing bowl, combine the cherries, sugar, cornstarch, lemon juice, and vanilla extract. Mix until well combined, ensuring the cherries are well-coated.
Step 3: Roll Out the Bottom Crust
Roll out one pie crust and place it in a pie dish. This will be the foundational layer for your cherry goodness.
Step 4: Fill with Cherry Mixture
Pour the cherry mixture into the crust, spreading it evenly so that each slice will be packed with flavor.
Step 5: Dot with Butter
Dot the filling with small pieces of butter which will melt into the cherries as they bake, adding to the richness.
Step 6: Roll Out the Top Crust
Roll out the second pie crust. You can choose to either place it directly over the filling or cut it into strips to create a beautiful lattice top.
Step 7: Seal the Edges
Seal the edges of the pie crusts together, crimping them as desired to create a rustic look. This step is essential to keep the filling from bubbling over during baking.
Step 8: Bake to Perfection
Bake for 30-35 minutes, or until the crust is golden brown and the filling is bubbly. Your kitchen is about to smell divine!
Step 9: Cool and Serve
Let the pie cool before serving. This not only makes it easier to slice but also allows the filling to set beautifully.
Serving Suggestions & Pairings
Serve warm with a scoop of vanilla ice cream or a swirl of whipped cream for the ultimate indulgent experience. It’s also delightful with a cup of freshly brewed coffee or a glass of sweet iced tea on a sunny afternoon.
Storage & Leftovers Guide
To store leftovers, cover the pie with plastic wrap or aluminum foil and keep it in the refrigerator for up to 3 days. You can also freeze the unbaked pie for up to 2 months. Just remember to adjust the baking time if baked straight from frozen!
Kitchen Wisdom & Success Tips
- If using frozen cherries, there’s no need to thaw them; simply increase the cornstarch to prevent excess liquid.
- For an extra touch of flavor, consider adding a pinch of almond extract to the filling.
- Ensuring the butter is cold when added to the filling helps maintain a flaky crust!
Flavor Variations & Adaptations
Feel free to experiment! Adding spices like cinnamon or nutmeg can elevate the flavors. For a twist, you can mix in other fruits like blueberries or raspberries for a mixed berry pie!
Reader Questions & Solutions
- What if my filling is too watery? After combining your ingredients, let the mixture sit for a few minutes. The cornstarch will thicken it up. If it’s still too watery, you can add a bit more cornstarch.
- Can I make this pie ahead of time? Absolutely! You can prepare it the day before and refrigerate it. Just bake before serving for that fresh-out-of-the-oven taste.
- How do I know when the pie is done? Look for a golden-brown crust and bubbling filling. A thermometer inserted should read around 200°F (93°C) in the filling.
- What if I don’t have cornstarch? You can substitute with all-purpose flour, but use slightly more, as it isn’t as effective as a thickening agent.
- How can I prevent a soggy crust? Pre-baking your bottom crust for 5-7 minutes before adding the filling can help.
Wrapping Up
This cherry pie recipe is not just about the ingredients; it’s about the memories you’ll create in your kitchen. So roll up your sleeves, gather your loved ones, and let’s whip up some joy and sweetness together! Whether you share it with friends or savor it in solitude, this pie is sure to warm your heart, just like those summer afternoons in grandma’s kitchen. Happy baking!
PrintCherry Pie
An easy-to-follow cherry pie recipe that fills your home with warmth and nostalgia.
- Prep Time: 20 minutes
- Cook Time: 35 minutes
- Total Time: 55 minutes
- Yield: 8 servings 1x
- Category: Dessert
- Method: Baking
- Cuisine: American
- Diet: Vegetarian
Ingredients
- 2 cups fresh or frozen cherries, pitted
- 1 cup granulated sugar
- 2 tablespoons cornstarch
- 1 tablespoon lemon juice
- 1 teaspoon vanilla extract
- 1 tablespoon butter
- 1 package pie crusts (or homemade pie crust)
Instructions
- Preheat the oven to 425°F (220°C).
- Combine the cherries, sugar, cornstarch, lemon juice, and vanilla extract in a mixing bowl.
- Roll out one pie crust and place it in a pie dish.
- Pour the cherry mixture into the crust, spreading it evenly.
- Dot the filling with small pieces of butter.
- Roll out the second pie crust.
- Seal the edges of the pie crusts together.
- Bake for 30-35 minutes, or until the crust is golden brown.
- Let the pie cool before serving.
Notes
Try serving warm with ice cream or whipped cream. It can be stored in the refrigerator for up to 3 days.
Nutrition
- Serving Size: 1 slice
- Calories: 280
- Sugar: 22g
- Sodium: 150mg
- Fat: 12g
- Saturated Fat: 7g
- Unsaturated Fat: 5g
- Trans Fat: 0g
- Carbohydrates: 41g
- Fiber: 2g
- Protein: 2g
- Cholesterol: 30mg