There’s something incredibly nostalgic about making an Icebox Cake. For me, it conjures memories of sun-kissed summers spent with family, gathered around a picnic table with laughter floating in the air. My aunt would always whip one up for special occasions, and the anticipation of that creamy, layered dessert filling my heart with joy. The beauty of an Icebox Cake lies not just in its incredible flavor, but in how simple it is to make. It’s a treat that welcomes creativity while being deeply rooted in tradition, and today, I’m excited to share with you my version of this beloved classic.
Recipe Timing
- Prep Duration: 20 minutes
- Active Cooking: 0 minutes (no baking required!)
- Total Duration: 4 hours (or overnight)
- Portion Size: Serves 8
- Complexity: Simple
Nutritional Recipe
- Calories per portion: Approximately 250
- Protein: 2 grams per serving
- Carbs: 31 grams per serving
- Fats: 14 grams per serving
- Fiber: 0 grams per serving
- Sugars: 18 grams per serving
- Sodium: 70 mg per serving
Why You’ll Love This Icebox Cake
This Icebox Cake is a quintessential summer dessert. It brings together the delightful crunch of graham crackers with the fluffy texture of whipped cream, crowned with the option of luscious chocolate shavings and vibrant fresh berries. It’s a no-bake dessert, making it perfect for hot days when turning on the oven feels unbearable. Plus, it’s so versatile—you can easily adapt the flavor profiles to match your mood or the season!
The Complete Cooking Journey
Let’s dive into the joy of creating this delightful Icebox Cake together! This hands-off dessert will surprise you with just how easy it can be to craft something that tastes so indulgent, yet is so forgiving in its method.
Ingredients:
- 1 package of graham crackers
- 2 cups heavy whipping cream
- 1 cup powdered sugar
- 1 teaspoon vanilla extract
- Chocolate shavings (optional)
- Fresh berries (optional)
Method:
Step 1: Whip the Cream
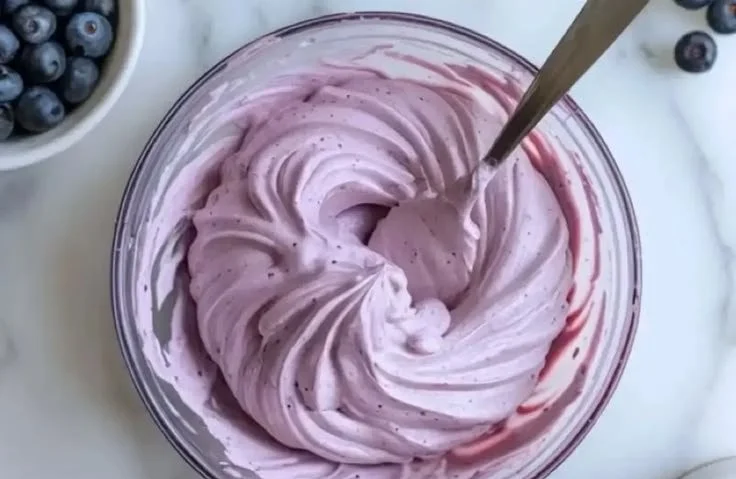
In a large bowl, whip the heavy cream until soft peaks form. Gradually add the powdered sugar and vanilla extract, and continue to whip until stiff peaks form. This fluffy mixture is the heart of our cake!
Step 2: Layer the Graham Crackers
In a rectangular dish, layer the graham crackers in a single, even layer.
Step 3: Add the Whipped Cream
Spread a layer of the whipped cream mixture over the graham crackers.
Step 4: Repeat the Layers
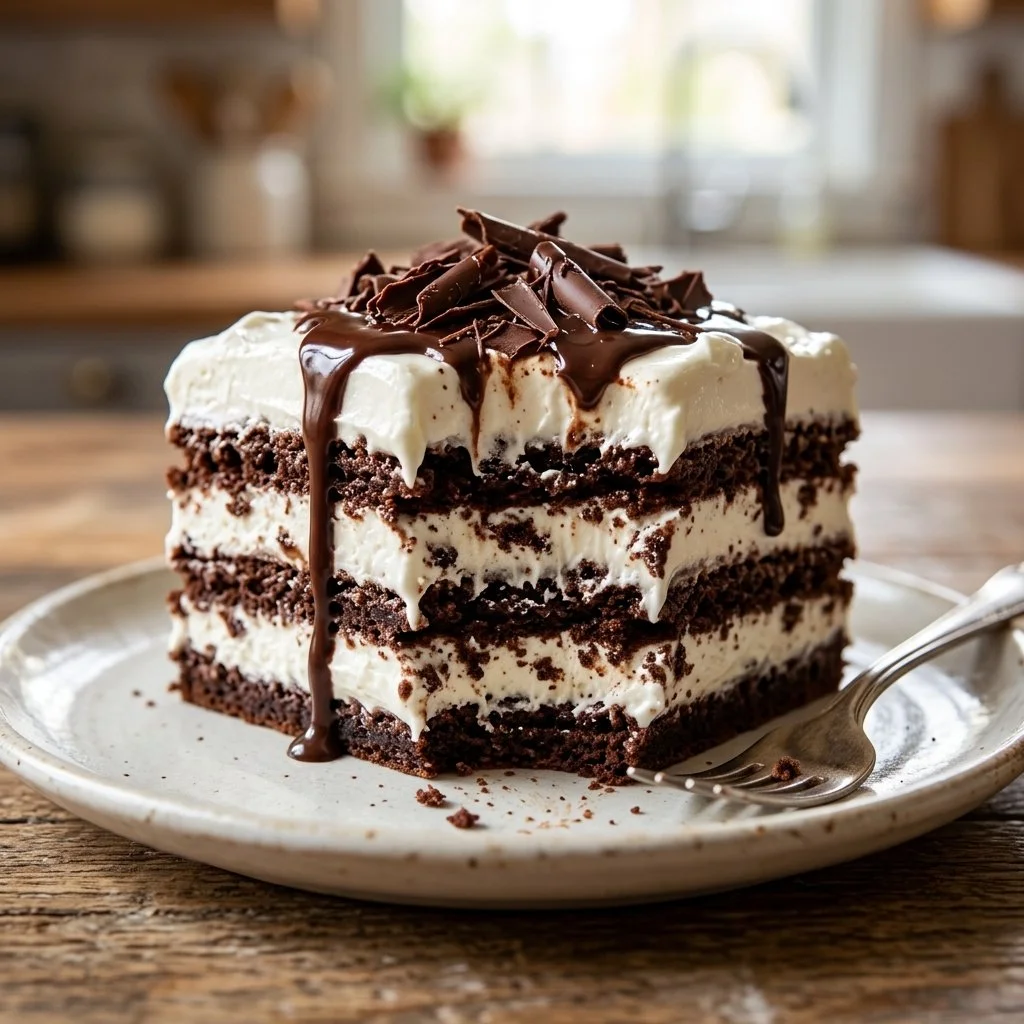
Continue layering the graham crackers and whipped cream mixture until all the ingredients are used, ending with a generous layer of whipped cream on top.
Step 5: Chill in the Icebox
Cover the dish with plastic wrap and refrigerate for at least 4 hours—or even better, overnight—to allow the flavors to meld and the crackers to soften.
Step 6: Garnish and Serve
Before serving, top with chocolate shavings and fresh berries if desired. These finishing touches not only enhance the flavor but add a beautiful presentation that will surely impress your guests!
Serving Suggestions & Pairings
This Icebox Cake pairs wonderfully with a cup of iced tea or a light rosé wine. For an added touch, serve it alongside a fresh fruit salad for a refreshing contrast or a scoop of vanilla ice cream for extra indulgence.
Storage & Leftovers Guide
To store your Icebox Cake, simply cover it tightly with plastic wrap or aluminum foil and keep it in the refrigerator. It will stay fresh for up to 3 days. However, I recommend enjoying it within the first couple of days for the best texture and taste!
Kitchen Wisdom & Success Tips
- Make sure your heavy cream is cold before whipping, as this helps it to whip up nicely.
- If you find your whipped cream is not forming stiff peaks, check that you’re using heavy whipping cream with at least 36% fat.
- Experiment with different flavors by adding a tablespoon of cocoa powder to the whipped cream mixture for a chocolate version or a splash of citrus zest for a refreshing twist.
Flavor Variations & Adaptations
Feel free to customize your Icebox Cake! Substitute the graham crackers with chocolate wafers for a decadent chocolatey version, or use a flavored syrup in the whipped cream, like raspberry or almond, to create a unique taste.
Reader Questions & Solutions
- Can I use low-fat cream? Low-fat cream won’t whip up as well; stick with heavy whipping cream for the best results.
- What if I don’t have graham crackers? You can use any type of crisp, sweet cookie like digestive biscuits or vanilla wafers.
- How can I make this cake gluten-free? Look for gluten-free graham crackers or other gluten-free cookies as a substitute.
- How can I add more flavor? Incorporate a layer of fruit preserves between the graham and cream layers, or add nuts for crunch.
- Is it okay to freeze this cake? While it’s best served fresh, it can be stored in the freezer for up to a month. Just be sure to let it thaw in the fridge overnight before serving.
Wrapping Up
The Icebox Cake is more than just a dessert; it’s a celebration of simple ingredients coming together to create something truly special. Whether you’re serving it at a family gathering or enjoying a quiet night in, this cake has a way of making moments sweeter. I encourage you to give this recipe a try, soak in the joy of the cooking process, and most importantly, enjoy every delightful bite! Happy cooking!
PrintIcebox Cake
A nostalgic no-bake dessert featuring layers of graham crackers and fluffy whipped cream.
- Prep Time: 20 minutes
- Cook Time: 0 minutes
- Total Time: 240 minutes
- Yield: 8 servings 1x
- Category: Dessert
- Method: No-Bake
- Cuisine: American
- Diet: Vegetarian
Ingredients
- 1 package of graham crackers
- 2 cups heavy whipping cream
- 1 cup powdered sugar
- 1 teaspoon vanilla extract
- Chocolate shavings (optional)
- Fresh berries (optional)
Instructions
- Whip the heavy cream until soft peaks form. Gradually add the powdered sugar and vanilla extract, and continue to whip until stiff peaks form.
- Layer the graham crackers in a rectangular dish in a single, even layer.
- Spread a layer of the whipped cream mixture over the graham crackers.
- Continue layering the graham crackers and whipped cream mixture until all the ingredients are used, ending with a generous layer of whipped cream on top.
- Cover the dish with plastic wrap and refrigerate for at least 240 minutes (or overnight).
- Top with chocolate shavings and fresh berries if desired before serving.
Notes
For best results, ensure your cream is cold before whipping. Experiment with flavors like cocoa powder or fruit preserves.
Nutrition
- Serving Size: 1 slice
- Calories: 250
- Sugar: 18g
- Sodium: 70mg
- Fat: 14g
- Saturated Fat: 8g
- Unsaturated Fat: 6g
- Trans Fat: 0g
- Carbohydrates: 31g
- Fiber: 0g
- Protein: 2g
- Cholesterol: 60mg