As I walked through the cozy kitchen, the warm aroma of baked goods wafted through the air, drawing me closer to the source. My grandmother’s old recipe box lay open on the counter, dust motes dancing in the sunbeam filtering through the window. Among the well-worn cards, one caught my eye: Buttermilk Pie. Memories flooded in—family gatherings, laughter, and the sweetness of her smile as she proudly presented her beloved dessert. This pie, with its silky texture and delicate sweetness, wasn’t just a treat; it was a story, a connection to our family heritage.
This Buttermilk Pie has a magic of its own, effortlessly bringing people together. Whether you’re hosting a gathering or simply enjoying a quiet evening at home, this dish feels like a warm hug, reminding us of the importance of sharing food and joy. Let’s dive into creating this piece of history together!
Recipe Timing
- Prep Duration: 15 minutes
- Active Cooking: 50 minutes
- Total Duration: 1 hour 5 minutes
- Portion Size: 8 servings
- Complexity: Simple
Nutritional Recipe
- Calories per portion: Approximately 240
- Protein: 4g
- Carbs: 34g
- Fats: 11g
- Fiber: 1g
- Sugars: 16g
- Sodium: 120mg
Why You’ll Love This Buttermilk Pie
Picture a pie that’s soft yet slightly firm, with a subtle sweetness that doesn’t overwhelm. It’s comforting and familiar, reminiscent of quieter times when life was simpler and desserts were homemade with love. This Buttermilk Pie is easy to make and requires just a few simple ingredients, allowing you to create something truly special without fussing over complicated steps. Its delightful flavor is complemented by the skimmed sweetness of buttermilk—allowing each bite to transport you straight back to cherished family moments, making it a wonderful addition to any table.
The Complete Cooking Journey
Let’s embark on this delicious adventure together! From gathering the handful of ingredients to the very first bite of the warm, fragrant pie, each step is filled with anticipation and joy. Follow along, and soon you’ll have a slice of nostalgia to share.
Ingredients:
- 1 1/2 cups buttermilk
- 1 cup sugar
- 1/2 cup butter, melted
- 3 large eggs
- 1 teaspoon vanilla extract
- 1/4 teaspoon salt
- 1 cup all-purpose flour
- 1 pie crust
Method:
Step 1: Preheat the Oven
Preheat your oven to 350°F (175°C). This step is crucial for achieving that perfectly golden top and a set filling.
Step 2: Prepare Your Mixing Bowl
In a large bowl, combine the buttermilk, sugar, melted butter, eggs, vanilla extract, and salt. The irresistible blend of flavors starts here!
Step 3: Mix Until Smooth
Using a whisk or electric mixer, mix until everything is well combined. This should be a lovely, creamy mixture—so good that you might be tempted to taste it!
Step 4: Add the Flour
Gradually add the flour to the mixture while stirring gently. Fold it in until the batter is smooth and velvety, avoiding any lumps.
Step 5: Pour into Pie Crust
Pour the delicious mixture into your prepared pie crust, ensuring an even layer. Feel that excitement building as the mixture fills the crust!
Step 6: Bake to Perfection
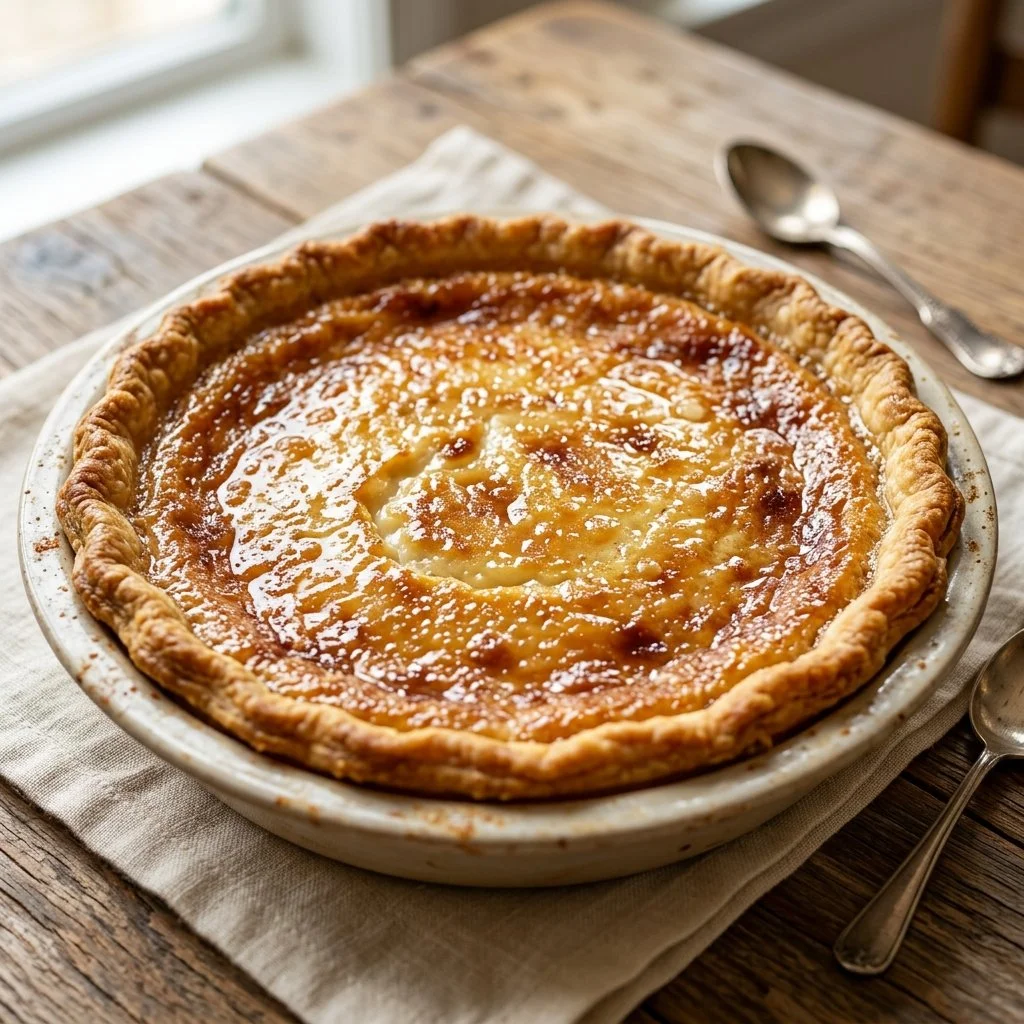
Place the pie in your preheated oven and bake for 45-50 minutes. You’ll know it’s ready when the top is lightly browned and the filling is set—just solid enough that it has a slight jiggle when shaken.
Step 7: Let it Cool
Once baked, take the pie out of the oven and let it cool completely before slicing. This cooling period allows the flavors to meld beautifully.
Serving Suggestions & Pairings
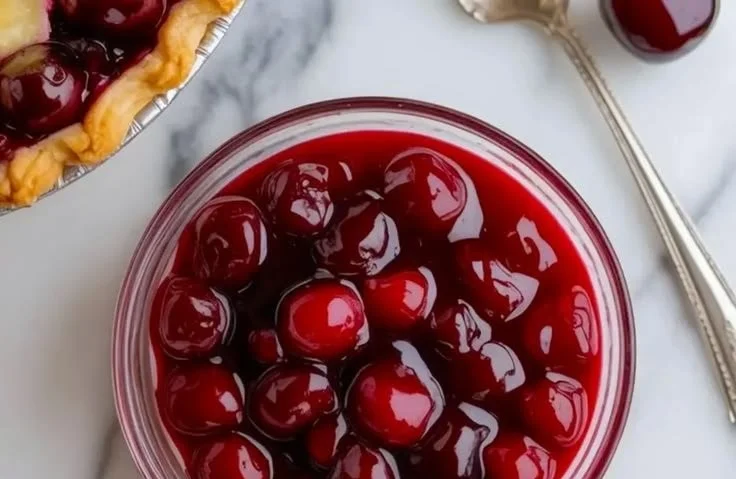
Serve your Buttermilk Pie plain, or add a dollop of whipped cream for an extra touch of decadence. It pairs wonderfully with a cup of hot coffee or tea, making it the perfect afternoon treat. For a delightful twist, consider serving it with fresh berries or a sprinkle of cinnamon.
Storage & Leftovers Guide
Store any leftovers covered in the refrigerator for up to 3 days. If you want to keep it longer, freeze the pie for up to a month. Just be sure to wrap it well to prevent freezer burn!
Kitchen Wisdom & Success Tips
- Ensure your ingredients are at room temperature for a smoother batter.
- Don’t skip the cooling step—it enhances the flavor and texture of the pie.
- For an elevated flavor, experiment by adding a teaspoon of lemon zest or nutmeg to the batter.
Flavor Variations & Adaptations
Want to switch things up? Try infusing the pie with flavors like almond extract instead of vanilla, or adding chocolate chips into the filling for a decadent twist. You could also substitute half the buttermilk for sour cream for a different tang.
Reader Questions & Solutions
-
Can I use low-fat buttermilk?
- Yes, you can use low-fat buttermilk; just remember it might affect the richness slightly.
-
What can I substitute for the pie crust?
- You can use a pre-made graham cracker crust or make a crust using crushed cookies for a fun twist!
-
How do I know when the pie is done?
- Look for a lightly browned top and a filling that is set but still slightly jiggly in the center.
-
Can I make this pie ahead of time?
- Absolutely! You can make it a day in advance. Just store it covered in the fridge.
-
Is this recipe suitable for special diets?
- Since it contains dairy and eggs, this pie isn’t suitable for vegan diets, but you can try using plant-based alternatives if you’re looking to adapt it.
Wrapping Up
This Buttermilk Pie is more than just a dessert; it’s a nostalgic trip down memory lane and a way to create new, sweet memories. As you take your first bite, savor the flavors and let the warmth of home fill your heart. Whether you’re making it for a special occasion or a simple evening at home, I hope this recipe brings you as much joy as it has brought me. Now, let’s get baking, and may each slice remind you of life’s sweetest moments!
PrintButtermilk Pie

A nostalgic dessert with a silky texture and delicate sweetness, perfect for family gatherings or quiet moments at home.
- Prep Time: 15 minutes
- Cook Time: 50 minutes
- Total Time: 65 minutes
- Yield: 8 servings 1x
- Category: Dessert
- Method: Baking
- Cuisine: American
- Diet: Vegetarian
Ingredients
- 1 1/2 cups buttermilk
- 1 cup sugar
- 1/2 cup butter, melted
- 3 large eggs
- 1 teaspoon vanilla extract
- 1/4 teaspoon salt
- 1 cup all-purpose flour
- 1 pie crust
Instructions
- Preheat your oven to 350°F (175°C).
- Combine the buttermilk, sugar, melted butter, eggs, vanilla extract, and salt in a large bowl.
- Mix using a whisk or electric mixer until everything is well combined.
- Add the flour gradually while stirring gently, folding it in until the batter is smooth.
- Pour the mixture into your prepared pie crust, ensuring an even layer.
- Bake for 45-50 minutes until the top is lightly browned and the filling is set.
- Let the pie cool completely before slicing.
Notes
Serve plain or with a dollop of whipped cream. Pairs well with coffee or tea.
Nutrition
- Serving Size: 1 slice
- Calories: 240
- Sugar: 16g
- Sodium: 120mg
- Fat: 11g
- Saturated Fat: 7g
- Unsaturated Fat: 4g
- Trans Fat: 0g
- Carbohydrates: 34g
- Fiber: 1g
- Protein: 4g
- Cholesterol: 80mg