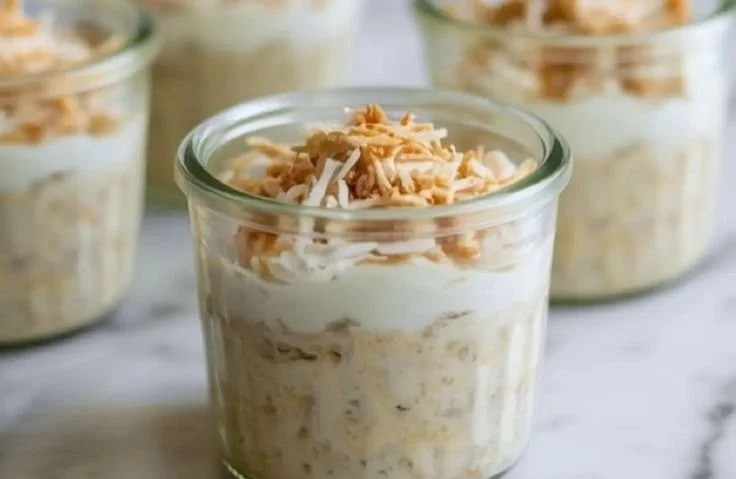
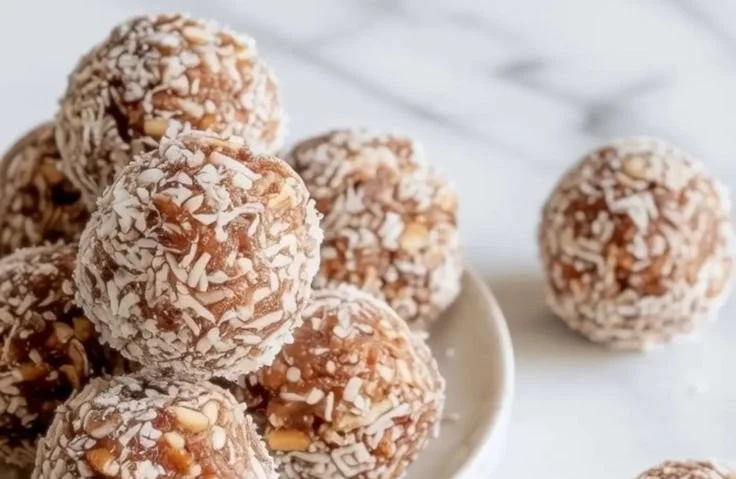
There’s something magical about the simple pleasures of food, isn’t there? Take, for instance, the joy of whipping up a batch of No Bake Peanut Butter Bars. I still remember the first time I made these lovely treats—I was a young, curious kitchen explorer, eagerly rummaging through my mom’s old cookbook, captivated by the endless possibilities. I stumbled upon the idea of combining peanut butter with honey, and the rest is history. The very first bite transported me back to those carefree days of childhood, with the perfect balance of creamy and sweet flavors, nestled together in a chewy texture that made my heart sing.
Not only are these bars easy to whip up, but they also bring a sense of nostalgia and satisfaction that keeps the spirit of my younger self alive. Let me guide you through this delightful journey as we create a mouthwatering batch of No Bake Peanut Butter Bars that will surely charm your taste buds and fill your home with delightful aromas.
Recipe Timing
- Prep Duration: 15 minutes
- Active Cooking: 15 minutes
- Total Duration: 2 hours 15 minutes (including refrigeration)
- Portion Size: 16 bars
- Complexity: Simple
Nutritional Recipe
- Calories per portion: 180 calories
- Protein: 5 grams
- Carbs: 22 grams
- Fats: 8 grams
- Fiber: 2 grams
- Sugars: 8 grams
- Sodium: 60 mg
Why You’ll Love This No Bake Peanut Butter Bars
These No Bake Peanut Butter Bars not only come together effortlessly, but they also whisk you away on a flavor journey that combines the irresistible taste of peanut butter, the sweetness of honey, and a rich chocolate drizzle on top. They are perfect for a quick snack or dessert—the perfect fusion of nutrition and indulgence. Plus, you can feel good about enjoying these bars as they’re made with wholesome ingredients, without any tricky baking steps, making them a hit for both kids and adults alike!
The Complete Cooking Journey
A mere 15 minutes of your time is all it takes to bring these bars to life, and the anticipation grows as they chill in the refrigerator. Imagine the delight as you cut into the chilled treat, revealing layers of velvety peanut butter and dark chocolate, ready for sharing—or maybe just for indulging all on your own!
Ingredients:
- 1 cup peanut butter
- 1/2 cup honey or maple syrup
- 2 cups rolled oats
- 1/2 cup chocolate chips
- 1/2 cup powdered sugar (optional)
- 1/2 teaspoon vanilla extract (optional)
Method:
Step 1: Mix the Base Ingredients
In a mixing bowl, combine the creamy peanut butter and honey or maple syrup. Stir until the mixture is smooth and well combined, creating a luscious base for our bars.
Step 2: Add Rolled Oats
Now it’s time to bring the heartiness! Add in the rolled oats along with the optional powdered sugar and vanilla extract. Mix until everything is combined and the oats are evenly coated in the sticky goodness.
Step 3: Prepare Your Pan
Line an 8×8 inch pan with parchment paper, ensuring it overlaps the edges for easy removal later. The parchment paper will be your best friend!
Step 4: Press the Mixture into the Pan
Take your peanut butter and oat mixture and press it firmly into the prepared pan. Use your fingers or the back of a spatula to create an even layer, making sure it’s packed tightly for that perfect bar texture.
Step 5: Melt Chocolate Chips
In a microwave-safe bowl, melt the chocolate chips until smooth. Pour the melted chocolate over the pressed mixture, spreading it evenly to create a shiny, decadent topping.
Step 6: Chill Until Firm
Refrigerate the pan for at least 2 hours, allowing the mixture to set and firm up. This is the hardest part—patiently waiting for your delicious creation!
Step 7: Serve and Enjoy!
Once firm, lift the bars out of the pan using the parchment paper, slice them into squares, and get ready to savor every single mouthful. Revel in the bliss of the chewy, nutty, and delicious treat you’ve just made!
Serving Suggestions & Pairings
These delightful bars can be enjoyed on their own or paired with a glass of chilled almond milk or a hot cup of coffee. Feel free to crumble them over yogurt or ice cream for an extra indulgent dessert, or pack one in a lunchbox for a satisfying snack any time of day.
Storage & Leftovers Guide
Store your No Bake Peanut Butter Bars in an airtight container in the refrigerator for up to a week. The flavors deepen over time, making each bite even more enjoyable!
Kitchen Wisdom & Success Tips
- Use natural peanut butter for a healthier version—just ensure it’s well-stirred before use.
- Feel free to swap out honey for agave syrup for a vegan-friendly option.
- To cut down on mess, you can press the mixture into the pan using a lightly greased spatula.
Flavor Variations & Adaptations
Looking to switch things up? Add in some chopped nuts, dried fruit, or a dash of cinnamon for a fun twist! You can also drizzle some melted white chocolate or butterscotch on top for an added flair.
Reader Questions & Solutions
- Can I use almond butter instead of peanut butter? Absolutely! Almond butter works wonderfully in this recipe.
- Why are my bars too crumbly? Ensure that you pressed the mixture firmly into the pan; it needs to be compact for the bars to hold together.
- How can I make these bars gluten-free? Simply use gluten-free rolled oats and check your chocolate chips for gluten-free certification.
- What if I don’t have maple syrup? Honey works great as a substitute and gives a delicious flavor!
- Can I freeze these bars? Yes, you can store them in the freezer for up to two months. Just wrap each bar individually!
Wrapping Up
Creating these No Bake Peanut Butter Bars is not just about satisfying a sweet tooth—it’s an opportunity to connect with your kitchen, experiment, and rediscover the joy of cooking. So grab those ingredients, roll up your sleeves, and let the magic of this recipe inspire you each time you take a bite. Your taste buds will thank you, and who knows, maybe this will become a treasured memory for your family too! Happy cooking!