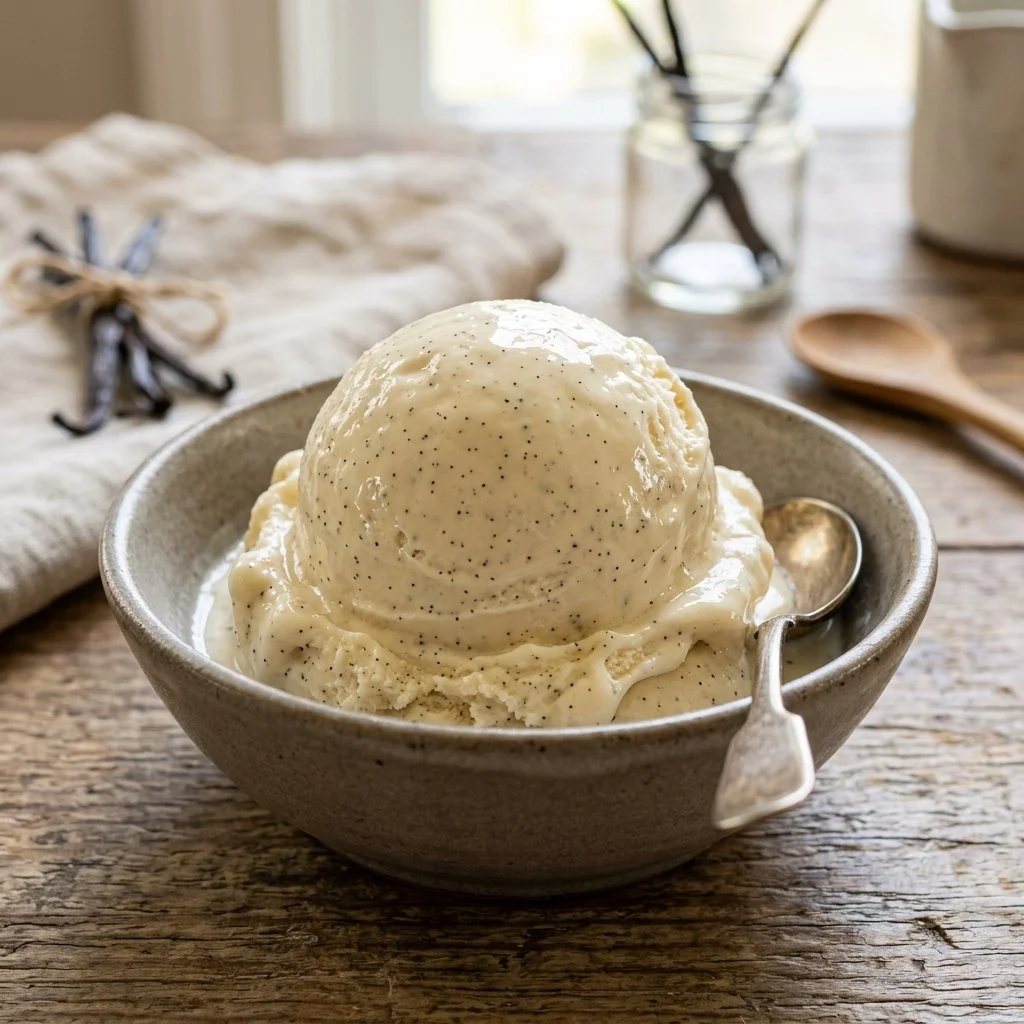
There’s something incredibly nostalgic about the first taste of homemade vanilla ice cream—it’s like a gentle embrace for your senses. I can still remember my grandmother’s kitchen, where the sounds of the summer crickets serenaded us as we churned the ice cream under the shade of the apple tree. The sweet aroma of vanilla wafted through the air, mixing perfectly with laughter and stories shared among family. That sense of warmth and joy is what I strive to recreate whenever I make this classic treat.
Recipe Timing
- Prep Duration: 20 minutes
- Active Cooking: 10 minutes
- Total Duration: 4 hours, 30 minutes (including chilling)
- Portion Size: Serves 6
- Complexity: Simple
Nutritional Recipe
- Calories per portion: 350
- Protein: 5g per serving
- Carbs: 27g per serving
- Fats: 25g per serving
- Fiber: 0g per serving
- Sugars: 22g per serving
- Sodium: 50mg per serving
Why You’ll Love This Homemade Vanilla Ice Cream
There’s a magical quality about making your own ice cream. This Homemade Vanilla Ice Cream is creamy, dreamy, and far superior to anything you can scoop out of a store-bought container. The rich, velvety texture combined with the pure, sweet scent of vanilla creates an indulgent treat that’s perfect for any occasion. Whether you’re topping off a slice of warm pie, simply enjoying a scoop on a hot day, or serving it in a dessert bar at a summer gathering, this ice cream will bring smiles all around.
The Complete Cooking Journey
Embarking on this ice cream adventure is not only about the delightful end product but also about embracing the cooking process. From combining the rich heavy cream and whole milk to creating the creamy custard with the egg yolks, each step is a reminder of the simple joys of home cooking. And when you finally take that first, luscious bite, you’ll understand why homemade ice cream holds such a special place in our hearts!
Ingredients:
- 2 cups heavy cream
- 1 cup whole milk
- 3/4 cup granulated sugar
- 1 tablespoon pure vanilla extract
- 1/4 teaspoon salt
- 5 large egg yolks
Method:
Step 1: Combine Cream and Milk
In a saucepan, combine the heavy cream, whole milk, and sugar over medium heat. Stir until the sugar is dissolved, allowing it to sparkle in the warm mixture.
Step 2: Whisk Egg Yolks
In a separate bowl, whisk together the egg yolks until they are creamy and pale, ready to lend their richness to the ice cream.
Step 3: Temper the Egg Yolks
Slowly pour a little of the warm cream mixture into the egg yolks, stirring constantly to prevent them from scrambling. This gentle process ensures that the eggs can safely mingle with the heat.
Step 4: Combine Mixtures
Gradually whisk the tempered egg yolk mixture back into the saucepan with the remaining cream. Pouring this velvety mixture back in will enhance the creaminess of your ice cream.
Step 5: Thicken the Cream Mixture
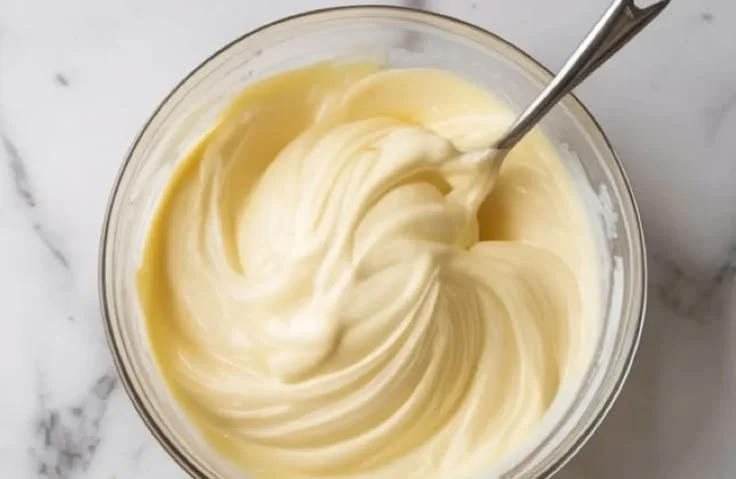
Cook over medium heat, stirring frequently, until the mixture thickens and can coat the back of a spoon, about 10 minutes. You’ll see that beautiful custard forming—it’s the sign that your ice cream is going to be amazing!
Step 6: Add Vanilla and Salt
Remove from heat and stir in the vanilla extract and salt. The sweet fragrance of vanilla will envelop your kitchen—this is the moment where magic happens!
Step 7: Cool and Chill
Let the mixture cool at room temperature, then transfer it to the refrigerator to chill for at least 4 hours. This step is crucial for developing flavors and achieving that perfect texture.
Step 8: Churn the Ice Cream
Pour the chilled mixture into an ice cream maker and churn according to the manufacturer’s instructions. As it churns, you’ll witness the transformation from liquid to soft, fluffy ice cream.
Step 9: Freeze Until Firm
Once churned, transfer the ice cream to a container and freeze until firm. This will take a few hours, but trust me, the wait will be worth it.
Serving Suggestions & Pairings
This homemade vanilla ice cream is incredibly versatile! Serve it alongside warm chocolate brownies for a divine dessert, drizzle it with homemade caramel sauce, or simply enjoy it in a cone on a sunny day. For an elegant treat, top it off with fresh berries or a sprinkle of crushed cookies for texture.
Storage & Leftovers Guide
Keep your homemade vanilla ice cream stored in an airtight container for up to two weeks in the freezer. Let it sit at room temperature for a few minutes before scooping, as homemade ice cream can be pretty solid due to lack of preservatives.
Kitchen Wisdom & Success Tips
- Egg Freshness: Use the freshest eggs possible; they yield the best flavor.
- Churning Time: Don’t rush the churning; it’s key to achieving that nice, airy texture.
- Flavor Boost: Feel free to infuse the cream with flavors like mint or espresso during heating.
- Quick Serving: If it’s too hard post-freezing, let it sit for a few minutes before serving.
Flavor Variations & Adaptations
If you’re feeling adventurous, consider adding mix-ins like crushed cookies, chocolate chips, or fresh fruits in the final few minutes of churning. For a rich chocolate version, swap in some cocoa powder in the cream mixture!
Reader Questions & Solutions
- Why is my ice cream icy? This can happen if not enough glucose or sugar is used to lower the freezing point. Ensure to follow the sugar ratios closely!
- Can I make this without an ice cream maker? Yes! Pour the mixture into a container and freeze it, stirring every 30 minutes for the first 2-3 hours to break up ice crystals.
- What if I don’t have heavy cream? You can substitute it with half-and-half, but the final product will be less creamy.
- How do I know when my custard is done? A good test is when the mixture lightly coats the back of a spoon.
- Can I halve the recipe? Absolutely! Just adjust the cooking times as needed.
Wrapping Up
Homemade Vanilla Ice Cream is not just a recipe; it’s an experience filled with love and joy. As you take the time to prepare it, remember each swirl of the spoon, each laugh shared, adds to its charm. So gather your loved ones, create new memories, and indulge in the simple bliss of homemade ice cream! Enjoy every creamy bite!
PrintHomemade Vanilla Ice Cream
A nostalgic and creamy homemade vanilla ice cream that’s perfect for summer enjoyment.
- Prep Time: 20 minutes
- Cook Time: 10 minutes
- Total Time: 270 minutes
- Yield: 6 servings 1x
- Category: Dessert
- Method: Churning
- Cuisine: American
- Diet: Vegetarian
Ingredients
- 2 cups heavy cream
- 1 cup whole milk
- 3/4 cup granulated sugar
- 1 tablespoon pure vanilla extract
- 1/4 teaspoon salt
- 5 large egg yolks
Instructions
- Combine cream and milk: In a saucepan, combine the heavy cream, whole milk, and sugar over medium heat. Stir until the sugar is dissolved.
- Whisk egg yolks: In a separate bowl, whisk together the egg yolks until creamy and pale.
- Temper the egg yolks: Slowly pour a little warm cream mixture into the egg yolks, stirring constantly to prevent scrambling.
- Combine mixtures: Gradually whisk the tempered egg yolk mixture back into the saucepan with the remaining cream.
- Thicken the cream mixture: Cook over medium heat until thickened, about 10 minutes.
- Add vanilla and salt: Remove from heat and stir in the vanilla extract and salt.
- Cool and chill: Let the mixture cool, then refrigerate for at least 4 hours.
- Churn the ice cream: Pour the chilled mixture into an ice cream maker and churn according to the manufacturer’s instructions.
- Freeze until firm: Transfer the ice cream to a container and freeze until firm.
Notes
Store in an airtight container for up to two weeks. Let sit at room temperature for a few minutes before scooping.
Nutrition
- Serving Size: 1 serving
- Calories: 350
- Sugar: 22g
- Sodium: 50mg
- Fat: 25g
- Saturated Fat: 15g
- Unsaturated Fat: 10g
- Trans Fat: 0g
- Carbohydrates: 27g
- Fiber: 0g
- Protein: 5g
- Cholesterol: 150mg