There’s something indescribably delightful about the combination of brownies and crispy textures. I remember a summer afternoon spent in my grandmother’s kitchen, the warmth of the sun filtering through the window, as we whipped up a batch of brownies for a family gathering. The rich aroma of chocolate filled the air while we chatted and laughed. But what truly took those brownies to the next level was a library of secrets tucked away in the pantry—the Rice Krispies. With a simple addition, we turned ordinary brownies into a magical bar of texture and flavor that my family still talks about today. That nostalgia drives me to create Rice Krispie Brownie Bars now, each bite a crispy, chewy, chocolaty taste of sunny afternoons and sweet memories.
Recipe Timing
- Prep Duration: 15 minutes
- Active Cooking: 30 minutes
- Total Duration: 45 minutes
- Portion Size: Serves 12
- Complexity: Simple
Nutritional Recipe
- Calories per portion: Approximately 200 kcal
- Protein: 2g
- Carbs: 27g
- Fats: 10g
- Fiber: 1g
- Sugars: 12g
- Sodium: 110mg
Why You’ll Love This Rice Krispie Brownie Bars
These Rice Krispie Brownie Bars are the perfect blend of nostalgia and innovation. Imagine biting into a fudgy brownie that melts in your mouth, giving way to the delightful crunch of Rice Krispies, all mixed with chocolate and gooey marshmallows. These bars not only satisfy your sweet tooth but also provide a fun texture contrast that keeps you reaching for more. Plus, they come together quickly, making them an ideal treat for spontaneous get-togethers or cozy family nights.
The Complete Cooking Journey
Step 1: Prepping the Oven and Baking Dish
Preheat your oven to 350°F (175°C) and give your baking dish a nice greasing—this ensures your bars will release easily and come out in perfect squares!
Step 2: Whipping Up the Brownie Batter
Prepare your brownie batter according to the package instructions or your favorite homemade recipe. The magic starts here with that rich chocolatey goodness!
Step 3: Pouring and Baking
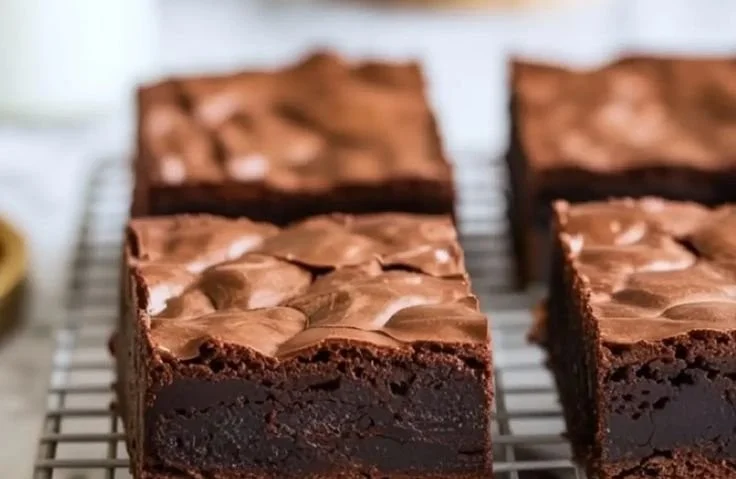
Pour the brownie batter into your prepared baking dish and spread it out evenly. Then, pop it into the oven and let it bake for about 25-30 minutes until a toothpick inserted into the center comes out with just a few moist crumbs.
Step 4: Melting Butter
While the brownies bake, grab a saucepan and melt the butter over low heat. This simple step lays the foundation for the gooey topping that we’ll mix in shortly.
Step 5: Mixing In Marshmallows and Chocolate
Once the butter is melted, stir in the mini marshmallows and chocolate chips until the mixture is smooth and velvety. The aroma will be utterly irresistible!
Step 6: Crunch Time with Rice Krispies
Remove the saucepan from heat and gently fold in the Rice Krispies along with the vanilla extract. The combination of flavors and textures promises a delightful crunch that perfectly complements the brownies.
Step 7: Topping the Brownies
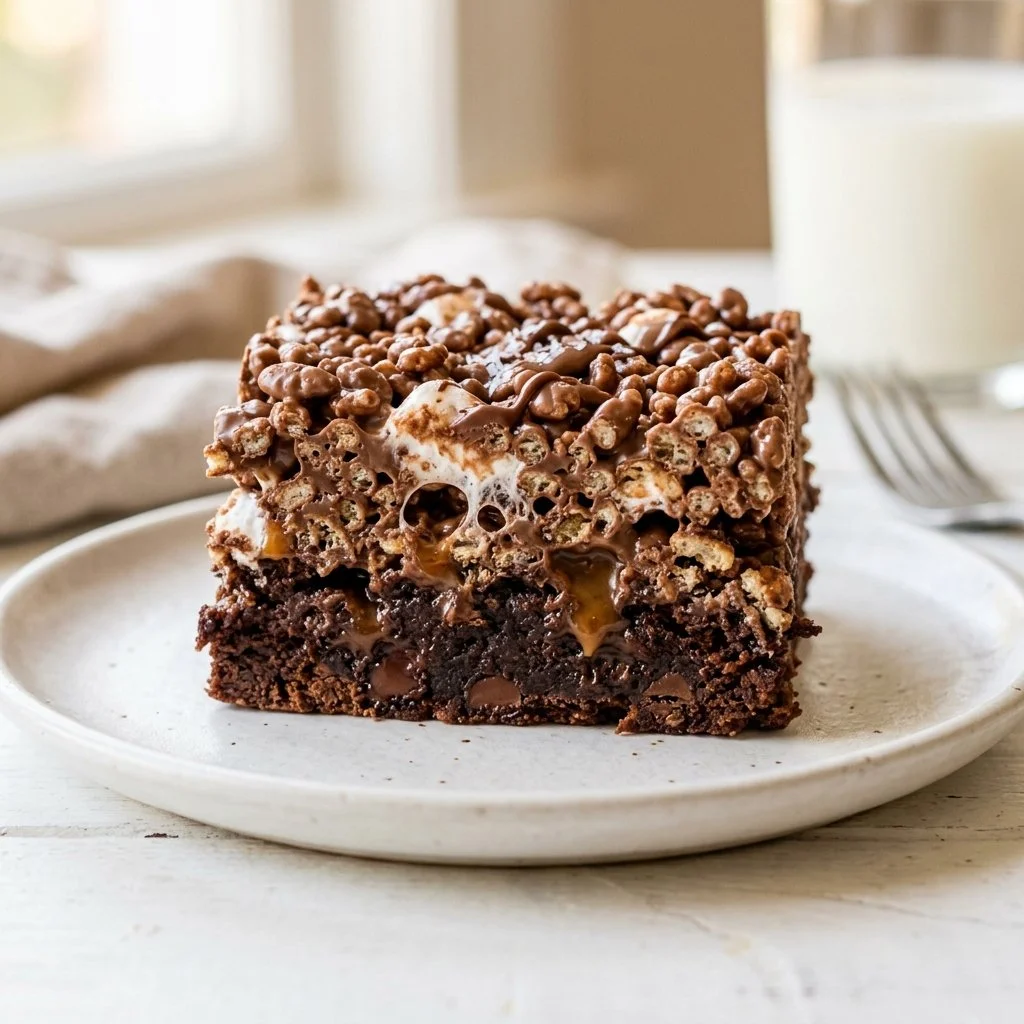
Once the brownies are baked, let them cool for about 5 minutes before spreading the Rice Krispie mixture evenly over the brownies. The warmth of the brownies will melt that topping slightly, creating a cohesive magic!
Step 8: Cooling and Enjoying
Allow the bars to cool completely at room temperature before cutting them into squares. Once cooled, savor each bite of these delightful Rice Krispie Brownie Bars!
Ingredients:
- 1 cup of Rice Krispies cereal
- 1 batch of brownie batter (homemade or store-bought)
- 1/2 cup of chocolate chips
- 1/4 cup of butter
- 1/4 cup of mini marshmallows
- 1/2 teaspoon of vanilla extract
Method:
Step 1: Prepping the Oven and Baking Dish
Preheat the oven and prepare a baking dish by greasing it.
Step 2: Whipping Up the Brownie Batter
Prepare the brownie batter according to the package or recipe instructions.
Step 3: Pouring and Baking
Pour the brownie batter into the prepared baking dish and bake according to the timings.
Step 4: Melting Butter
While the brownies are baking, in a saucepan, melt the butter over low heat.
Step 5: Mixing In Marshmallows and Chocolate
Stir in the marshmallows and chocolate chips until smooth and melted.
Step 6: Crunch Time with Rice Krispies
Remove from heat and mix in the Rice Krispies and vanilla extract.
Step 7: Topping the Brownies
Once the brownies are done baking, remove from oven and spread the Rice Krispie mixture over the top.
Step 8: Cooling and Enjoying
Allow to cool before cutting into bars. Enjoy!
Serving Suggestions & Pairings
These bars are a fantastic after-school snack or a sweet surprise for a potluck. Pair them with a scoop of vanilla ice cream for a decadent dessert or serve them with a hot cup of coffee for an afternoon pick-me-up. Nothing says joy like sharing these delightful squares with neighbors or friends!
Storage & Leftovers Guide
Store your Rice Krispie Brownie Bars in an airtight container at room temperature for up to 3-4 days. If you need to keep them longer, you can freeze them for up to 3 months—just layer parchment paper in between to prevent sticking!
Kitchen Wisdom & Success Tips
- For even fudgier brownies, underbake them slightly when following package instructions.
- Use dark chocolate chips for a richer flavor, or try white chocolate chips for a fun twist!
- If you can’t find mini marshmallows, regular marshmallows can be cut into smaller pieces.
Flavor Variations & Adaptations
Feeling adventurous? Drizzle some peanut butter over the Rice Krispie topping before it sets for a nutty finish! You can also sprinkle some sea salt on top for a sweet-salty balance.
Reader Questions & Solutions
-
Can I use gluten-free Rice Krispies?
Absolutely! Gluten-free options are available and work beautifully in this recipe. -
What can I swap to make these dairy-free?
Use dairy-free butter and chocolate substitutes, and enjoy the same deliciousness without the dairy! -
How do I know when the brownies are done?
Check with a toothpick; it should come out with a few moist crumbs but not completely wet batter. -
Can I make these in advance for a party?
Yes, you can prepare them a day or two ahead. Just keep them covered to maintain freshness! -
What if I want nuts in my bars?
Chop up some walnuts or pecans and mix them into the brownie batter or the Rice Krispie topping for added crunch.
Wrapping Up
These Rice Krispie Brownie Bars are not just a recipe; they’re a way to create joy and warmth in your kitchen. They come together quickly, look festive, and most importantly, they taste heavenly. So grab your loved ones, let the sweet aromas fill your home, and enjoy the creation of these delightful treats together. Happy baking!