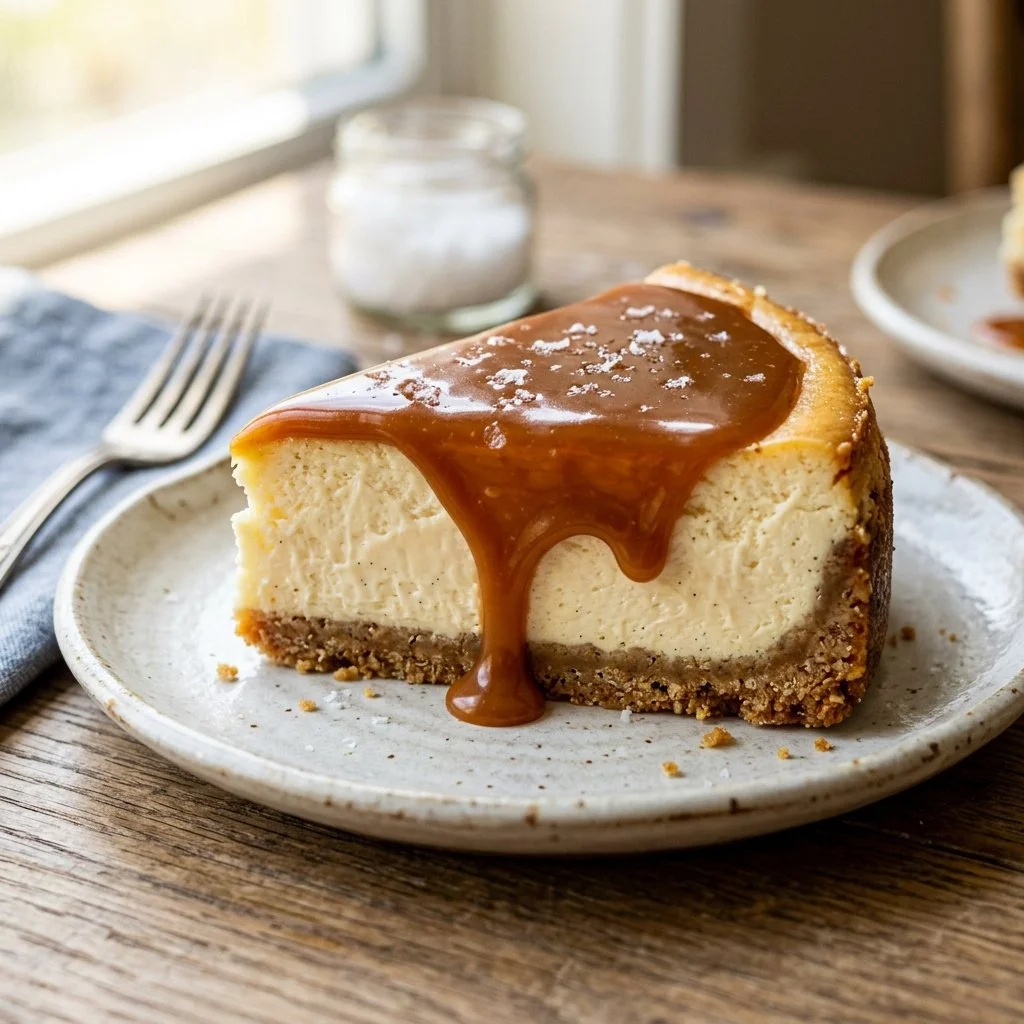
One of my favorite kitchen memories centers around family gatherings filled with laughter, stories, and of course, a delightful array of desserts. Amid the tantalizing aromas of roasted meats and falling-spiced gingerbread, my aunt would always create her famed salted caramel cheesecake. I remember the way the smooth, creamy filling glided onto the graham cracker crust, perfectly complemented by a drizzle of luscious caramel sauce. Each bite was a blend of sweet and salty, firm yet creamy, and it held the unmistakable warmth of home. Today, I am thrilled to share with you my rendition of this treasured recipe, which is sure to win your heart—and perhaps even become your new favorite dessert!
Recipe Timing
- Prep Duration: 20 minutes
- Active Cooking: 1 hour 5 minutes
- Total Duration: 5 hours 25 minutes (including chilling time)
- Portion Size: 10–12 servings
- Complexity: Simple
Nutritional Recipe
- Calories per portion: Approximately 400
- Protein: 6g per serving
- Carbs: 35g per serving
- Fats: 28g per serving
- Fiber: 1g per serving
- Sugars: 30g per serving
- Sodium: 300mg per serving
Why You’ll Love This Salted Caramel Cheesecake
This Salted Caramel Cheesecake is more than just a dessert; it’s an experience. With its velvety cream cheese filling glistening under a glossy caramel drizzle, it brings a touch of elegance to any dinner table. The combination of sweet and salty flavors enchants the palate, while the creamy texture feels like a warm embrace. Plus, it’s a versatile crowd-pleaser, making it ideal for birthdays, holidays, or simple weeknight indulgence. Its uncomplicated nature means you’ll be wowed without sweating it in the kitchen!
The Complete Cooking Journey
Every step of making this cheesecake tells a beautiful story, from crushing the graham crackers for the crust to waiting patiently as it chills in the fridge. Bring your loved ones together—as you mix, pour, and create something truly special.
Ingredients:
- 2 cups graham cracker crumbs
- 1/2 cup unsalted butter, melted
- 1 cup sugar, divided
- 3 (8 oz) packages cream cheese, softened
- 1 teaspoon vanilla extract
- 3 large eggs
- 1 cup sour cream
- 1/2 cup caramel sauce
- 1 teaspoon sea salt
Method:
Step 1: Preheat the Oven
Preheat the oven to 325°F (163°C).
Step 2: Make the Graham Cracker Crust
In a bowl, mix the graham cracker crumbs and melted butter, forming a sandy mixture. Press the mixture firmly into the bottom of a 9-inch springform pan, creating a sturdy base for your cheesecake.
Step 3: Beat the Cream Cheese
In a large mixing bowl, beat the softened cream cheese and 1 cup of sugar until smooth. The mixture should be creamy and free of lumps, ensuring a silky cheesecake.
Step 4: Add Vanilla and Eggs
Incorporate the vanilla extract and add the eggs one at a time, mixing well after each addition. This step ensures a light and airy texture.
Step 5: Combine Sour Cream and Caramel Sauce
Stir in the sour cream and caramel sauce until fully combined. The before-baking batter will smell divine—creamy with the sweetness of caramel that’ll have you dreaming of the finished cheesecake!
Step 6: Pour the Cheesecake Batter
Pour the cheesecake batter over the prepared crust in the springform pan, smoothing the top with a spatula for an even surface.
Step 7: Bake to Perfection
Bake for 55-60 minutes, or until the center is set. You want it to be firm around the edges but with a slight jiggle in the middle.
Step 8: Cool and Chill
Let the cheesecake cool at room temperature for a bit, then refrigerate for at least 4 hours (or overnight) to allow it to fully set and develop its rich flavors.
Step 9: Drizzle and Sprinkle
Before serving, drizzle with additional caramel sauce and sprinkle with sea salt for that perfect contrast that makes each bite unforgettable.
Serving Suggestions & Pairings
This cheesecake loves company! Pair it with a dollop of whipped cream, fresh berries, or even a scoop of vanilla ice cream to enhance the dessert experience. Serve it alongside a rich cup of coffee for a pleasant after-dinner treat, or enjoy it on its own—it’s perfect either way!
Storage & Leftovers Guide
Store any leftovers wrapped in plastic wrap or parchment paper in the refrigerator. It will last for up to 5 days, maintaining its creamy texture and flavor. It’s unlikely to remain uneaten for long, but if you have some left, consider freezing it. Wrapped tightly, it can last for up to 3 months. To thaw, place it in the fridge overnight.
Kitchen Wisdom & Success Tips
- Ensure your cream cheese is fully softened for easy blending; this helps you avoid lumps.
- Let the cheesecake cool gradually in the oven with the door ajar for a better texture and to prevent cracks.
- If you’re feeling adventurous, you can make your own graham cracker crust by crushing cookies yourself!
Flavor Variations & Adaptations
Feeling creative? Consider adding chocolate to your cheesecake by mixing in cocoa powder or finely chopped cacao for a mocha twist. Experiment with flavored extracts, like almond or citrus zest for a refreshing zing.
Reader Questions & Solutions
-
Why did my cheesecake crack?
Cracking usually occurs due to the sudden temperature changes. Ensure you cool it gradually. You can also bake it in a water bath to help maintain moisture. -
How can I prevent a soggy crust?
Make sure to press the crust tightly into the pan and bake it briefly before adding the filling to set it slightly. -
Can I use low-fat cream cheese?
While it’s possible, lower-fat cream cheeses may not whip as smoothly, so ensure it’s well-softened for a better texture. -
How do I know when the cheesecake is done?
The edges should be set, but the center should still have a slight jiggle. It will firm up as it cools in the fridge. -
Can I use a different type of crust?
Absolutely! Try using crushed cookies like Oreos or even a nut crust for a gluten-free option.
Wrapping Up
As you embark on this delicious journey of making salted caramel cheesecake, remember: cooking is about experience, sharing, and creating memories. So gather friends or simply treat yourself because you deserve it. This cheesecake is not just a dessert; it’s a celebration of flavors and comfort. I can’t wait for you to taste this creamy delight! Happy baking!