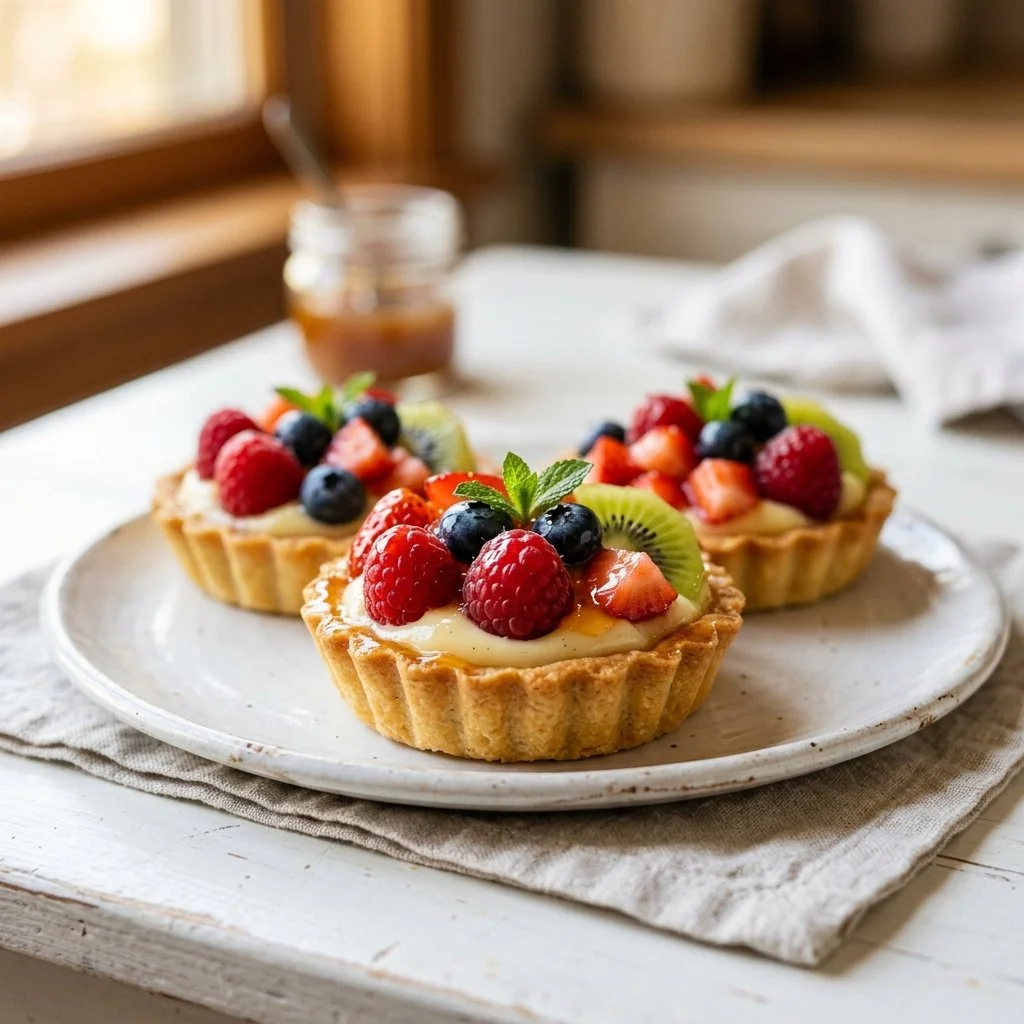
There’s something magical about the first bite of a mini fruit tart—sweet, creamy, and bursting with the freshness of summer fruits. I still remember the first time I tasted one at a quaint bakery in my hometown. It was a sunny afternoon, and as I walked through the door, the vibrant colors of the fruit tarts caught my eye. The flaky crust, the luscious cream, and that satisfying crunch of fresh fruit brought a wave of joy I hadn’t expected. From that day on, I became determined to recreate this petite delight in my own kitchen. Today, I invite you to join me on this delightful journey as we whip up these stunning mini fruit tarts together!
## Recipe Timing
- Prep Duration: 20 minutes
- Active Cooking: 12 minutes
- Total Duration: 32 minutes
- Portion Size: Serves 12 mini tarts
- Complexity: Simple
## Nutritional Recipe
- Calories per portion: 120 calories
- Protein: 1.5 grams
- Carbs: 10 grams
- Fats: 9 grams
- Fiber: 0.5 grams
- Sugars: 4 grams
- Sodium: 50 mg
## Why You’ll Love This Mini Fruit Tarts
These mini fruit tarts are the perfect dessert for any occasion—celebrations, potlucks, or even a sweet treat to enjoy after dinner. Not only are they visually stunning, but they offer a delightful balance of flavors and textures. The crisp tart shell cradles a fluffy whipped cream filling, and the vibrant array of fruits adds a refreshing touch. Plus, they are incredibly versatile! You can customize the fruit toppings based on what’s in season or what you have on hand. It’s a dessert that makes every gathering more picturesque and delicious.
## The Complete Cooking Journey
Get ready to roll up your sleeves and create a dessert that will impress everyone at your table! Here’s how to turn simple ingredients into a stunning array of mini fruit tarts that look as good as they taste.
## Ingredients:
- 1 cup all-purpose flour
- 1/2 cup unsalted butter, softened
- 1/4 cup sugar
- 1/4 teaspoon salt
- 1 egg yolk
- 1/4 cup heavy cream
- 1/4 cup powdered sugar
- Assorted fresh fruits (e.g., strawberries, blueberries, kiwi)
## Method:
### Step 1: Preheat the Oven
Preheat the oven to 350°F (175°C). This ensures your tarts will bake evenly and achieve that golden-brown perfection.
### Step 2: Cream Together Butter and Sugar
In a mixing bowl, cream together the butter and sugar until light and fluffy. This step is crucial—it incorporates air and results in a tender crust.
### Step 3: Add the Egg Yolk
Add the egg yolk to the mixture and mix well. This addition enriches the dough, adding moisture and a lovely richness.
### Step 4: Mix Dry Ingredients
Gradually add in the flour and salt to form a dough. Don’t overmix; just blend until you can form a cohesive ball.
### Step 5: Roll and Cut the Dough
Roll out the dough on a lightly floured surface and cut it into small circles. Using a cookie cutter works great, and you can adjust the size based on your tart pan.
### Step 6: Press Dough into Tart Pans
Press the circles into a mini tart pan, making sure to gently push them into the edges for a lovely shaped crust.
### Step 7: Bake until Golden
Bake for 10-12 minutes until golden. Keep an eye on them; the smell of baked butter will fill your kitchen, and you won’t want to burn those treasures!
### Step 8: Let the Tarts Cool
Once baked, let the tarts cool in the pan for a few minutes before transferring them to a wire rack to cool completely.
### Step 9: Whip the Cream
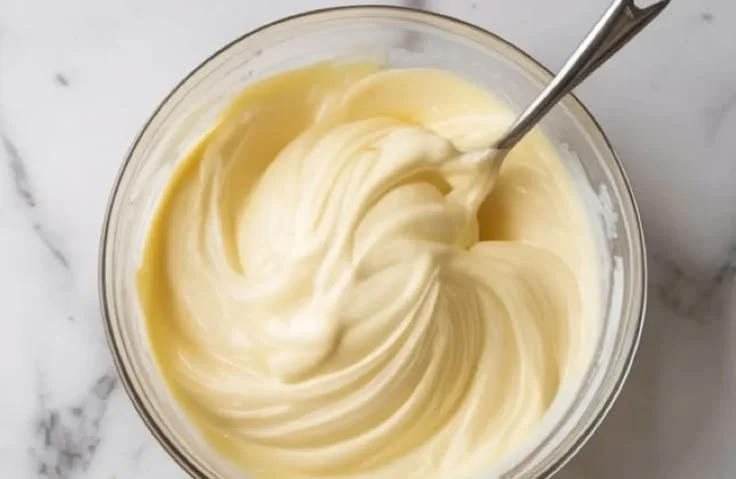
In another bowl, whip the heavy cream and powdered sugar until soft peaks form. This creates a luxuriously fluffy texture that’s the perfect filling for your tarts.
### Step 10: Fill and Garnish the Tarts
Fill each cooled tart shell with the whipped cream and top with your assortment of fresh fruits. The colors will brighten your kitchen and make your heart sing!
### Step 11: Serve and Enjoy!
These tarts are ready to serve! Enjoy them right away for the best texture or share them with friends who will be enamored by your culinary prowess.
## Serving Suggestions & Pairings
Mini fruit tarts are perfect on their own, but you can take them up a notch with a drizzle of chocolate sauce or a light dusting of mint leaves. Pair them with a refreshing cup of herbal tea or a glass of sparkling water with lemon for an afternoon treat.
## Storage & Leftovers Guide
If you have any tarts left (a rare occasion), cover them with plastic wrap and store them in the refrigerator for up to 2 days. However, I recommend consuming them fresh, as the crust is best enjoyed crispy!
## Kitchen Wisdom & Success Tips
- Use cold butter for a flakier crust if desired.
- You can make the tart dough a day ahead and refrigerate it.
- Get creative with the fruits you use—mango, raspberries, or even citrus slices can add a fun twist!
## Flavor Variations & Adaptations
Feeling adventurous? You can infuse the cream with a hint of vanilla extract or almond for added flavor. Experiment with different fruits based on the season or your personal preferences. Going tropical with pineapple and coconut cream would make for a fab summer treat!
## Reader Questions & Solutions
-
Can I use frozen fruits instead of fresh?
Yes, but choose fruits that are firmer and will hold their shape, like berries. Thaw them and pat dry to remove excess moisture. -
What if my dough is too crumbly?
Add a teaspoon of cold water to help it come together. -
Can I make these tarts gluten-free?
Absolutely! Substitute all-purpose flour with a 1:1 gluten-free flour blend. -
How can I prevent the crust from getting soggy?
Bake the crust until it’s golden and let it cool completely before filling. A brief chill in the fridge can also help. -
Do I need to whip the cream by hand?
You can use an electric mixer for faster results, but you can whip it by hand with a whisk if you’re looking for a workout!
## Wrapping Up
Creating these mini fruit tarts is a delightful experience that not only satisfies your sweet tooth but also brings a burst of happiness to your gatherings. As you craft these charming desserts, remember that cooking is an adventure meant to be enjoyed. So, gather your ingredients, embrace your creativity, and get ready to share the joy of your culinary creations with others. Happy baking!
PrintMini Fruit Tarts
Delicious mini fruit tarts featuring a flaky crust and creamy filling, topped with vibrant fresh fruits.
- Prep Time: 20 minutes
- Cook Time: 12 minutes
- Total Time: 32 minutes
- Yield: 12 mini tarts 1x
- Category: Dessert
- Method: Baking
- Cuisine: American
- Diet: Vegetarian
Ingredients
- 1 cup all-purpose flour
- 1/2 cup unsalted butter, softened
- 1/4 cup sugar
- 1/4 teaspoon salt
- 1 egg yolk
- 1/4 cup heavy cream
- 1/4 cup powdered sugar
- Assorted fresh fruits (e.g., strawberries, blueberries, kiwi)
Instructions
- Preheat the oven to 350°F (175°C).
- Cream together the butter and sugar until light and fluffy.
- Add the egg yolk to the mixture and mix well.
- Mix in the flour and salt to form a dough.
- Roll out the dough on a lightly floured surface and cut into small circles.
- Press the circles into a mini tart pan.
- Bake for 10-12 minutes until golden.
- Let the tarts cool in the pan for a few minutes.
- Whip the heavy cream and powdered sugar until soft peaks form.
- Fill each tart shell with the whipped cream and top with fresh fruits.
- Serve and enjoy!
Notes
For a flakier crust, use cold butter. Customize the fruits based on seasonality.
Nutrition
- Serving Size: 1 tart
- Calories: 120
- Sugar: 4g
- Sodium: 50mg
- Fat: 9g
- Saturated Fat: 5g
- Unsaturated Fat: 4g
- Trans Fat: 0g
- Carbohydrates: 10g
- Fiber: 0.5g
- Protein: 1.5g
- Cholesterol: 30mg