Lemon Bars have always held a special place in my heart, reminiscent of sunny afternoons spent with family and friends. There’s something ethereal about the combination of buttery crust and bright, tangy lemon filling that takes me back to childhood picnics and warm gatherings. I fondly recall my grandmother whipping up a batch, her kitchen filled with the sweet and citrusy aroma, each bar a promise of summer joy, even in the chill of winter. Today, I invite you to create your own memories with this delightful treat.
Recipe Timing
- Prep Duration: 15 minutes
- Active Cooking: 45 minutes
- Total Duration: 1 hour
- Portion Size: 16 squares
- Complexity: Simple
Nutritional Recipe
- Calories per portion: Approximately 150
- Protein: 2g per serving
- Carbs: 21g per serving
- Fats: 7g per serving
- Fiber: 0g per serving
- Sugars: 13g per serving
- Sodium: 20mg per serving
Why You’ll Love This Lemon Bars
These Lemon Bars are the perfect blend of sweet and tart. The contrast of the soft, lemon-infused custard against the buttery, crumbly crust is simply divine. Each bite offers a refreshing burst of citrus that dances on your palate, making them ideal for any occasion — whether it’s a backyard barbecue, a picnic in the park, or just a sweet treat to brighten your day. Plus, they’re surprisingly easy to make, letting you focus more on enjoying the moment rather than spending all day in the kitchen.
The Complete Cooking Journey
The journey to perfect Lemon Bars starts with simple ingredients that pack a flavor punch. You’ll cream together butter and powdered sugar, allowing the sweetness to meld with the richness of the butter. Follow this with a quick bake to create a solid base, then whisk up a vibrant lemon mixture that brings a zest of life to your dessert. After a second bake, the bars will be set and ready to bring sunshine to your table.
Ingredients:
- 1 cup all-purpose flour
- 1/2 cup unsalted butter, softened
- 1/4 cup powdered sugar
- 1 cup granulated sugar
- 2 large eggs
- 1/2 cup freshly squeezed lemon juice
- 1 teaspoon lemon zest
- 1/2 teaspoon baking powder
- Pinch of salt
Method:
Step 1: Preheat the Oven
Preheat the oven to 350°F (175°C). This ensures that your Lemon Bars will bake evenly and achieve that perfect texture.
Step 2: Cream the Butter and Sugar
In a mixing bowl, cream together the softened butter and powdered sugar until fluffy. The mixture should be light and airy, a perfect base for your bars.
Step 3: Combine the Crust Ingredients
Gradually add the flour to the creamed mixture, mixing until crumbly. You want the texture to hold together yet remain light.
Step 4: Press and Bake the Crust
Press this mixture into the bottom of a greased 9×9 inch baking dish. Bake for 15-20 minutes or until the crust is lightly golden. Let this lovely base become your foundation.
Step 5: Whisk the Lemon Mixture
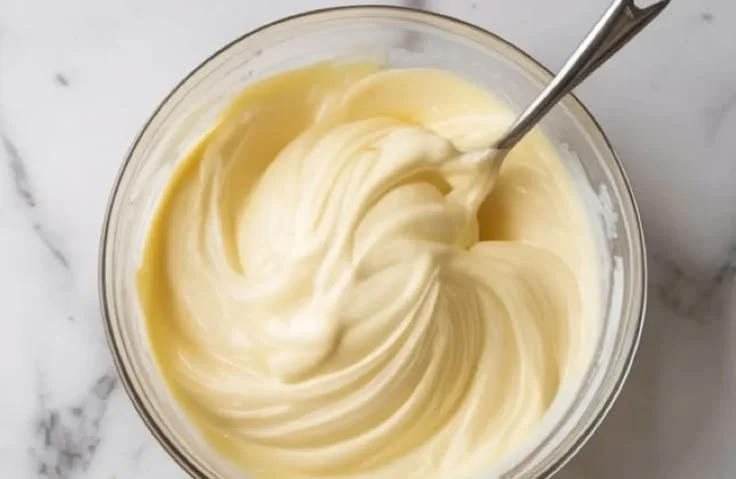
In another bowl, whisk together the granulated sugar, eggs, freshly squeezed lemon juice, lemon zest, baking powder, and a pinch of salt. This whisking aerates the eggs and allows the flavors to blend beautifully.
Step 6: Pour Over the Baked Crust
Pour the lemon mixture over the baked crust, ensuring an even distribution for a balanced flavor in every bite.
Step 7: Bake Until Set
Bake for an additional 20-25 minutes, or until the filling is set and slightly firm to the touch. You’ll know it’s done when the edges appear golden and the center is no longer jiggly.
Step 8: Cool and Serve
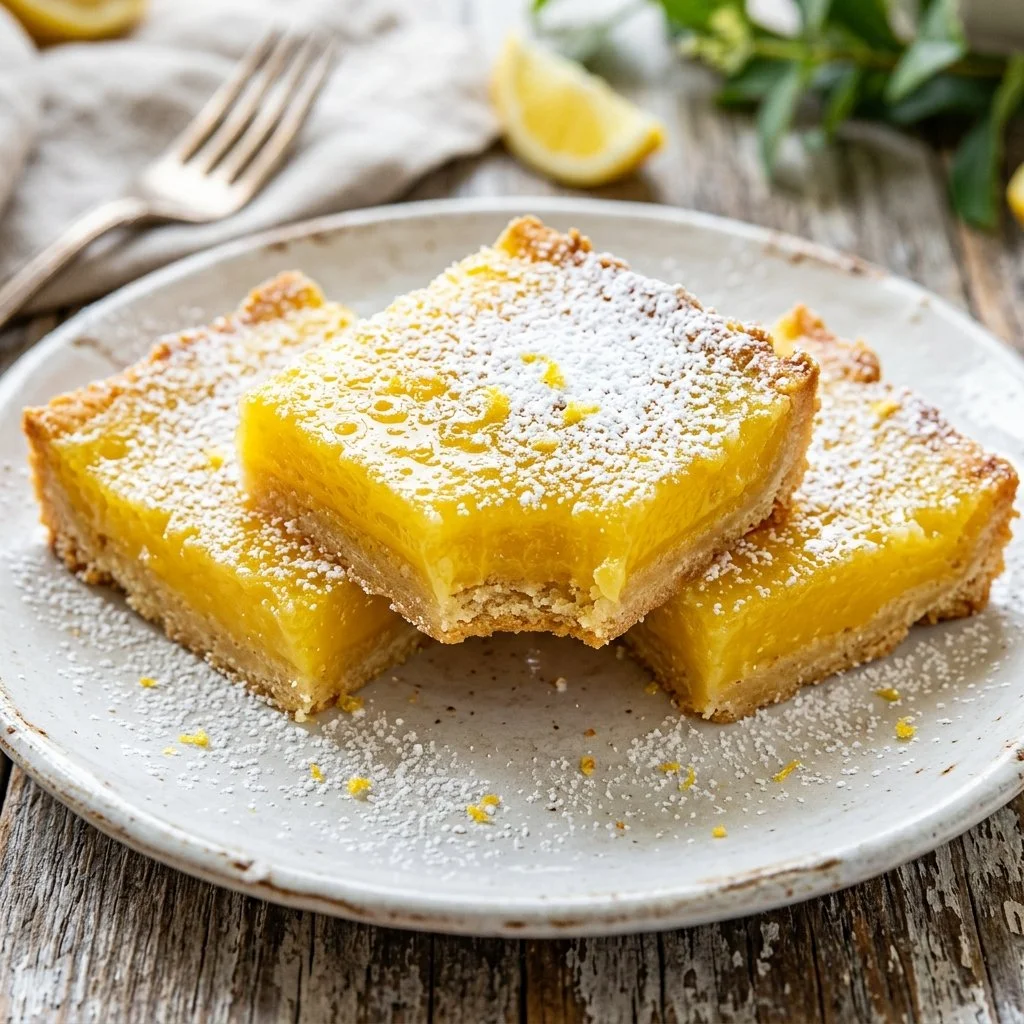
Allow to cool completely before cutting into squares. Dust with powdered sugar if desired. This final touch adds a beautiful finish and a hint of extra sweetness.
Serving Suggestions & Pairings
These Lemon Bars shine on their own, but they also make a delightful pairing with a cup of freshly brewed tea or a scoop of vanilla ice cream. For an added flair, serve them alongside fresh berries for a pop of color and freshness.
Storage & Leftovers Guide
To keep your Lemon Bars fresh, store them in an airtight container in the refrigerator. They’ll last for up to a week, making them perfect for enjoying throughout the week or impressing unexpected guests.
Kitchen Wisdom & Success Tips
- Make sure to use fresh lemons for the best flavor; the zest adds an aromatic depth you won’t get from bottled juice.
- If the edges of your bars darken too much, cover them with foil during the last few minutes of baking.
- Let the bars cool completely to set properly. If you’re in a hurry, you can speed up cooling by placing them in the refrigerator.
Flavor Variations & Adaptations
Feeling adventurous? Try adding a touch of lavender or rosemary into the lemon mixture for an herby twist. You can also substitute lime juice for a tropical take or incorporate coconut for a summery vibe.
Reader Questions & Solutions
- Can I use gluten-free flour?
Yes! A 1:1 gluten-free flour blend often works well in this recipe. - What if I don’t have fresh lemons?
While fresh lemons are best, bottled lemon juice can be substituted at a pinch. - How can I make these bars even more tart?
Increase the amount of lemon juice for a more pronounced zing, but keep an eye on the liquid balance. - Can I freeze Lemon Bars?
Absolutely! Just wrap them tightly in plastic wrap and store in an airtight container. They can last up to three months in the freezer. - How do I know when they are done baking?
The edges should be lightly golden, and the center should bounce back slightly when touched.
Wrapping Up
Making Lemon Bars is about creating a moment of joy that you can share with others. The blend of sweet, tart, and buttery textures makes these bars an irresistible treat. Whether you serve them at a gathering or enjoy them on a quiet afternoon, they are sure to bring warmth and happiness to your table. So, roll up your sleeves, gather your ingredients, and let the baking adventure begin! Happy cooking!