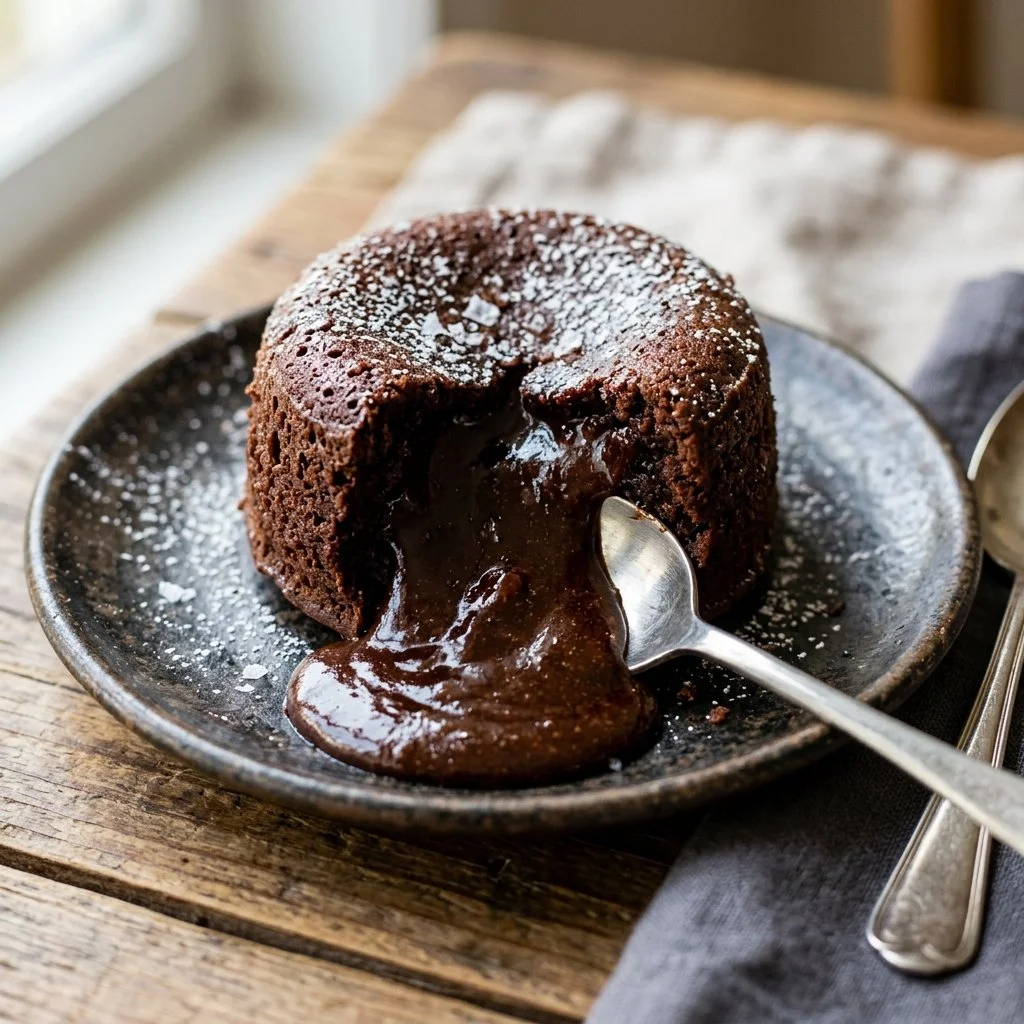
There’s something undeniably magical about the experience of breaking a chocolate lava cake. Picture this: you gently poke the cake with a spoon, and suddenly, warm chocolate sauce oozes out, enveloping your senses in the rich aroma of melted chocolate. This dessert isn’t just a treat; it’s an invitation to indulge in a moment of bliss. It takes me back to those cozy evenings spent with friends, where laughter filled the room, and every spoonful of this warm delight brought a smile.
In my journey through the world of baking, this Chocolate Lava Cake has consistently found a place at the center of joy and celebration. There’s an incredible satisfaction in crafting a dish that impresses both the palate and the heart, and today, I’m excited to share this recipe with you.
Recipe Timing
- Prep Duration: 10 minutes
- Active Cooking: 14 minutes
- Total Duration: 24 minutes
- Portion Size: Serves 4
- Complexity: Simple
Nutritional Recipe
- Calories per portion: Approximately 350 calories
- Protein: 5g
- Carbs: 30g
- Fats: 20g
- Fiber: 1g
- Sugars: 15g
- Sodium: 100mg
Why You’ll Love This Chocolate Lava Cake
This Chocolate Lava Cake is the essence of indulgence. With its luscious molten center and a slightly crispy outer layer, it delivers a delightful contrast in textures. Perfect for impressing guests after dinner or for a cozy night in, it’s surprisingly simple to make. Each bite is a reminder that the best moments are often experienced over something sweet. Plus, it’s versatile! Serve it as is, or elevate it with a scoop of vanilla ice cream or fresh berries for a delightful color and flavor contrast.
The Complete Cooking Journey
Let’s embark on this short but rewarding journey to create a dessert that feels special, yet is wonderfully simple to prepare. Gather your ingredients and let’s get baking the dessert that every chocolate lover dreams of!
Ingredients:
- 1/2 cup unsalted butter
- 1 cup semi-sweet chocolate chips
- 2 large eggs
- 2 large egg yolks
- 1/4 cup granulated sugar
- 2 tablespoons all-purpose flour
- 1/2 teaspoon vanilla extract
- Pinch of salt
Method:
Step 1: Preheat and Prepare Ramekins
Preheat the oven to 425°F (220°C). Grease four ramekins with a generous amount of butter and lightly dust them with flour. This ensures that your cakes will gracefully release when it’s time to unveil their molten centers.
Step 2: Melt Butter and Chocolate
In a microwave-safe bowl, melt together the unsalted butter and semi-sweet chocolate chips until smooth. Be sure to check and stir every 30 seconds to prevent overheating. Once melted, let the mixture cool slightly—this will keep your cake from cooking the eggs prematurely.
Step 3: Whisk Eggs and Sugar
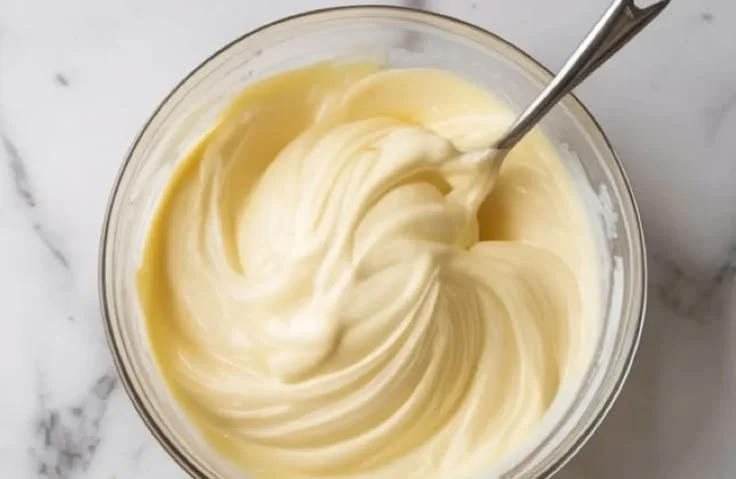
In a separate bowl, whisk together the eggs, egg yolks, and granulated sugar until the mixture becomes thick and light in color. This beautiful blending creates a lovely foundation for our dessert.
Step 4: Combine Mixtures
Gently stir in the melted chocolate mixture, followed by the all-purpose flour, vanilla extract, and pinch of salt until just combined. Take care not to overmix; a few lumps are perfectly fine.
Step 5: Fill Ramekins
Evenly divide the luscious batter among the prepared ramekins. This is where anticipation builds—each little vessel is a promise of gooey indulgence.
Step 6: Bake to Perfection
Place the ramekins in the preheated oven and bake for 12-14 minutes. You’ll know they’re done when the edges are firm but the center remains soft. Keep an eye on them; the secret to a great lava cake is that perfect, gooey center.
Step 7: Invert and Serve
Allow the cakes to cool for just one minute. Then, carefully invert them onto plates. The moment of truth! Serve warm—ideally with a scoop of vanilla ice cream—as the contrast of temperatures will send your taste buds into a frenzy.
Serving Suggestions & Pairings
While this Chocolate Lava Cake shines on its own, elevating it with a scoop of vanilla ice cream or a dollop of freshly whipped cream takes it to another level. For a fresh touch, serve with a side of mixed berries or a sprinkle of sea salt to enhance the chocolate’s richness. Don’t forget a hot cup of coffee or a glass of dessert wine to round off this exquisite experience.
Storage & Leftovers Guide
If you happen to have leftovers (which is rare!), allow the cakes to cool completely before storing them in an airtight container. They can be kept in the refrigerator for up to 2 days. To reheat, place them in the microwave for about 15-20 seconds, just until the center is warm again.
Kitchen Wisdom & Success Tips
- Don’t skip greasing and dusting the ramekins; it’s crucial for easy removal.
- Use high-quality chocolate for the best flavor. Chocolate chips can work, but for an elevated taste, opt for a good chocolate bar.
- Experiment with baking time! Each oven is different; watch for that perfect jiggle in the center to avoid overcooking.
- Allowing the cakes to rest for a minute before inverting is key; it gives them time to stabilize.
Flavor Variations & Adaptations
Want to get playful with your lava cake? Try adding a hint of espresso powder to the chocolate for a mocha flavor, or mix in some orange zest for a citrus twist. You could also turn this into a peanut butter lava cake by swirling in some creamy peanut butter before baking!
Reader Questions & Solutions
-
What if my cakes stick to the ramekins?
Make sure to grease and flour them well! If they do stick, run a knife around the edges to gently loosen. -
Can I use other types of chocolate?
Absolutely! Dark chocolate or even white chocolate can lend unique flavors, though the texture may vary with white chocolate. -
How do I know when they’re done baking?
Look for firm edges and soft centers; a toothpick inserted should come out slightly gooey. -
Can I prepare these in advance?
You can prepare the batter ahead of time and refrigerate it for up to 24 hours. Just bring it to room temperature before baking. -
What if I don’t have ramekins?
Muffin tins can work in a pinch! Just adjust the baking time as they will likely be done a bit quicker.
Wrapping Up
This Chocolate Lava Cake is more than just a dessert; it’s an experience—one that captures the heart through its warmth and richness. I hope you find joy in each step of this simple yet delicious journey. So gather your ingredients, embrace the sweet moments in the kitchen, and let the gooey goodness celebrate life’s little pleasures. Happy baking!