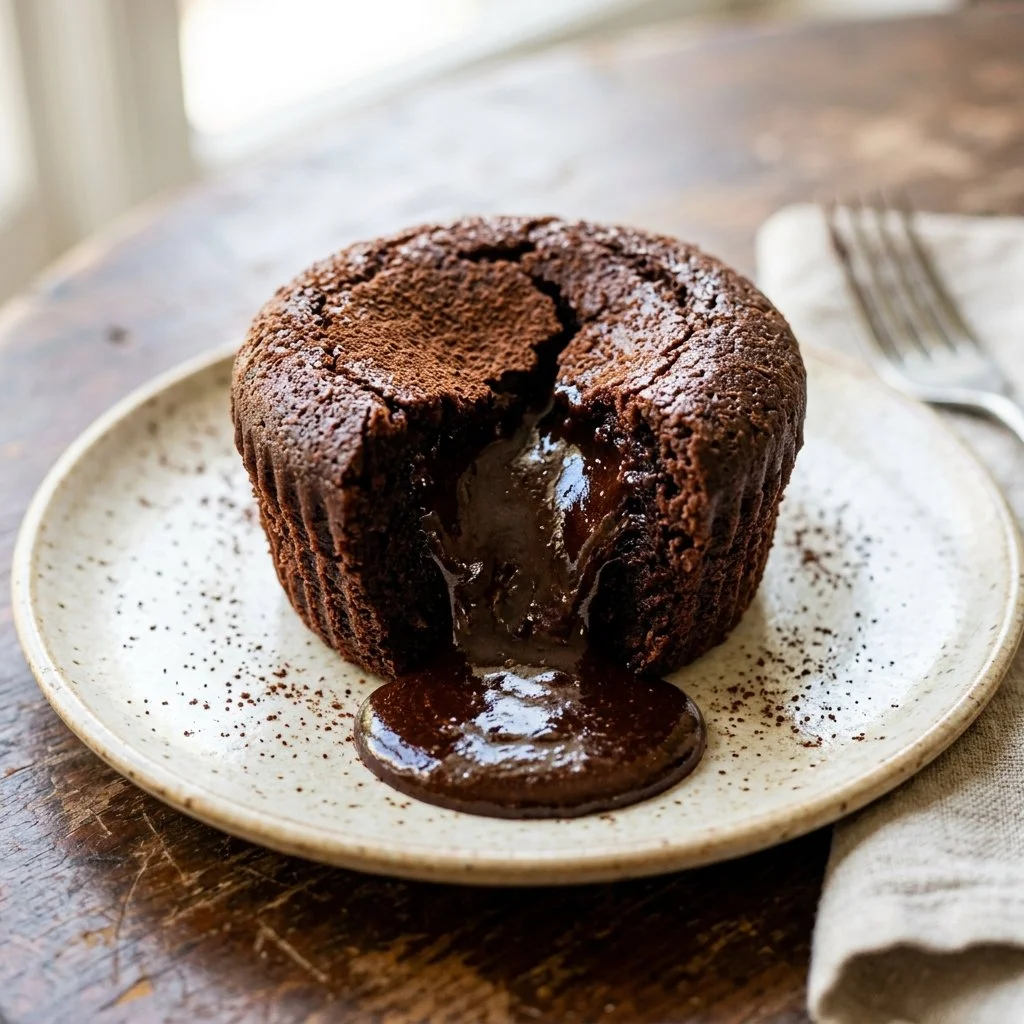
There’s something wonderfully indulgent about the moment a perfectly baked chocolate lava cake is presented at the table. You know, that moment when your fork breaks the surface and molten chocolate oozes out, pooling onto your plate in a rich, velvety stream. It’s an enchanting spectacle that transforms any simple gathering into a special occasion. I still remember the first time I made this dessert for my friends during a dinner party. Their eyes lit up with childlike joy, and the compliments flowed as freely as the warm chocolate. This dessert not only satisfied their sweet tooth but also created unforgettable memories, reinforcing my love for baking delights that bring smiles.
Recipe Timing
- Prep Duration: 10 minutes
- Active Cooking: 12-14 minutes
- Total Duration: 25-30 minutes
- Portion Size: Serves 4
- Complexity: Simple
Nutritional Recipe
- Calories per portion: Approximately 350
- Protein: 5 grams
- Carbs: 36 grams
- Fats: 22 grams
- Fiber: 1 gram
- Sugars: 18 grams
- Sodium: 100 mg
Why You’ll Love This Chocolate Lava Cake
What’s not to adore? Chocolate lava cake is the ultimate indulgence, perfect for impressing guests or simply treating yourself after a long day. It’s a dessert that captures the essence of comfort—rich, warm chocolate encased in a slightly firm shell that gives way to a luscious center. Plus, the ingredients are straightforward and the method is simple, making it accessible for anyone, even those who might consider themselves baking amateurs. And the best part? You can serve it with a scoop of vanilla ice cream for that classic contrast of warm and cold—trust me, you won’t want to miss it!
The Complete Cooking Journey
Step 1: Preheat the Oven
First things first—preheat your oven to 425°F (220°C). This initial step is essential for ensuring that your molten treats bake evenly.
Step 2: Prepare the Ramekins
While the oven is heating, grease four ramekins with a generous amount of unsalted butter. Dust them lightly with flour to make sure the cakes slide out easily later. This preparation sets the stage for your lava cake success.
Step 3: Melt the Chocolate and Butter
In a microwave-safe bowl, combine 1/2 cup of unsalted butter with 1 cup of semisweet chocolate chips. Microwave in short bursts of 30 seconds, stirring in between until the mixture is completely smooth and glossy. The aroma of melting chocolate is simply irresistible!
Step 4: Whisk Eggs and Sugar
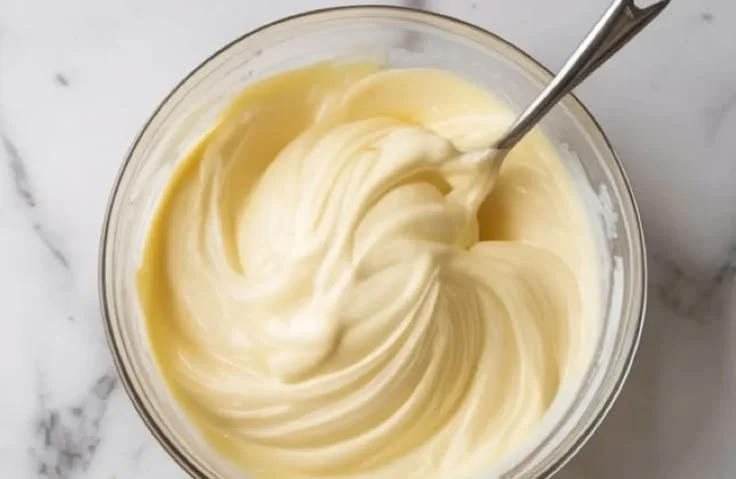
In a separate bowl, crack two large eggs and add two large egg yolks. Sprinkle in 1/4 cup of granulated sugar. Whisk vigorously until the mixture becomes thick and pale. This step is crucial for achieving the right consistency and fluffiness.
Step 5: Combine Chocolate Mixture and Egg Mixture
Once your chocolate and butter blend has cooled slightly, gently stir it into the egg mixture. Make sure it’s well incorporated but don’t over-mix; we want to keep it light and airy.
Step 6: Fold in Flour and Salt
Now it’s time for the flour! Add 2 tablespoons of all-purpose flour and 1/4 teaspoon of salt to the mixture. Gently fold it in with a spatula until just combined—be careful not to deflate that lovely air we’ve incorporated!
Step 7: Divide and Pour
Carefully portion the batter into the prepared ramekins, equally dividing it among them. This ensures every cake bakes to perfection.
Step 8: Bake to Perfection
Place the ramekins on a baking sheet and pop them in the oven. Bake for about 12-14 minutes. The edges should be firm, but the center will remain soft—this is the magic of lava cake!
Step 9: Rest and Serve
Once baked, let them sit for about 1 minute. Then, flip each ramekin onto a plate. With one gentle tap, the cake should release perfectly, revealing the molten center.
Serving Suggestions & Pairings
Serve your chocolate lava cakes immediately, a la mode, with a scoop of vanilla ice cream or a dollop of whipped cream. Fresh berries or a drizzle of caramel can elevate each serving further, adding bursts of flavor and color to your dessert spread.
Storage & Leftovers Guide
If you happen to have any leftovers (which I doubt!), you can store the cakes in the refrigerator covered for up to 2 days. To reheat, place them in a microwave for a few seconds on low power until warmed through.
Kitchen Wisdom & Success Tips
- Don’t Overbake: The key to a perfect lava cake is to bake just until the edges are firm but the centers are still soft.
- Use Quality Chocolate: The flavor of your cake hinges on the chocolate you use—go for good quality for the best results.
- Test for Doneness: Peek in after 12 minutes; if the tops look slightly puffed and glossy, they’re ready!
Flavor Variations & Adaptations
Want to mix things up? Add a pinch of espresso powder for a deeper chocolate flavor, or toss in some orange zest for a refreshing twist. For a dash of adventure, try using dark chocolate instead of semisweet!
Reader Questions & Solutions
-
Can I make this ahead of time?
Yes, prepare the batter ahead and refrigerate. Just bake when you’re ready to serve. -
Why is my lava cake not molten?
It may be overbaked—next time, reduce the baking time by a minute or two and keep an eye on it! -
Can I use silicone molds instead of ramekins?
Absolutely! Just ensure they are well greased. -
What if I don’t have ramekins?
You can use muffin tins. Just adjust the baking time slightly. -
Can I substitute the eggs?
For a vegan option, you can use a flax egg (1 tablespoon of ground flaxseed mixed with 2.5 tablespoons water) for each egg.
Wrapping Up
Hosting a dinner party or simply looking to bring a sweet ending to your day? This chocolate lava cake should be firmly on your agenda. Not only is it a feast for the taste buds, but it’s also a dessert that creates moments of pure joy. So grab your ingredients, don your apron, and let the magic of baking unfold in your kitchen! You won’t regret it. Enjoy this blissful experience, and as always, happy baking!