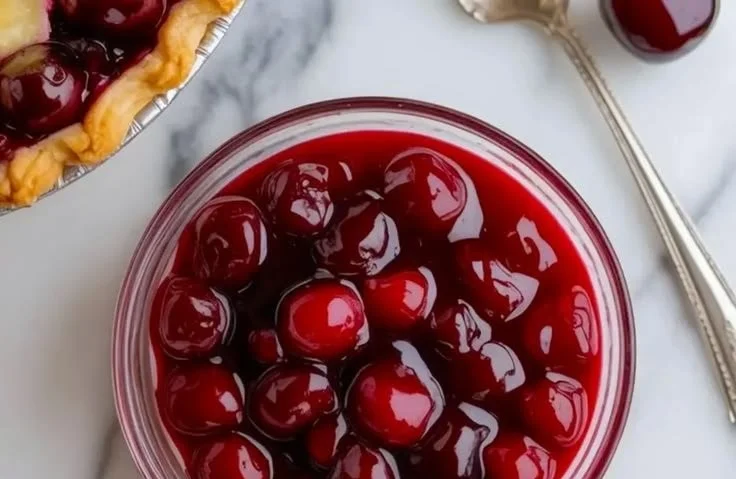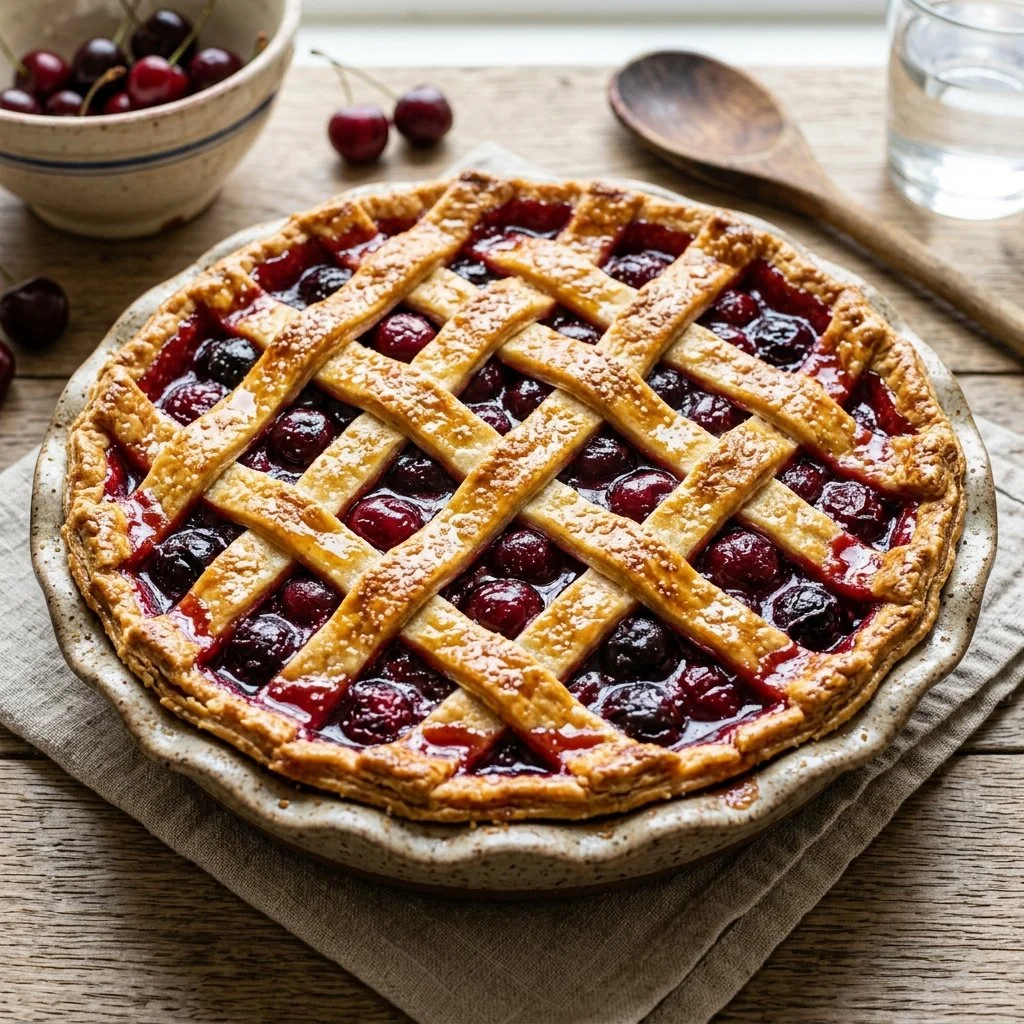
There’s something undeniably magical about the sight of a cherry pie cooling on the windowsill, with its golden crust and fragrant filling enticing anyone who passes. Growing up, my grandmother would always gauge the arrival of summer not by the calendar, but by the plump cherries ripening on her tree. The annual cherry-picking day was like a family holiday; we’d pile into the car with our buckets and laughter, eagerly choosing the ripest, juiciest cherries with stars in our eyes. As we made our way back home, the fresh cherry pie—sweet, tangy, and warm—was waiting for us. Little did I know, those cherished memories were more than just delicious dessert moments; they were lessons in the simple joy of cooking and sharing.
Recipe Timing
- Prep Duration: 15 minutes
- Active Cooking: 35 minutes
- Total Duration: 50 minutes
- Portion Size: Serves 8
- Complexity: Simple
Nutritional Recipe
- Calories per portion: Approximately 300
- Protein: 2g
- Carbs: 45g
- Fats: 12g
- Fiber: 2g
- Sugars: 25g
- Sodium: 200mg
Why You’ll Love This Cherry Pie
Cherry pie isn’t just a dessert; it’s a heartfelt symbol of summer, nostalgia, and family. The tartness of the cherries balanced with sweetness and the warmth of vanilla and almond extracts creates a flavor that dances on your palate. Plus, this pie is versatile—whether topped with a scoop of vanilla ice cream or savored plain, its deliciousness shines through. Each bite evokes cherished memories while inviting new ones, making it a must-try for any home cook.
The Complete Cooking Journey
From the moment you preheat the oven, the aroma of sweet cherries and buttery crust fills the kitchen, creating an anticipatory warmth that embraces everyone around. The simplicity of the recipe belies the depth of flavor it encapsulates, and you’ll find that each step, from mixing the filling to adorning it with a flaky crust, is not just a task; it’s a delightful journey of creativity that transforms humble ingredients into something extraordinary.
Ingredients:
- 2 cups cherry filling
- 1 pie crust (homemade or store-bought)
- 1 tablespoon lemon juice
- 1 cup sugar
- 2 tablespoons cornstarch
- 1 tablespoon butter
- 1 teaspoon vanilla extract
- 1/4 teaspoon almond extract
- 1/4 teaspoon salt
Method:
Step 1: Preheat the Oven
Preheat the oven to 425°F (220°C). This step is crucial for ensuring your pie bakes evenly to a gorgeous golden-brown.
Step 2: Combine the Cherry Filling Ingredients
In a mixing bowl, whisk together the cherry filling, sugar, cornstarch, lemon juice, vanilla extract, almond extract, and salt. This mixture should be fragrant and luscious, with the sweet cherries mingling beautifully with the other flavors.
Step 3: Prepare the Pie Crust
Lay the pie crust in a pie pan, tucking it gently to fit. Make sure you press it into the edges to hold all that juicy filling in.
Step 4: Fill the Crust
Pour the cherry mixture into the prepared crust, spreading it out evenly. The vibrant color will make you eager for the first bite!
Step 5: Dot with Butter
Add small dots of butter on top of the cherry filling. This not only adds richness but will give a beautiful finish to your pie as it bakes.
Step 6: Cover and Seal the Pie
Cover with another layer of crust, sealing the edges well. This is the time to get creative—pinch the crust or use a fork to crimp for a picturesque finish. Don’t forget to cut slits in the top crust to allow steam to escape; this prevents the filling from bubbling over.
Step 7: Bake to Perfection
Bake for 30-35 minutes until the crust is golden brown and the filling is bubbling. If you notice the edges browning too quickly, cover them with foil to prevent burning.
Step 8: Cool and Serve
Allow the pie to cool at room temperature before serving. This step is hard—it’s tempting to dive right in, but cooling it allows the filling to set perfectly!
Serving Suggestions & Pairings
Serve your cherry pie warm, perhaps with a scoop of vanilla ice cream that gently melts into the sweet filling, or pair it with freshly whipped cream for added indulgence. For an elegant touch, fresh mint leaves or a dusting of powdered sugar can elevate its presentation.
Storage & Leftovers Guide
Leftover cherry pie can be stored in the refrigerator, loosely covered, for up to 4 days. For prolonged freshness, wrap individual slices in plastic wrap and freeze for up to 2 months. Simply thaw overnight in the fridge and enjoy a nostalgic treat!
Kitchen Wisdom & Success Tips
- Ensure your cherries are pitted and well-drained to avoid a watery filling.
- For an extra crispy crust, consider chilling your pie crust for about 30 minutes before baking.
- If using frozen cherries, allow them to thaw and drain excess liquid before mixing them in the filling.
Flavor Variations & Adaptations
Feel free to mix things up! Add a pinch of cinnamon for warmth, or a splash of bourbon for an adult twist. If you’re not a fan of almond extract, try substituting it with a splash of lemon or orange zest for a fresh citrusy brightness.
Reader Questions & Solutions
- Can I use fresh cherries instead of canned? Absolutely! Just be sure to pit and slice them, and you might need to adjust the sugar based on their sweetness.
- What can I do if my crust shrinks while baking? Ensure your dough is well-chilled before baking and avoid stretching it too much when placing it in the pie pan.
- How do I prevent my bottom crust from getting soggy? Prebake it for about 5-10 minutes to create a barrier before adding the filling.
- Can I make this pie ahead of time? Yes, you can prepare it a day in advance and store it in the fridge, then bake it the following day.
- What should I serve with my cherry pie? It pairs wonderfully with vanilla ice cream, fresh cream, or even a dollop of Greek yogurt for a tangy contrast.
Wrapping Up
There’s something profoundly satisfying about baking a cherry pie from scratch—it’s not just about the dessert, but the memories you create while making it. So grab that pie crust, fill it with luscious cherry goodness, and allow yourself to be transported to sun-kissed summer days. Share the love, pass the slice, and enjoy the sweet nostalgia that every bite brings! Happy baking!
PrintGrandma’s Cherry Pie

A nostalgic cherry pie filled with sweet and tangy flavors, perfect for summer gatherings.
- Prep Time: 15 minutes
- Cook Time: 35 minutes
- Total Time: 50 minutes
- Yield: 8 servings 1x
- Category: Dessert
- Method: Baking
- Cuisine: American
- Diet: Vegetarian
Ingredients
- 2 cups cherry filling
- 1 pie crust (homemade or store-bought)
- 1 tablespoon lemon juice
- 1 cup sugar
- 2 tablespoons cornstarch
- 1 tablespoon butter
- 1 teaspoon vanilla extract
- 1/4 teaspoon almond extract
- 1/4 teaspoon salt
Instructions
- Preheat the oven to 425°F (220°C).
- In a mixing bowl, whisk together the cherry filling, sugar, cornstarch, lemon juice, vanilla extract, almond extract, and salt.
- Lay the pie crust in a pie pan, tucking it gently to fit.
- Pour the cherry mixture into the prepared crust, spreading it out evenly.
- Add small dots of butter on top of the cherry filling.
- Cover with another layer of crust, sealing the edges well.
- Bake for 30-35 minutes until the crust is golden brown and the filling is bubbling.
- Allow the pie to cool at room temperature before serving.
Notes
Serve warm with vanilla ice cream or whipped cream. Can be stored in the refrigerator for up to 4 days.
Nutrition
- Serving Size: 1 slice
- Calories: 300
- Sugar: 25g
- Sodium: 200mg
- Fat: 12g
- Saturated Fat: 6g
- Unsaturated Fat: 6g
- Trans Fat: 0g
- Carbohydrates: 45g
- Fiber: 2g
- Protein: 2g
- Cholesterol: 10mg