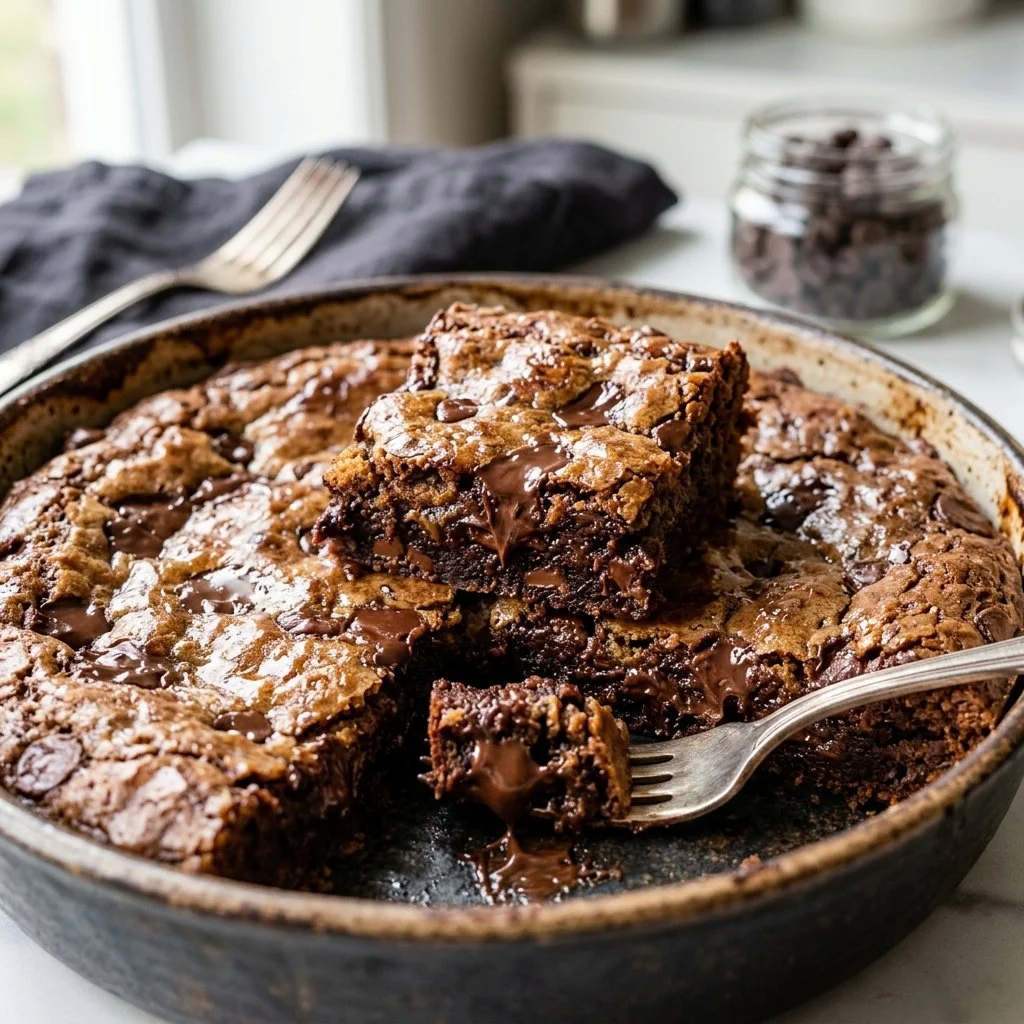
There’s something almost magical about baking that transports us to our fondest memories, like the sweet aroma wafting through the kitchen after a rainy afternoon. For me, the journey often leads back to my childhood – a place where cookie dough and brownie batter would magically intertwine into a luxurious treat that I’ve come to adore: brookies. These delightful creations — a heavenly marriage of fudgy brownies and chewy chocolate chip cookies — evoke that nostalgic comfort. As the dough swirls together in the pan, I can’t help but anticipate the blissful bites that lie ahead. So let’s roll up our sleeves and dive into this brookies recipe that’s sure to bring smiles to your table.
Recipe Timing
- Prep Duration: 15 minutes
- Active Cooking: 30 minutes
- Total Duration: 45 minutes
- Portion Size: 12-16 squares
- Complexity: Simple
Nutritional Recipe
- Calories per portion: Approximately 250
- Protein: 3g per serving
- Carbs: 34g per serving
- Fats: 12g per serving
- Fiber: 1g per serving
- Sugars: 18g per serving
- Sodium: 150mg per serving
Why You’ll Love This Brookies Recipe
Imagine slicing through a warm, fudgy brownie layered infamously underneath a soft, gooey chocolate chip cookie. This brookies recipe combines the best of both worlds, giving you that comforting texture and flavor that keeps you coming back for more. They’re perfect for any occasion — whether it’s a cozy movie night at home or a festive gathering with friends. Plus, everyone loves them, making them an instant crowd-pleaser.
The Complete Cooking Journey
What I love most about making brookies is the simplicity and joy that comes with every step. From creaming the sugars with butter to swirling the decadent brownie batter, it’s not just about the end product; it’s about enjoying the process. Let’s walk through this delightful journey together!
Ingredients:
- 1 cup butter, softened
- 1 cup brown sugar
- 1/2 cup granulated sugar
- 2 large eggs
- 2 teaspoons vanilla extract
- 2 1/4 cups all-purpose flour
- 1 teaspoon baking soda
- 1/2 teaspoon salt
- 1 cup brownie mix
- 1 cup chocolate chips
Method:
Step 1: Preheat the Oven
Preheat your oven to 350°F (175°C). Grease a 9×13 inch baking pan to ensure our brookies come out effortlessly once baked.
Step 2: Cream the Sugars with Butter
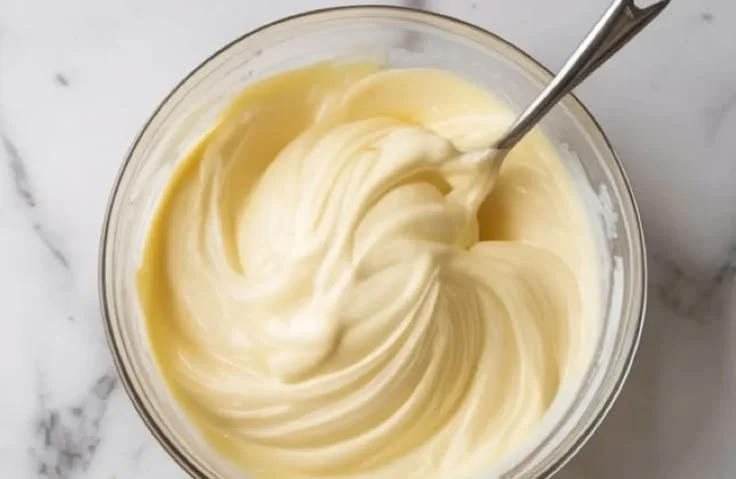
In a large bowl, cream together the softened butter, brown sugar, and granulated sugar until smooth and fluffy. This is where the sweetness begins!
Step 3: Beat in the Eggs and Vanilla
Add the eggs one at a time, making sure to beat well after each addition. Stir in the vanilla extract and let the aromatic flavors mingle.
Step 4: Combine Dry Ingredients
In another bowl, combine the flour, baking soda, and salt. Gradually add this dry mixture to the creamed ingredients, stirring until just combined. We want a dough, not a workout!
Step 5: Make the Brownie Mixture
Divide the dough in half. In one half, mix in the brownie mix. Excitingly watch the dough transform into a rich chocolatey delight.
Step 6: Spread Cookie Dough
Spread the cookie dough evenly in the greased pan, creating a delicious base for our brookies.
Step 7: Add Brownie Batter
Drop spoonfuls of the brownie batter over the cookie layer. Don’t worry about it being perfect; it’s all about that irresistible marble effect!
Step 8: Swirl the Batters
With a knife, gently swirl the two batters together to create a marbled look. This step is the artist in you coming out!
Step 9: Sprinkle the Chocolate Chips
Finish off by generously sprinkling chocolate chips on top. More chocolate means more happiness, right?
Step 10: Bake to Perfection
Bake in the preheated oven for 25-30 minutes. Check with a toothpick — it should come out clean for a perfect brookie.
Step 11: Cool and Cut
Allow the brookies to cool in the pan before cutting them into squares. Patience is virtue; trust me, it’s worth the wait!
Serving Suggestions & Pairings
Serve these brookies warm, perhaps with a scoop of vanilla ice cream melting over the top. A drizzle of chocolate sauce wouldn’t hurt, either! Pair them with a cup of coffee for an afternoon treat, or with cold milk for a nostalgic dessert.
Storage & Leftovers Guide
The brookies can be stored in an airtight container for up to five days at room temperature. For longer freshness, you can refrigerate them for up to a week. Just make sure to let them come to room temperature or warm them slightly in the microwave before enjoying again!
Kitchen Wisdom & Success Tips
- For even chewier brookies, let the cookie dough chill for about 30 minutes before spreading it in the pan.
- Have fun with the flavors! Try adding nuts or caramel to the brownie mixture for a new twist.
- Make sure not to overbake; the brookies will continue to cook a bit after they come out of the oven.
Flavor Variations & Adaptations
Feel free to swap out the chocolate chips for white chocolate or peanut butter chips. You could also incorporate crushed cookies or candy bars for an added crunch — the possibilities are endless!
Reader Questions & Solutions
- What can I do if I don’t have brown sugar? You can substitute one cup of granulated sugar with three-quarters of a cup of granulated sugar mixed with one tablespoon of molasses.
- Can I freeze brookies? Absolutely! Freeze them in a resealable bag with parchment between the layers for up to three months.
- What if I don’t have brownie mix? You can make a quick homemade brownie batter with cocoa powder, flour, and sugar; just adjust the ratios according to your taste.
- How do I ensure the brookies stay soft? Avoid overbaking and store them in an airtight container right after they cool.
- What tools do I need? A mixer, mixing bowls, a spatula, a baking pan, and a good quality knife are all you need!
Wrapping Up
Now that you have this brookies recipe in your back pocket, don’t be surprised if it becomes your go-to for celebrations and cozy nights alike! They embody everything joyful about baking — the surprise of flavors, the indulgence of chocolate, and the love shared with those around you. So gather your ingredients and remember: every bake is a chance to create wonderful memories. Happy baking!