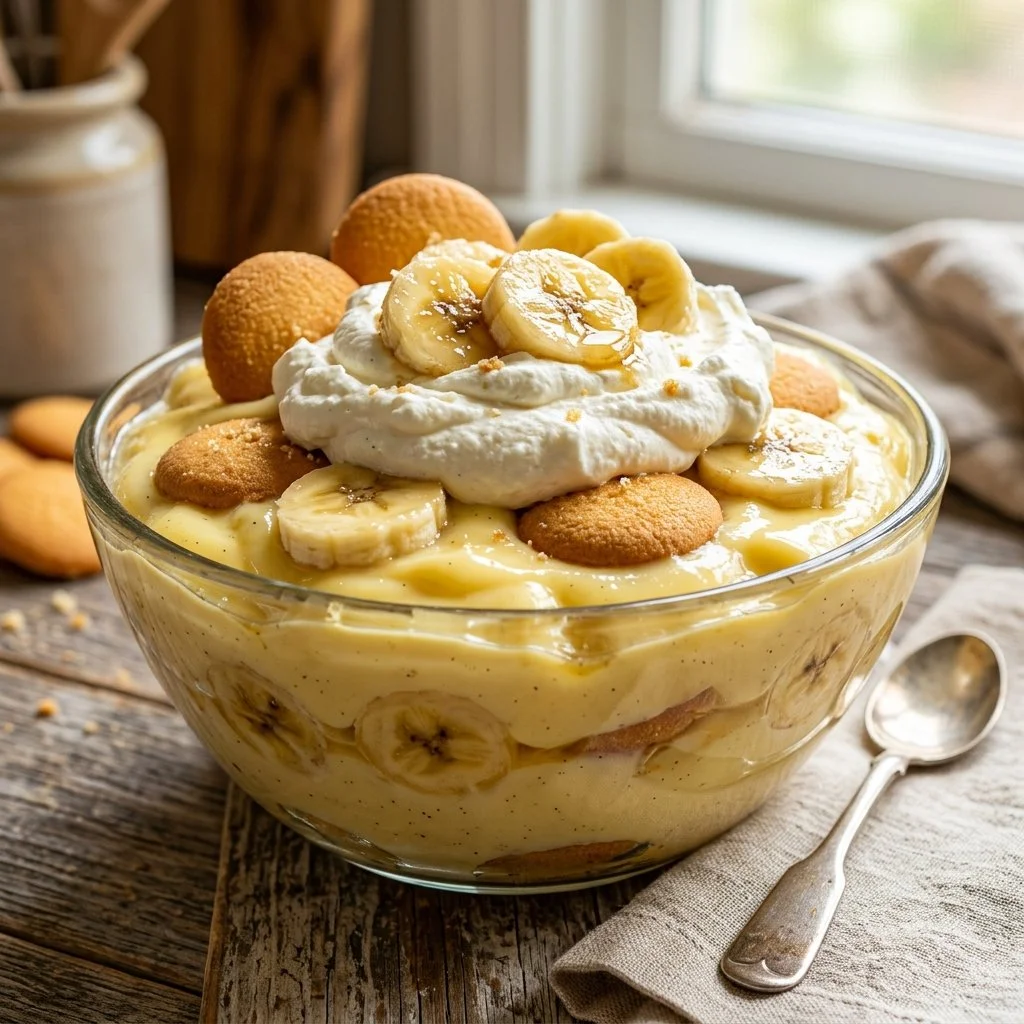
There’s something uniquely comforting about a bowl of homemade banana pudding. It takes me back to sun-soaked summer afternoons spent at my grandmother’s house, where the air was filled with laughter, the scent of freshly baked goods, and of course, the irresistible aroma of her famous banana pudding wafting through the kitchen. Each spoonful was a delightful mix of creamy custard, sweet bananas, and crunchy vanilla wafers, creating a dessert that danced with flavors and textures.
Banana pudding isn’t just a dessert; it’s a celebration of simple ingredients combined in a way that brings happiness and nostalgia. As I sit down to share this recipe with you, I invite you to indulge in the sweet memories it will undoubtedly conjure up in your own life’s tapestry.
Recipe Timing
- Prep Duration: 15 minutes
- Active Cooking: 20 minutes
- Total Duration: 3 hours (including chilling time)
- Portion Size: Serves 8
- Complexity: Simple
Nutritional Recipe
- Calories per portion: Approximately 250
- Protein: 4 grams
- Carbs: 38 grams
- Fats: 10 grams
- Fiber: 1 gram
- Sugars: 18 grams
- Sodium: 100 mg
Why You’ll Love This Banana Pudding
This banana pudding is not just any dessert; it’s an experience, a familial favorite that brings everyone together. Its rich, creamy texture is perfectly balanced with the sweet and slightly tangy flavor of ripe bananas and the delightful crunch of vanilla wafers. It’s deceptively easy to prepare, making it an excellent choice for both seasoned cooks and kitchen novices alike. Plus, who doesn’t love a dessert that can transport them back to their childhood?
The Complete Cooking Journey
Embarking on this culinary adventure is like embarking on a sweet journey back in time. Picture yourself gathering your ingredients: smooth milk, golden granulated sugar, fine cornstarch, velvety butter, and ripe bananas, each one chosen with care. As the mixture begins to thicken on the stove, the excitement builds, bringing with it the warm memories of family gatherings and laughter-filled conversations. Layer after layer, you transform these simple ingredients into something extraordinary, making your own sweet memories in the process.
Ingredients:
- 2 cups of milk
- 1/2 cup of granulated sugar
- 1/3 cup of cornstarch
- 1/4 teaspoon of salt
- 3 large egg yolks
- 2 tablespoons of butter
- 1 teaspoon of vanilla extract
- 1 box of vanilla wafer cookies
- 4 ripe bananas, sliced
- Whipped cream for topping
Method:
Step 1: Mixing Milk and Dry Ingredients
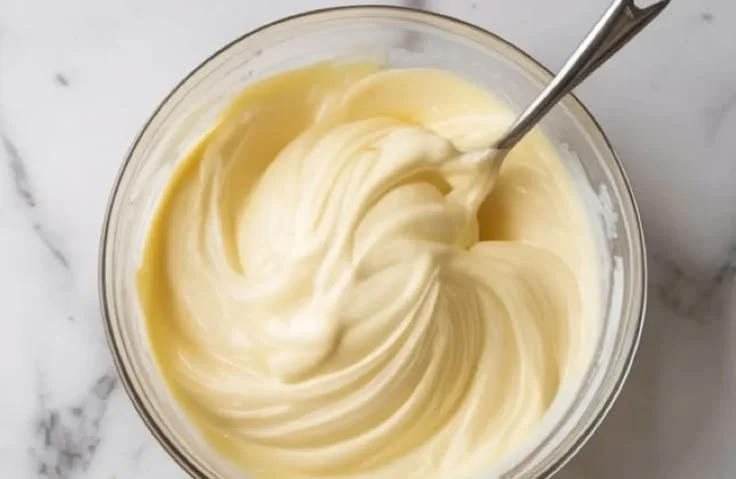
In a saucepan, mix the milk, sugar, cornstarch, and salt. Cook over medium heat, stirring constantly until the mixture thickens.
Step 2: Whisking Egg Yolks
In a bowl, whisk together the egg yolks. Slowly add some of the hot milk mixture to the yolks to temper them, then return the yolk mixture to the saucepan. Cook for an additional 2 minutes, stirring well.
Step 3: Incorporating Butter and Vanilla
Remove from heat and stir in the butter and vanilla extract until smooth and combined.
Step 4: Creating Layers in Your Dish
In a dish, layer vanilla wafers, sliced bananas, and the pudding mixture. Repeat layers until you run out of pudding.
Step 5: Chilling and Serving
Refrigerate for several hours before serving. Just before serving, top generously with whipped cream for that perfect finish.
Serving Suggestions & Pairings
Banana pudding is a star on its own but pairs beautifully with a scoop of vanilla ice cream or a side of fresh berries for a burst of tangy flavor. It’s also the quintessential dessert for potlucks, barbecues, or family gatherings, and brings joy to any occasion.
Storage & Leftovers Guide
Store any leftovers covered in the refrigerator. This banana pudding is best enjoyed within 2-3 days, as the bananas may brown over time, and the wafers may become soggy.
Kitchen Wisdom & Success Tips
- Choose ripe bananas for the best flavor and sweetness.
- Make sure to whisk continuously while heating the milk mixture to avoid lumps.
- Tempting as it may be, allow the pudding to cool and set properly in the fridge for the best texture.
Flavor Variations & Adaptations
Feeling adventurous? Consider adding a layer of peanut butter or Nutella along with your bananas for an extra decadent twist, or replace the vanilla wafers with crushed graham crackers for a play on flavors and textures.
Reader Questions & Solutions
-
What do I do if my pudding doesn’t thicken?
If your pudding isn’t thickening, it may need more heat. Ensure you’re cooking it over medium heat and stirring constantly until it reaches a pudding-like consistency. -
Can I make this ahead of time?
Yes! This pudding can be made up to a day in advance. Just ensure it’s covered tightly to preserve freshness. -
What if I don’t have vanilla extract?
You can substitute with a splash of almond extract or even leave it out entirely. -
How do I prevent bananas from browning?
A squeeze of fresh lemon juice over the sliced bananas can help keep them fresh and prevent browning. -
Can I freeze banana pudding?
It’s not ideal to freeze banana pudding because the texture can change when thawed. However, you can freeze the vanilla pudding mixture separately (without bananas) and assemble fresh when ready to serve.
Wrapping Up
This banana pudding isn’t just a recipe; it’s a loving nod to cherished memories and a tasty tradition worth passing down. There’s nothing quite like the joy of sharing a dessert that tastes of home and comfort. So gather your ingredients, indulge in this delightful creation, and let it inspire your sweet moments. Enjoy your cooking journey, and remember—the best ingredient is the love you sprinkle in along the way!