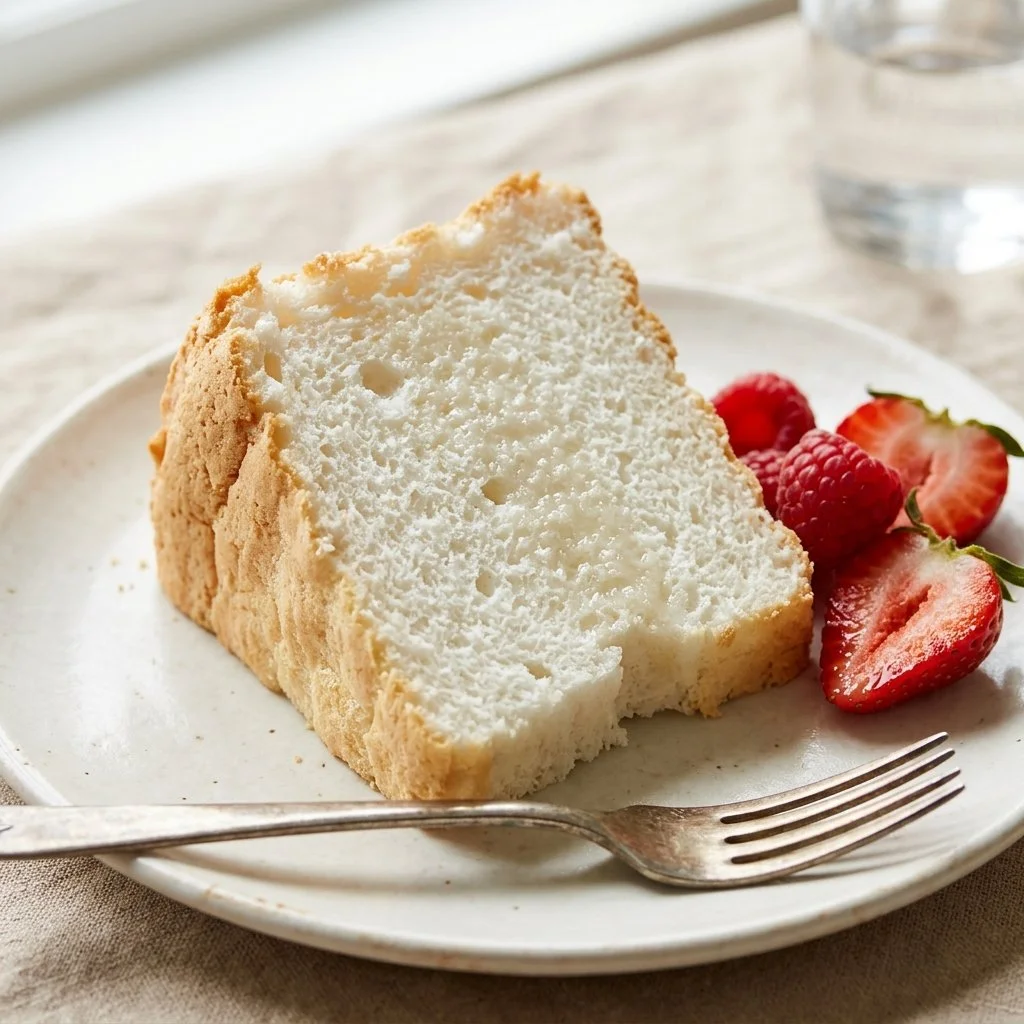
Nothing beats the feeling of a light, airy slice of Angel Food Cake. Just imagine the delicate sweetness melting in your mouth, each bite reminiscent of childhood celebrations and sunny afternoons. This cake has a special place in my heart, often taking the spotlight at family gatherings and birthday parties. The fluffy texture and subtle almond notes seem to transport me back to those joyful moments, surrounded by loved ones and laughter. Today, I want to share this delightful recipe with you so you can create your own memories filled with sweetness and joy.
Recipe Timing
- Prep Duration: 20 minutes
- Active Cooking: 40 minutes
- Total Duration: 1 hour
- Portion Size: Serves 12
- Complexity: Simple
Nutritional Recipe
- Calories per portion: Approximately 130
- Protein: 4 g per serving
- Carbs: 28 g per serving
- Fats: 0.5 g per serving
- Fiber: 0 g per serving
- Sugars: 15 g per serving
- Sodium: 42 mg per serving
Why You’ll Love This Angel Food Cake
This Angel Food Cake is not just any cake. Its ethereal texture, achieved by whipping up egg whites until they’re light and fluffy, makes it a refreshing dessert. It’s incredibly versatile—perfectly paired with fresh berries, a drizzle of chocolate sauce, or simply enjoyed alone. Plus, it’s a guilt-free indulgence that feels luxurious without being overly rich. In a world filled with dense cakes and heavy frostings, this dessert stands out as a deliciously light alternative.
The Complete Cooking Journey
Gathering the ingredients will fill your kitchen with anticipation. From the moment you sift the flour, to the final moment of plopping the cake upside down for cooling, each step is a dance that leads to a piece of cake that will steal your heart. Follow along as we create a masterpiece that not only looks delightful but tastes heavenly.
Ingredients:
- 1 cup cake flour
- 1 1/2 cups granulated sugar
- 12 large egg whites
- 1 teaspoon cream of tartar
- 1/4 teaspoon salt
- 1 teaspoon vanilla extract
- 1 teaspoon almond extract
Method:
Step 1: Preheat the Oven
Preheat your oven to 350°F (175°C). This ensures your cake bakes evenly and achieves that perfect rise.
Step 2: Sift the Flour and Sugar
In a bowl, sift together the cake flour and half of the granulated sugar. This step aerates the flour and mixes it with sugar, creating a lighter cake.
Step 3: Beat the Egg Whites
In a separate bowl, beat the egg whites until they become frothy. Then add the cream of tartar and salt, which will stabilize the egg whites during whipping.
Step 4: Whip to Stiff Peaks
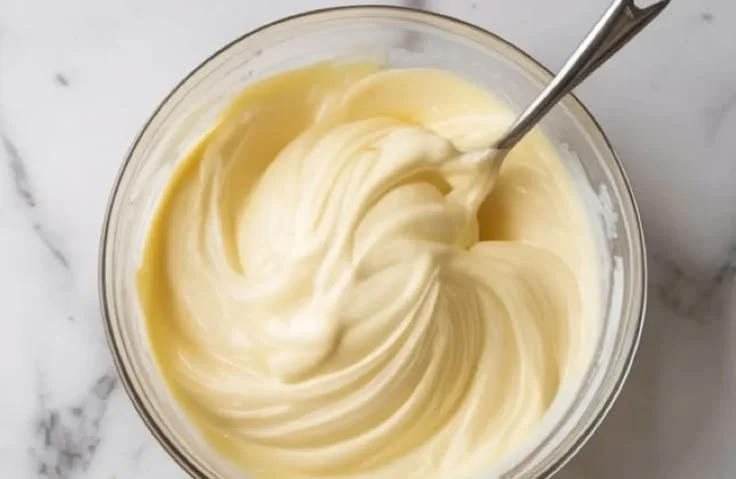
Continue to beat the egg whites until soft peaks form. Gradually add the remaining sugar while beating until stiff peaks form. At this stage, your egg whites should be glossy and hold their shape beautifully.
Step 5: Introduce the Flavor and Flour
Gently fold in the flour mixture along with the vanilla and almond extracts. Be careful not to deflate the precious air you’ve worked so hard to create. This is what gives your cake its lightness!
Step 6: Prepare for Baking
Pour the batter into an ungreased tube pan, ensuring it’s spread evenly. This allows the cake to climb up the sides during baking for that characteristic height.
Step 7: Bake to Perfection
Bake for 35-40 minutes, or until the cake springs back when touched gently. The aroma that fills your kitchen will have everyone eagerly waiting.
Step 8: Cool Down
Once baked, invert the pan to cool completely before removing the cake from it. This prevents the cake from collapsing and keeps it light and airy.
Serving Suggestions & Pairings
Slice up this beautiful cake and serve it with a side of freshly whipped cream and seasonal strawberries for a classic treat. Alternatively, drizzle with a simple berry sauce for a vibrant touch. You could also enjoy it alongside vanilla ice cream for a decadent dessert.
Storage & Leftovers Guide
If you manage to have leftovers (which is quite a feat!), store them in an airtight container at room temperature for up to 2-3 days. If you want to keep it longer, you can freeze wrapped slices for up to a month. Just be sure to thaw it at room temperature before serving!
Kitchen Wisdom & Success Tips
- Make sure your mixing bowl and beaters are clean and free from any grease; this will help the egg whites whip up nicely.
- Fold gently when combining the flour to keep as much air as possible in the egg whites.
- A tube pan is ideal for this recipe, as its shape helps the cake rise properly.
Flavor Variations & Adaptations
Feel free to experiment with flavors! Substitute the almond extract with lemon or orange for a citrusy twist. You can even fold in a bit of cocoa powder for a chocolatey version while being mindful of the proportions.
Reader Questions & Solutions
-
Why didn’t my egg whites whip up?
- Make sure your bowls are clean, dry, and free of any fat or yolk. Any residue can prevent the egg whites from whipping.
-
What if my cake falls?
- This can occur if it’s not cooled properly or if it’s overmixed. Use an ungreased pan and invert it to cool.
-
Can I make this cake gluten-free?
- Yes, use a gluten-free cake flour blend to replace regular flour, and it should work beautifully.
-
How can I add more flavor?
- You can enhance the cake by adding citrus zest or swapping some vanilla for different extracts like coconut or peppermint.
-
Can I double the recipe?
- Yes, you can double the ingredients, but you’ll need to bake it in two separate pans to ensure even cooking.
Wrapping Up
Creating this Angel Food Cake is more than just cooking; it’s crafting moments filled with sweetness. Whether it’s for a gathering, a cozy family dinner, or simply treating yourself, this cake is sure to impress. So get those egg whites whipping, and I can’t wait to hear about your angelic baking adventures! Enjoy every fluffy, sugary bite!