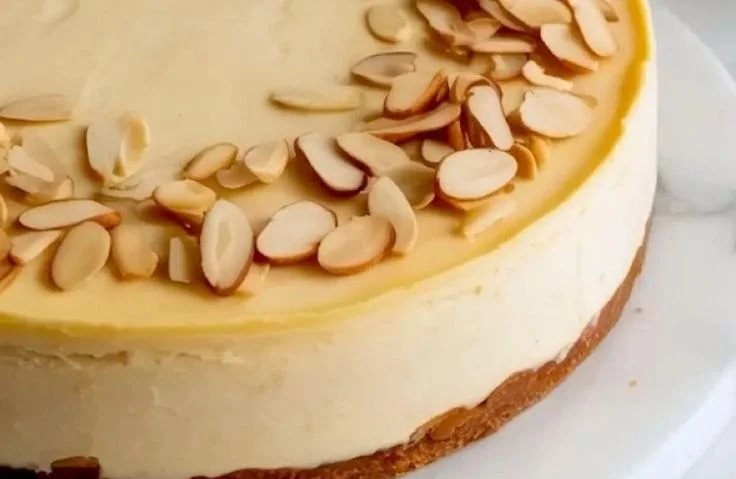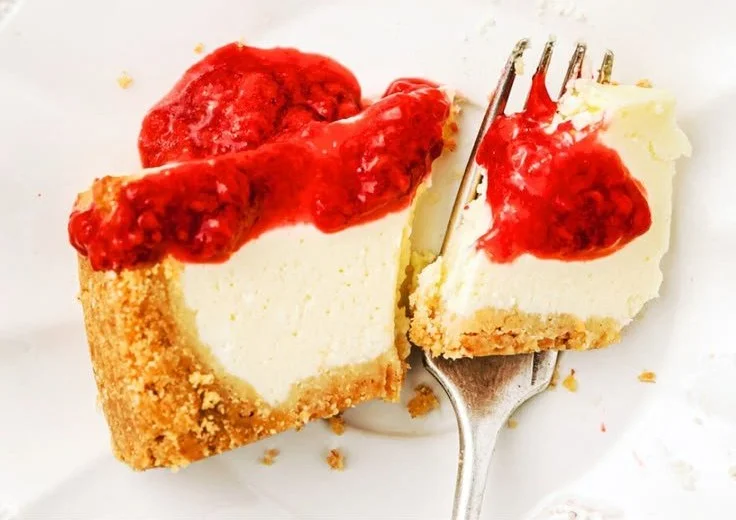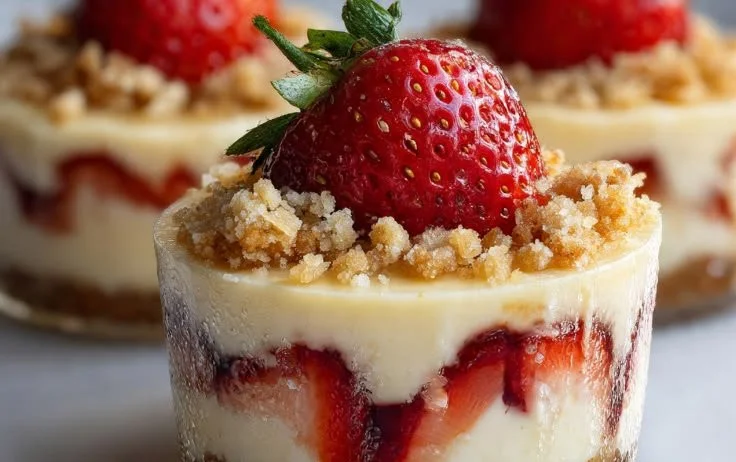
As the sun begins to set, casting a golden hue across the sky, I find myself reminiscing about those delightful family gatherings around the dinner table. The scent of freshly baked goods wafting through the air would signal the sweet conclusion of our feasts, and nestled among the usual pies and cakes was my absolute favorite: cheesecake. Its creamy, velvety texture and rich flavor made it a showstopper, but the challenge of slicing and serving a traditional cheesecake often felt daunting. That’s when I discovered the heavenly Mini Cheesecake Cups—a bite-sized dream that captures all the essence of classic cheesecake with none of the fuss. These little beauties make it easier than ever to indulge your sweet tooth while serving up a burst of flavor with every spoonful!
Recipe Timing
- Prep Duration: 20 minutes
- Active Cooking: 10 minutes
- Total Duration: 2 hours 30 minutes (including chilling time)
- Portion Size: 12 mini cheesecakes
- Complexity: Simple
Nutritional Recipe
- Calories per portion: Approximately 210
- Protein: 2g per serving
- Carbs: 19g per serving
- Fats: 14g per serving
- Fiber: 0g per serving
- Sugars: 9g per serving
- Sodium: 95mg per serving
Why You’ll Love This Mini Cheesecake Cups
Imagine a smooth, creamy cheesecake nestled in a buttery graham cracker crust, topped with a luscious strawberry mixture that adds a pop of color and sweetness to the creamy base. These Mini Cheesecake Cups are perfect for any occasion—be it a summer barbecue, a birthday party, or just a cozy night in. They’re not just delightful to eat; they’re visually appealing, making them the perfect addition to any dessert table. Plus, the easy preparation and individual servings mean you can make them ahead of time and skip the stress of slicing and serving.
The Complete Cooking Journey
Let’s take a step-by-step approach to creating these scrumptious Mini Cheesecake Cups. This journey will fill your kitchen with the sweet smell of cheesecake and leave your guests clamoring for the recipe!
Ingredients:
- 1 cup graham cracker crumbs
- 1/4 cup melted butter
- 2 cups cream cheese, softened
- 1 cup powdered sugar
- 1 teaspoon vanilla extract
- 1 cup heavy whipping cream
- 1 cup strawberries, chopped
- 2 tablespoons sugar
- 1/2 cup crushed strawberries for topping
Method:
Step 1: Prepare the Graham Cracker Crust
In a bowl, combine graham cracker crumbs and melted butter. Press the mixture into the bottom of mini cupcake liners to form the crust. Refrigerate to set.
Step 2: Cream the Cheese Mixture
In another bowl, beat together softened cream cheese, powdered sugar, and vanilla extract until smooth.
Step 3: Whip the Heavy Cream
In a separate bowl, whip heavy cream until stiff peaks form, then gently fold into the cream cheese mixture until combined.
Step 4: Fill the Crusts
Spoon the cheesecake filling into the prepared crusts and smooth the tops with a spatula.
Step 5: Create the Strawberry Crunch Topping
For the strawberry crunch topping, mix chopped strawberries with sugar and the crushed strawberries.
Step 6: Top the Cheesecakes
Spoon the strawberry mixture generously over the cheesecake layers.
Step 7: Chill and Set
Refrigerate for at least 2 hours before serving, allowing the flavors to meld beautifully.
Serving Suggestions & Pairings
These Mini Cheesecake Cups shine on their own but can be served with additional fresh fruit, a drizzle of chocolate sauce, or even a dollop of whipped cream for an extra touch of indulgence. Pair them with a refreshing glass of lemonade or iced tea for a delightful summer treat!
Storage & Leftovers Guide
To store your Mini Cheesecake Cups, cover them with plastic wrap or a lid in the refrigerator. They will stay fresh for up to five days. Unfortunately, I can’t guarantee they will last that long—these little delights tend to disappear quickly!
Kitchen Wisdom & Success Tips
- Room Temperature Ingredients: Ensure your cream cheese is softened adequately to prevent lumps in your cheesecake mixture.
- Whipping the Cream: Look for stiff peaks when whipping the heavy cream. This ensures a light and airy texture for your cheesecake.
- Chill Time: Don’t skip the chilling step! This allows the cheesecakes to set properly and enhances their flavor.
- Cupcake Liners: If you’re using silicone cupcake liners, consider chilling them longer to firm up the cheesecakes.
Flavor Variations & Adaptations
Feel free to experiment with flavors! Swap out strawberries for blueberries, raspberries, or seasonal fruits. Add a splash of lemon zest to the cheesecake mixture for a citrus kick, or stir in some melted chocolate for a decadent chocolate version.
Reader Questions & Solutions
1. Can I make these cheesecake cups in advance?
Absolutely! In fact, they taste even better after chilling for a day. Just store them properly as mentioned above.
2. What if my cream cheese isn’t soft enough?
You can microwave it in small intervals (10 seconds at a time) until it’s soft but not melted; just be careful to avoid hot spots.
3. How do I prevent my cheesecakes from cracking?
While our mini versions are less prone to cracks than traditional ones, using room temperature ingredients and chilling them gradually helps.
4. Can I use gluten-free graham crackers?
Yes, there are great gluten-free graham cracker options available that will work perfectly for the crust!
5. Is it possible to use non-dairy ingredients?
Yes! Substitute with non-dairy cream cheese and whipping cream to make them vegan-friendly—just keep an eye on the texture!
Wrapping Up
There you have it—an effortlessly delicious recipe for Mini Cheesecake Cups that charm not just the taste buds but the heart as well. Perfect for any occasion or just as a satisfying sweet treat, these mini delights add a burst of joy to any meal. So gather your ingredients, roll up your sleeves, and create these mouthwatering cheesecakes that are always a hit. Enjoy the sticky fingers, sweet smiles, and the delightful journey of baking!
PrintMini Cheesecake Cups
Delightful bite-sized cheesecakes with a buttery graham cracker crust and topped with a strawberry mixture.
- Prep Time: 20 minutes
- Cook Time: 10 minutes
- Total Time: 150 minutes
- Yield: 12 mini cheesecakes 1x
- Category: Dessert
- Method: Chilling
- Cuisine: American
- Diet: Vegetarian
Ingredients
- 1 cup graham cracker crumbs
- 1/4 cup melted butter
- 2 cups cream cheese, softened
- 1 cup powdered sugar
- 1 teaspoon vanilla extract
- 1 cup heavy whipping cream
- 1 cup strawberries, chopped
- 2 tablespoons sugar
- 1/2 cup crushed strawberries for topping
Instructions
- Prepare the Graham Cracker Crust by combining graham cracker crumbs and melted butter; press into mini cupcake liners and refrigerate.
- Cream the Cheese Mixture by beating together softened cream cheese, powdered sugar, and vanilla extract until smooth.
- Whip the Heavy Cream until stiff peaks form, then gently fold into the cream cheese mixture.
- Fill the crusts with the cheesecake filling and smooth the tops with a spatula.
- Create the Strawberry Crunch Topping by mixing chopped strawberries with sugar and crushed strawberries.
- Top the cheesecakes with the strawberry mixture.
- Chill in the refrigerator for at least 2 hours before serving.
Notes
These Mini Cheesecake Cups can be made in advance and stored for up to five days. For a gluten-free version, substitute with gluten-free graham crackers.
Nutrition
- Serving Size: 1 mini cheesecake
- Calories: 210
- Sugar: 9g
- Sodium: 95mg
- Fat: 14g
- Saturated Fat: 8g
- Unsaturated Fat: 4g
- Trans Fat: 0g
- Carbohydrates: 19g
- Fiber: 0g
- Protein: 2g
- Cholesterol: 40mg