As I stood in my cozy kitchen, the wonderful aroma of vanilla filled the air, instantly transporting me back to my grandmother’s house on a sunny afternoon. She used to bake the most exquisite cakes, always topping them with her signature whipped cream frosting. With every slice, I was met with a cloud of sweet, creamy goodness that danced on my palate—a perfect blend of lightness and richness. Inspired by those cherished memories, I’ve mastered my own version of stabilized whipped cream frosting that holds its shape beautifully while retaining that dreamy texture that we all love.
Recipe Timing
- Prep Duration: 10 minutes
- Active Cooking: 5 minutes
- Total Duration: 15 minutes
- Portion Size: Serves 8
- Complexity: Simple
Nutritional Recipe
- Calories per portion: 170
- Protein: 3g
- Carbs: 6g
- Fats: 16g
- Fiber: 0g
- Sugars: 5g
- Sodium: 15mg
Why You’ll Love This Stabilized Whipped Cream Frosting
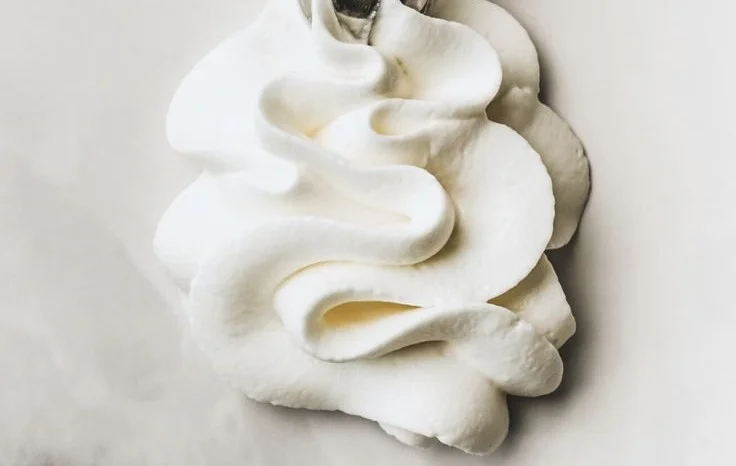
This stabilizing technique ensures that your frosting won’t melt away or lose its shape even in warmer conditions, making it ideal for special occasions or hot summer days. Whether you’re decorating a decadent chocolate cake or dolloping it generously on a slice of lemon tart, this frosting achieves that perfect balance between creamy and light. Just imagine the reaction of your family and friends as they dig into a beautiful dessert topped with this luscious frosting—it’s guaranteed to bring smiles to faces!
The Complete Cooking Journey
Let’s embark on the adventure of creating this delightful frosting. With just a few simple ingredients and a little bit of love, you’ll be well on your way to frosting your favorite desserts like a pro. Trust me; this is going to become your go-to frosting recipe!
Ingredients:
- 1 cup heavy whipping cream
- 1 cup mascarpone cheese
- 1/4 cup powdered sugar
- 1 teaspoon vanilla extract
Method:
Step 1: Combine the Ingredients
In a large mixing bowl, combine the heavy whipping cream, mascarpone cheese, powdered sugar, and vanilla extract. This simple yet elegant start creates the foundation for our dreamy frosting.
Step 2: Whip to Soft Peaks
Beat the mixture on medium speed until soft peaks form. At this stage, you’ll witness the transformation from liquid to fluffy clouds, bringing back memories of whipped cream swirling deliciously atop desserts.
Step 3: Whip Until Stiff Peaks Form
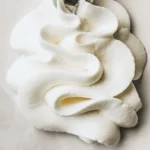
Increase the speed to high and continue beating until stiff peaks are formed and the frosting holds its shape. This is the magic moment—when your frosting becomes firm enough to withstand any decorating technique you desire.
Step 4: Frost Your Favorite Cakes
Use immediately to frost cakes, cupcakes, or layered desserts. The world is your oyster! Let your creativity shine as you apply this frosting to your baked masterpieces.
Serving Suggestions & Pairings
This stabilized whipped cream frosting pairs wonderfully with chocolate cakes, fruit tarts, or even simply served with fresh berries. The slight tanginess of the mascarpone complements the sweetness beautifully, making it a versatile topping for a range of flavors.
Storage & Leftovers Guide
If you happen to have any leftovers (which is rare, believe me!), store them in an airtight container in the refrigerator. It should keep well for about 2-3 days, but for the best texture, try to consume it fresh.
Kitchen Wisdom & Success Tips
- Tip: Make sure your mixing bowl and beaters are cold to ensure better whipping.
- Tip: Add a tablespoon of cornstarch to your sugar mixture to increase the stability even further.
- Tip: If you’re making this for a warm day, consider chilling your mascarpone cheese as well.
Flavor Variations & Adaptations
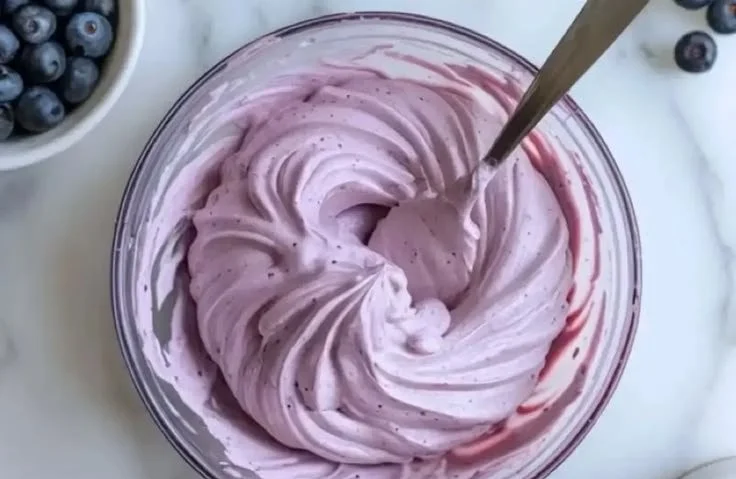
Feeling adventurous? You can infuse your frosting with a range of flavors! Try adding a teaspoon of freshly grated lemon zest for a citrusy twist, or a splash of almond extract for a nutty undertone. You could even fold in some melted chocolate for a decadent chocolate frosting!
Reader Questions & Solutions
-
What can I use instead of mascarpone cheese?
- Cream cheese is a great alternative, though it will alter the flavor slightly. Just make sure to soften it first!
-
How can I make it sweeter?
- Add more powdered sugar! Just remember to do so gradually, tasting along the way until it reaches your desired sweetness.
-
Why did my frosting turn soupy?
- This typically happens if it’s over-mixed. Be careful not to beat past the stiff peak stage!
-
Can I freeze this frosting?
- While it’s best fresh, you can freeze it in an airtight container for up to a month. Just be sure to let it thaw in the fridge before using again.
-
What’s the best way to frost a cake?
- A straight-edge spatula works beautifully for smoothing the frosting on top and sides of cakes. For a more textured look, try using a fork or a decorative spatula!
Wrapping Up
There you have it—a simple, luscious stabilized whipped cream frosting that is sure to become your new favorite! Remember, the key to great cooking is not just about the ingredients, but the joy and memories created while baking. I hope you find as much happiness in making this frosting as I did. So roll up your sleeves, whip up this creamy delight, and watch it transform your desserts into something extraordinary! Enjoy every moment in the kitchen!
PrintStabilized Whipped Cream Frosting
A delightful stabilized whipped cream frosting that holds its shape beautifully, perfect for decorating cakes, cupcakes, and desserts.
- Prep Time: 10 minutes
- Cook Time: 5 minutes
- Total Time: 15 minutes
- Yield: 8 servings 1x
- Category: Dessert
- Method: Whipping
- Cuisine: American
- Diet: Vegetarian
Ingredients
- 1 cup heavy whipping cream
- 1 cup mascarpone cheese
- 1/4 cup powdered sugar
- 1 teaspoon vanilla extract
Instructions
- Combine the heavy whipping cream, mascarpone cheese, powdered sugar, and vanilla extract in a large mixing bowl.
- Beat the mixture on medium speed until soft peaks form.
- Increase the speed to high and continue beating until stiff peaks form.
- Use immediately to frost cakes, cupcakes, or layered desserts.
Notes
For best results, ensure your mixing bowl and beaters are cold. Consider adding cornstarch for enhanced stability.
Nutrition
- Serving Size: 1 serving
- Calories: 170
- Sugar: 5g
- Sodium: 15mg
- Fat: 16g
- Saturated Fat: 10g
- Unsaturated Fat: 6g
- Trans Fat: 0g
- Carbohydrates: 6g
- Fiber: 0g
- Protein: 3g
- Cholesterol: 55mg