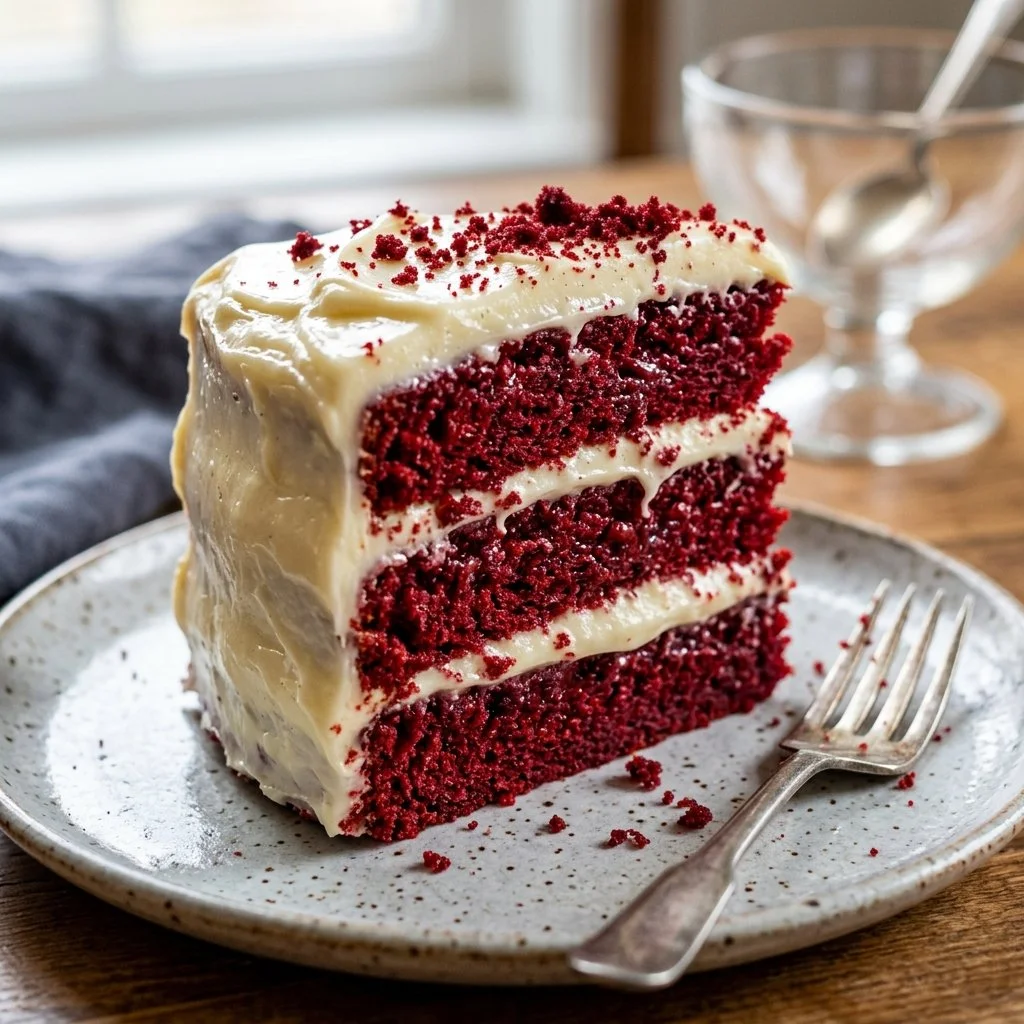
There’s a certain charm about a Red Velvet Cake that transcends mere flavor; it evokes memories of celebrations, love, and countless birthdays. I remember the first time I tried a slice—its vibrant color mesmerized me, and the creamy frosting called to my sweet tooth. As I savored that first bite, the delicate balance of chocolate and vanilla danced on my palate, leaving me enchanted. Ever since, I’ve been on a journey to recreate that blissful experience in my own kitchen, and today, I’m thrilled to share my version of this delightful cake with you.
Recipe Timing
- Prep Duration: 20 minutes
- Active Cooking: 30 minutes
- Total Duration: 50 minutes
- Portion Size: Serves 12
- Complexity: Simple
Nutritional Recipe
- Calories per portion: Approx. 450
- Protein: 4g
- Carbs: 58g
- Fats: 24g
- Fiber: 1g
- Sugars: 32g
- Sodium: 330mg
Why You’ll Love This Red Velvet Cake
The allure of Red Velvet Cake lies not only in its stunning presentation but also in its rich flavor profile. The cake’s gentle cocoa undertones perfectly complement the tangy cream cheese frosting, creating a beautiful harmony that’s both luxurious and indulgent. Whether it’s for a special occasion or simply to treat yourself after a long week, this cake promises to bring joy to your table.
The Complete Cooking Journey
From the moment you open your pantry and gather your ingredients, you’re beginning an adventure filled with vibrant colors and delightful aromas. Each step brings you closer to the realization of a cake that’s as much a feast for the eyes as it is for the taste buds. The anticipation builds as the kitchen fills with sweet scents and the allure of red velvet whispers promises of deliciousness.
Ingredients:
- 2 1/2 cups all-purpose flour
- 1 1/2 cups granulated sugar
- 1 teaspoon baking soda
- 1 teaspoon salt
- 1 teaspoon cocoa powder
- 1 1/2 cups vegetable oil
- 1 cup buttermilk, room temperature
- 2 large eggs, room temperature
- 2 tablespoons red food coloring
- 1 teaspoon vanilla extract
- 1 teaspoon white vinegar
Method:
Step 1: Preheat the Oven and Prepare Pans
Preheat the oven to 350°F (175°C). Grease and flour two 9-inch round cake pans, ensuring your cake easily releases after baking.
Step 2: Sift the Dry Ingredients
In a large bowl, sift together the flour, sugar, baking soda, salt, and cocoa powder. This step incorporates air into the mixture, ensuring a light and fluffy cake.
Step 3: Whisk the Wet Ingredients
In another bowl, whisk together the vegetable oil, buttermilk, eggs, red food coloring, vanilla extract, and white vinegar until everything is well combined and beautifully vibrant.
Step 4: Combine Dry and Wet Ingredients
Gradually add the wet ingredients to the dry ingredients. Mix until just combined, being careful not to overmix—this keeps the cake tender.
Step 5: Divide the Batter
Evenly divide the luscious red batter between the two prepared pans. Watching the deep red pour into the pans is a culinary delight!
Step 6: Bake the Cakes
Bake for 25-30 minutes, or until a toothpick inserted in the center comes out clean. The kitchen should be filled with an inviting aroma by now!
Step 7: Cool the Cakes
Allow the cakes to cool in the pans for 10 minutes before transferring them to a wire rack. Let them cool completely before frosting, resisting the temptation to taste just yet.
Step 8: Frost with Cream Cheese Frosting
Once the cakes are completely cool, liberally frost with a tangy cream cheese frosting, letting each layer and the top reveal that beautiful red beneath.
Serving Suggestions & Pairings
This Red Velvet Cake is perfect for any celebration—from birthdays to anniversaries! Pair it with a scoop of vanilla ice cream or serve it alongside a rich cup of coffee for a delightful afternoon treat. It’s also a wonderful centerpiece at holiday gatherings, bringing smiles and sweet moments.
Storage & Leftovers Guide
Store any leftover cake in an airtight container in the fridge, where it will stay fresh for about 3-5 days. If you want to preserve it longer, freeze slices in an airtight container, and they will stay delicious for up to 3 months. Just remember to let it thaw in the fridge before enjoying!
Kitchen Wisdom & Success Tips
- Ensure your ingredients are at room temperature for the best results, especially the eggs and buttermilk. This helps the batter blend smoothly.
- If you’re a little wary of the red food coloring, you can adjust the amount to your liking; a little less makes for a subtler hue while still delivering wondrous flavor.
- Don’t overmix the batter; gently folding the wet ingredients into the dry keeps your cake light and airy.
Flavor Variations & Adaptations
For a fun twist on the classic, consider adding a hint of orange zest for a citrusy lift or switching up the frosting to a chocolate ganache for decadent indulgence. Gluten-free versions can be made by substituting the all-purpose flour with a gluten-free blend.
Reader Questions & Solutions
-
Can I use regular milk instead of buttermilk?
Yes! If you don’t have buttermilk, you can make your own by adding 1 tablespoon of vinegar or lemon juice to 1 cup of milk, letting it sit for 5-10 minutes. -
What if I don’t have red food coloring?
You can use beet juice or pomegranate juice as a natural coloring option, although this may slightly alter the flavor. -
How do I know if the cake is baked through?
Insert a toothpick into the center of the cake—if it comes out clean or with a few crumbs, your cake is ready! -
Can I make this cake ahead of time?
Absolutely! You can bake the cakes a day in advance and frost them right before serving for maximum freshness. -
What can I do with leftover frosting?
Leftover cream cheese frosting can be stored in the fridge for about a week or frozen for later use. It’s fabulous on cookies or muffins!
Wrapping Up
Baking this Red Velvet Cake is more than just a recipe; it’s an experience that brings warmth to the kitchen and joy to hearts. Each slice is a reminder of the love and celebration wrapped in its vibrant red layers. So tie on your apron, whisk up some magic, and let the sweet aroma of baking fill your home. Happy baking!