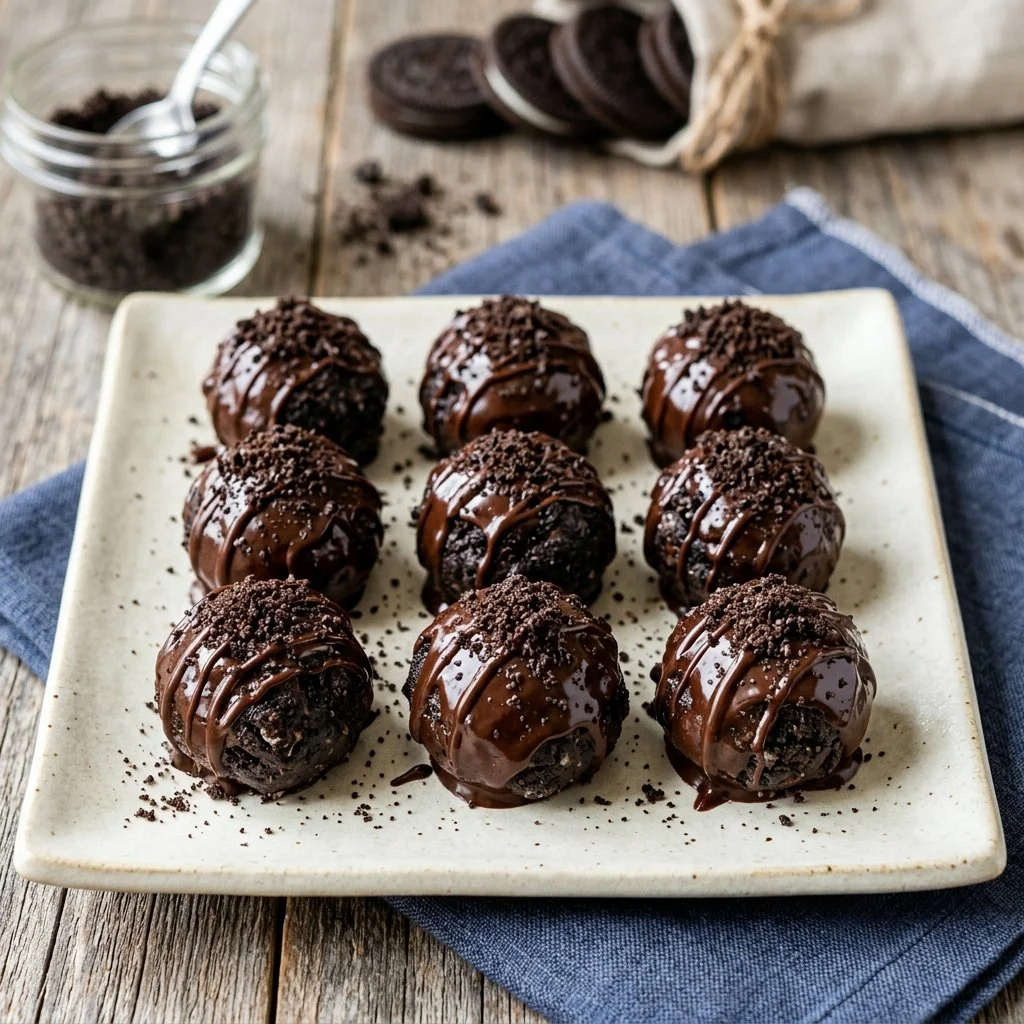
There’s something magical about a homemade treat that brings back fond memories from childhood. For me, that treat is none other than the beloved Oreo truffles. I remember the afternoons spent in the kitchen, the warm and sweet aroma wafting through the air, and the joy that came with every creamy bite. These little gems encapsulate all the playful flavors of the classic Oreo cookie and transform them into an indulgent treat perfect for sharing—or not! With just three simple ingredients, you’ll find that these truffles are as easy to make as they are delightful to eat. Let’s dive into the sweet world of Oreo truffles!
Recipe Timing
- Prep Duration: 15 minutes
- Active Cooking: 10 minutes
- Total Duration: 55 minutes (includes chilling)
- Portion Size: About 24 truffles
- Complexity: Simple
Nutritional Recipe
- Calories per portion: Approximately 120 calories
- Protein: 1.5 grams
- Carbs: 15 grams
- Fats: 7 grams
- Fiber: 1 gram
- Sugars: 9 grams
- Sodium: 50 mg
Why You’ll Love This Oreo Truffles
Not only are these Oreo truffles sinfully delicious, but they also hold a special place in my heart. Perfect for holiday gatherings, birthday celebrations, or just a sweet surprise during the week, these bites of bliss constantly receive compliments from friends and family. The combination of crisp Oreo cookies and creamy cream cheese, all enveloped in rich chocolate, creates a texture contrast that makes each truffle irresistible. Plus, you can personalize them with your favorite toppings!
The Complete Cooking Journey
Let me guide you through the simple and satisfying journey of creating these Oreo truffles, step by step. From the moment you crush the cookies to the final bite of rich chocolate, you’ll find this process incredibly fulfilling. Ready? Let’s get started!
Ingredients:
- 1 package Oreo cookies
- 8 oz cream cheese, softened
- Chocolate for coating (melting chocolate or chocolate chips)
Method:
Step 1: Crush the Oreo Cookies
Begin by taking your package of Oreo cookies and placing them in a food processor. Pulse them into fine crumbs, almost like sand at the shore. If you don’t have a food processor, a sturdy zip-top bag and a rolling pin will do the trick just as well!
Step 2: Combine Cookies and Cream Cheese
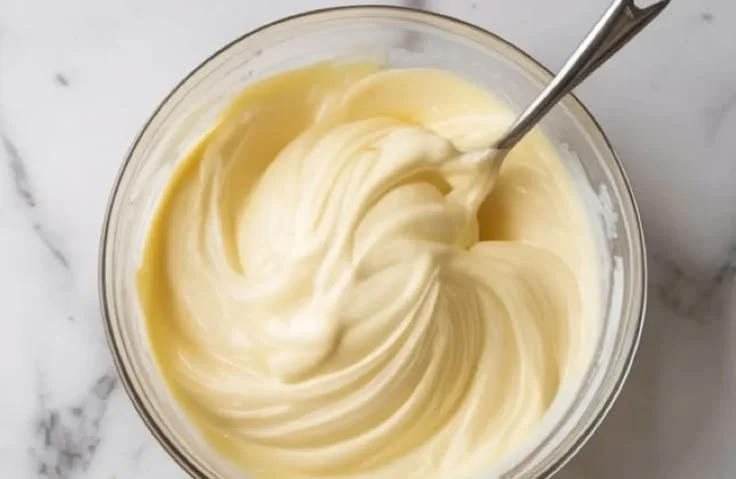
In a mixing bowl, combine your crushed Oreo cookies with softened cream cheese. Using your hands or a spatula, mix them together until it’s a uniform mixture. It should be slightly sticky but manageable. This is where the magic really begins to happen—you’ll be tempted to taste it!
Step 3: Shape the Mixture into Balls
Now, take small portions of your Oreo mixture and roll them into balls, roughly one inch in diameter. Think of them as little bites of heaven! Place each ball on a lined baking sheet, giving them enough space to avoid sticking together.
Step 4: Chill to Set
Pop your baking sheet in the refrigerator for about 30 minutes. This helps the truffles firm up, making them easier to coat in chocolate later.
Step 5: Melt the Chocolate
While the truffles chill, it’s chocolate time! Melt your chocolate according to the package instructions. You can use a microwave or a double boiler, but be sure to monitor it closely to avoid burning. Stir until it’s smooth and luscious.
Step 6: Dip Truffles in Chocolate
Once chilled, take each truffle and dip it into the melted chocolate, letting any excess drip off. Place the finished truffles back on the lined baking sheet.
Step 7: Allow to Set Before Serving
Give your truffles a little time to cool! Allow the chocolate to set at room temperature, or pop them back in the refrigerator for about 15 minutes. Once the chocolate is firm, they’re ready to share and enjoy!
Serving Suggestions & Pairings
These Oreo truffles shine on their own, but don’t hesitate to get creative! Consider serving them alongside a cup of hot cocoa, a glass of milk, or even at a potluck with your favorite desserts. They would also be fantastic in gift boxes or as party favors!
Storage & Leftovers Guide
Store any leftover Oreo truffles in an airtight container in the refrigerator for up to one week. If you want to keep them longer, freeze them! Just allow them to thaw in the fridge before enjoying.
Kitchen Wisdom & Success Tips
- Soften the Cream Cheese: Make sure your cream cheese is at room temperature for easier mixing.
- Don’t Skip the Chill: Chilling the truffles is crucial—it gives them a perfect texture for coating.
- Use Good Quality Chocolate: For the best flavor, opt for high-quality chocolate chips or melting wafers.
- Experiment with Toppings: Get creative! Sprinkles, crushed nuts, or drizzles of white chocolate can add a delightful touch.
Flavor Variations & Adaptations
Feeling adventurous? Try adding a splash of vanilla or peppermint extract to the cream cheese mixture for a fun twist. You can also substitute different cookies, like chocolate chip or peanut butter cookies, to create your unique flavor combination.
Reader Questions & Solutions
- Can I use low-fat cream cheese? Yes, but the texture may be slightly different. Full-fat gives you creamier truffles.
- What if I’m allergic to gluten? You can find gluten-free Oreo cookies or use gluten-free cookies instead.
- Can I skip the chocolate coating? Absolutely! You can roll them in cocoa powder or crushed nuts for a different experience.
- What’s the best way to melt chocolate without burning it? Use a microwave in small bursts (20 seconds) and stir in between, or a double boiler for gentle heat.
- How can I get a smoother coating? If your chocolate is thick, adding a teaspoon of coconut oil can help thin it out for easier dipping.
Wrapping Up
Creating these Oreo truffles not only satisfies that sweet tooth but also brings joy to those around you. Whether you’re celebrating a special occasion or simply treating yourself, these simple yet indulgent bites are bound to be a hit. So grab your apron, turn on some music, and get ready to create some memories in the kitchen. Happy cooking!