You know that feeling when a familiar smell wafts through the air, instantly taking you back to your childhood? For me, that scent is rich, creamy chocolate wafting from the kitchen, a staple of my Grandma’s house. She had a knack for turning simple ingredients into unforgettable desserts, and her homemade chocolate pudding was one of the highlights of my visits. I remember tapping my toes impatiently as I stood by the stove, eagerly watching it bubble and thicken. There’s something magical about nurturing something sweet from scratch, and this pudding is no different.
Recipe Timing
- Prep Duration: 10 minutes
- Active Cooking: 10 minutes
- Total Duration: 20 minutes plus chilling time
- Portion Size: Serves 4
- Complexity: Simple
Nutritional Recipe
- Calories per portion: 200
- Protein: 4 grams
- Carbs: 30 grams
- Fats: 8 grams
- Fiber: 1 gram
- Sugars: 20 grams
- Sodium: 80 mg
Why You’ll Love This Homemade Chocolate Pudding
When it’s made from scratch, homemade chocolate pudding conjures memories of family gatherings, comforting evenings, and quiet moments of indulgence on the couch. This recipe not only brings back that nostalgia but also delivers a velvety, rich experience with every spoonful. It’s a dessert that’s virtually impossible to resist, whether you’re eight years old or eighty. Plus, it’s simple enough to whip up on a whim, making it a versatile addition to your dessert repertoire!
The Complete Cooking Journey
Your journey to homemade chocolate pudding begins with gathering a few pantry staples. The magic happens in just about 20 minutes, and before you know it, you’ll be scooping out bowls of silky, chocolatey goodness. No fancy equipment necessary—just a saucepan and a whisk are all you need.
Ingredients:
- 2 cups milk
- 1/2 cup granulated sugar
- 1/4 cup unsweetened cocoa powder
- 3 tablespoons cornstarch
- 1/4 teaspoon salt
- 1 teaspoon vanilla extract
- 2 tablespoons unsalted butter
Method:
Step 1: Whisk Together the Dry Ingredients
In a saucepan, whisk together the sugar, cocoa powder, cornstarch, and salt. This is where your pudding starts its journey to deliciousness—a solid foundation of sweet and chocolatey goodness.
Step 2: Gradually Stir in the Milk
Slowly incorporate the milk, stirring as you go. This gradual addition helps prevent any lumps, ensuring your pudding ends up perfectly smooth.
Step 3: Cook Until Thickened
Place the saucepan over medium heat, and cook while stirring constantly until the mixture starts to thicken and bubble. This magical moment transforms your mixture into a luscious pudding.
Step 4: Add the Finishing Touches
Remove the saucepan from the heat, and stir in the vanilla extract and butter until smooth. The butter adds a rich creaminess that is simply irresistible.
Step 5: Chill for the Perfect Set
Pour the pudding into serving dishes and chill in the refrigerator until set. Patience is key here, but trust me—it’s worth the wait!
Serving Suggestions & Pairings
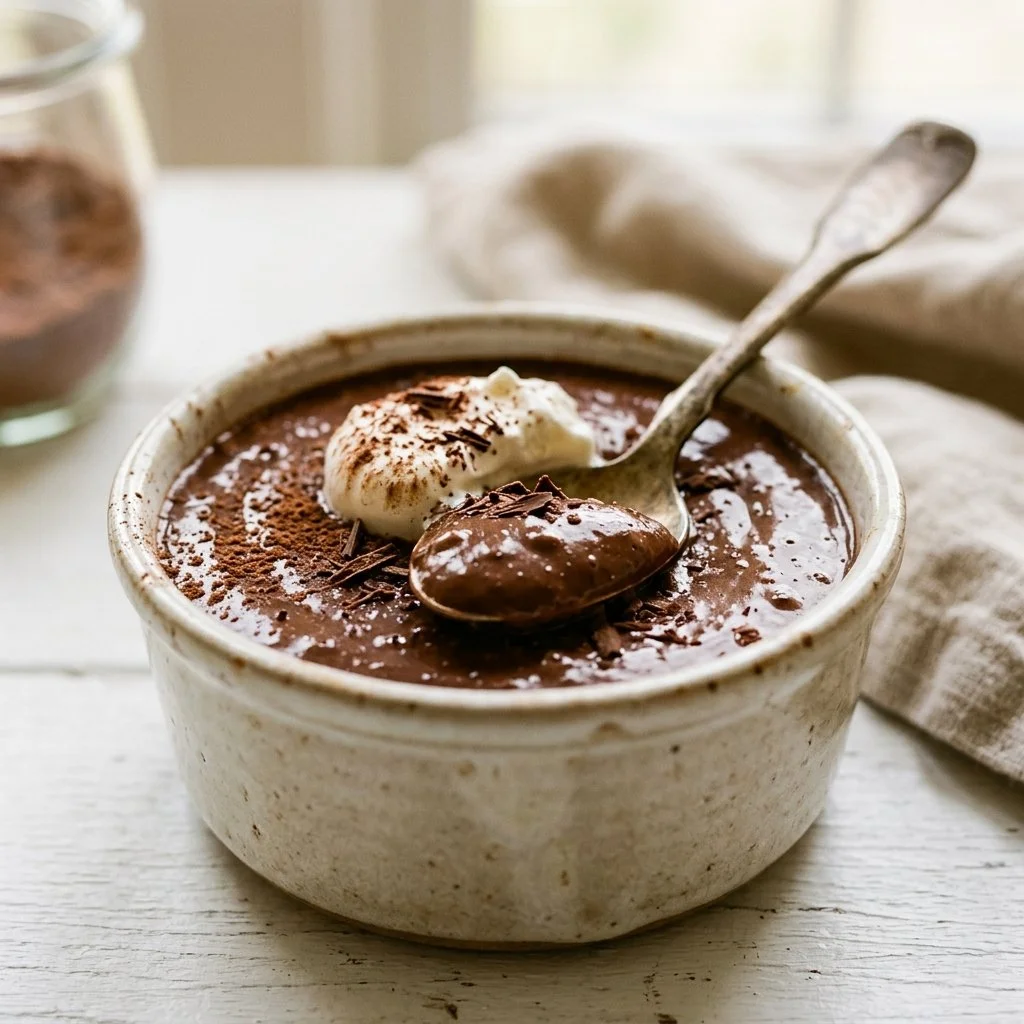
Serve your homemade chocolate pudding chilled, topped with whipped cream, fresh berries, or a sprinkle of chocolate shavings for an extra touch of elegance. It pairs beautifully with a strong cup of coffee or a glass of dessert wine for a delightful end to any meal.
Storage & Leftovers Guide
You can store leftover pudding in an airtight container in the refrigerator for up to 3 days. Just remember to cover the surface with plastic wrap to prevent a skin from forming.
Kitchen Wisdom & Success Tips
- Avoid lumps: Make sure to whisk the dry ingredients thoroughly before adding the milk, and stir continuously while cooking.
- Play with flavors: If you’re feeling adventurous, add a pinch of espresso powder or a splash of orange zest for an extra dimension of flavor.
- Texture matters: For a thicker pudding, increase the cornstarch slightly, but don’t go overboard—too much can change the flavor.
Flavor Variations & Adaptations
Feeling creative? Try adding different flavors to personalize your pudding:
- Mint Chocolate Pudding: Add a few drops of peppermint extract in the final step.
- Spicy Chocolate Pudding: Whisk in a dash of cinnamon or cayenne for a little heat.
- Nutty Chocolate Pudding: Stir in some finely ground hazelnuts or almond extract for a nutty delight.
Reader Questions & Solutions
-
Why does my pudding seem grainy?
- This often happens if the dry ingredients weren’t blended thoroughly or if the mixture wasn’t stirred continuously during cooking. Make sure to whisk well!
-
Can I use almond milk instead of regular milk?
- Absolutely! Almond milk will give a slightly different flavor but will work perfectly in this recipe.
-
How do I prevent a skin from forming?
- Cover the surface of the pudding with plastic wrap as it chills, ensuring it’s pressed directly against the surface.
-
What if my pudding doesn’t thicken?
- Ensure you cooked it long enough and that the mixture reached a bubble. If it still seems too thin after cooling, whisk in a bit of one more tablespoon of cornstarch mixed with milk and heat gently.
-
Can I make this recipe vegan?
- Yes! Substitute the milk with a plant-based milk, use a vegan butter alternative, and replace the granulated sugar with a vegan-friendly sweetener.
Wrapping Up
Making homemade chocolate pudding doesn’t just fill your belly; it fills your heart with warmth and nostalgia. It’s a simple recipe that yields an elegant dessert, perfect for celebrations or cozy nights in. So dust off that saucepan, gather your loved ones, and create your own chocolate journey. You’ll find that this pudding has the power to turn any ordinary day into something special. Happy cooking!